September 28th and 29th
Errol Bowman and Erik Reimers
On the beautiful traditional and unceded territories of the Squamish and Tsleil-Waututh Nations
Because I love the idea of “car free adventures” (and because I don’t own a car…), one of the first things I did when I moved to Vancouver was to make a map of every potentially useful bus stop all the way from North Van up to Pemberton. One of the first stops to catch my eye was a bus going up to Lions Bay. Accumulating all the beta possible from the deep corners of the internet, I planned a loop that would hit the peaks surrounding the Deeks Lake Basin via this bus. Joining me was my longtime friend Errol who I know of as an absolute machine that could outrun a gazelle and would have no problem pulling off the mission.
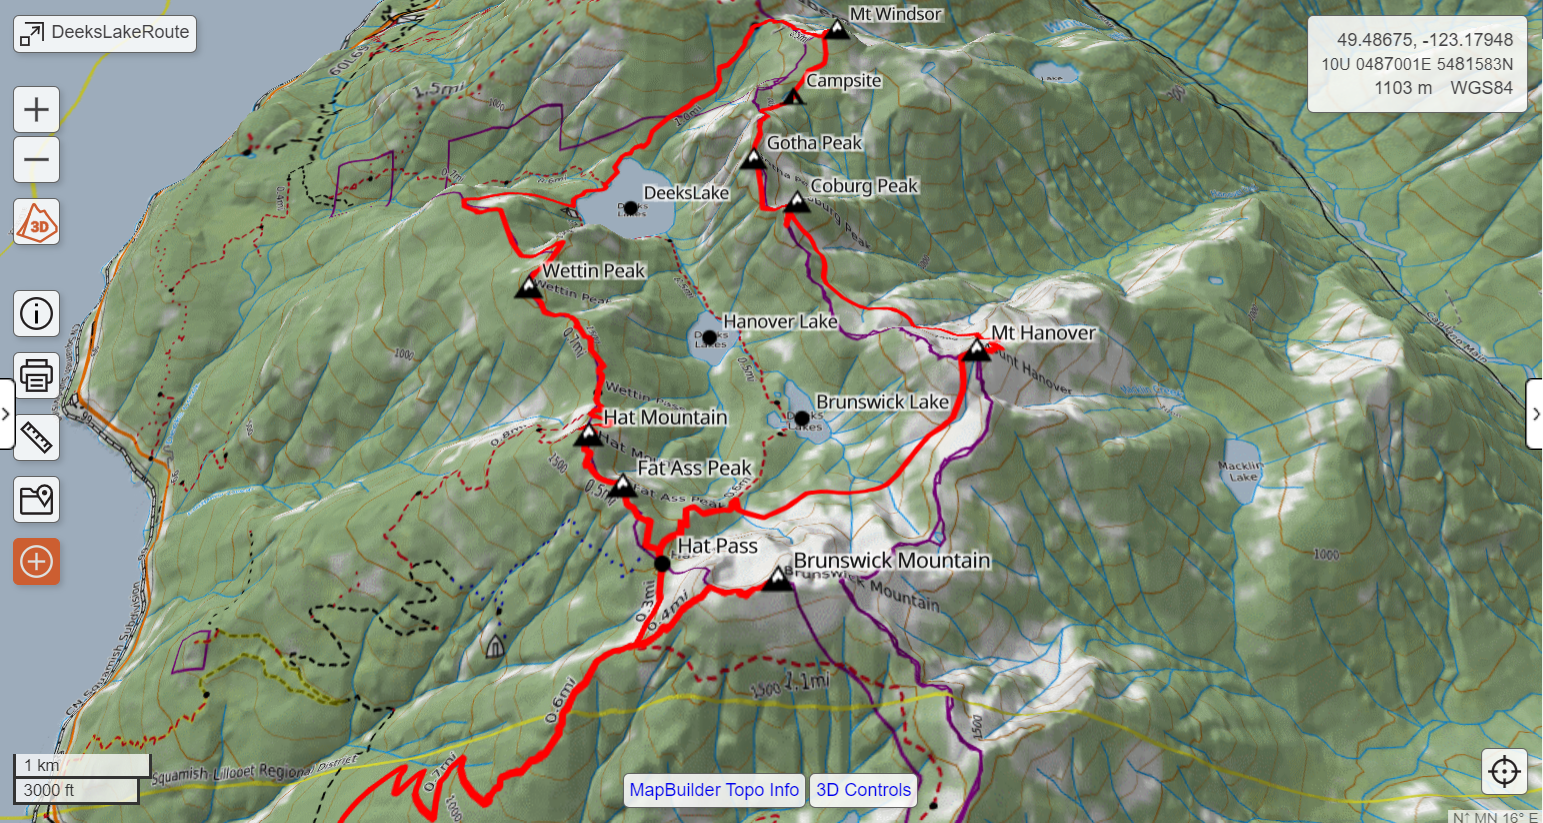
Approximate route map for the trip circumnavigating the Deeks Lake Basin.
Unfortunately, the earliest bus to Lions Bay never showed up, and the next scheduled bus got us there for an “alpine start” of 11am. Making the most of the situation, we figured that we were so well rested now from waiting around that we would be able to go extra fast. We raced up the long steep hike to Hat Pass where we ate some food and got our first view of the peaks surrounding the basin. Errol pointed out a difficult looking separated pillar on Mount Hanover which he called “The Tuning Fork”, but I assured him we would be going around the backside and it would be an “easy scramble”…

Hat pass looking northeast into the basin towards Mount Hanover. Errol’s “Tuning Fork” (shown with an arrow) being a potential objective for another time. Sky Pilot group seen far in the back.
We then broke off the main trail and followed a flagged route which brought us up and over the basin’s western peaks of Fat Ass Peak (yes that is its real, accepted name), Hat Mountain, (another unnamed small bump we called Wet Ass Peak), and Wettin Peak. From here we had a long bushwack ahead of us to the north through some steep terrain to connect down to Deeks Lake. Luckily, we had beta that it would go, and sure enough we eventually made it back to the main trail without too much faff.
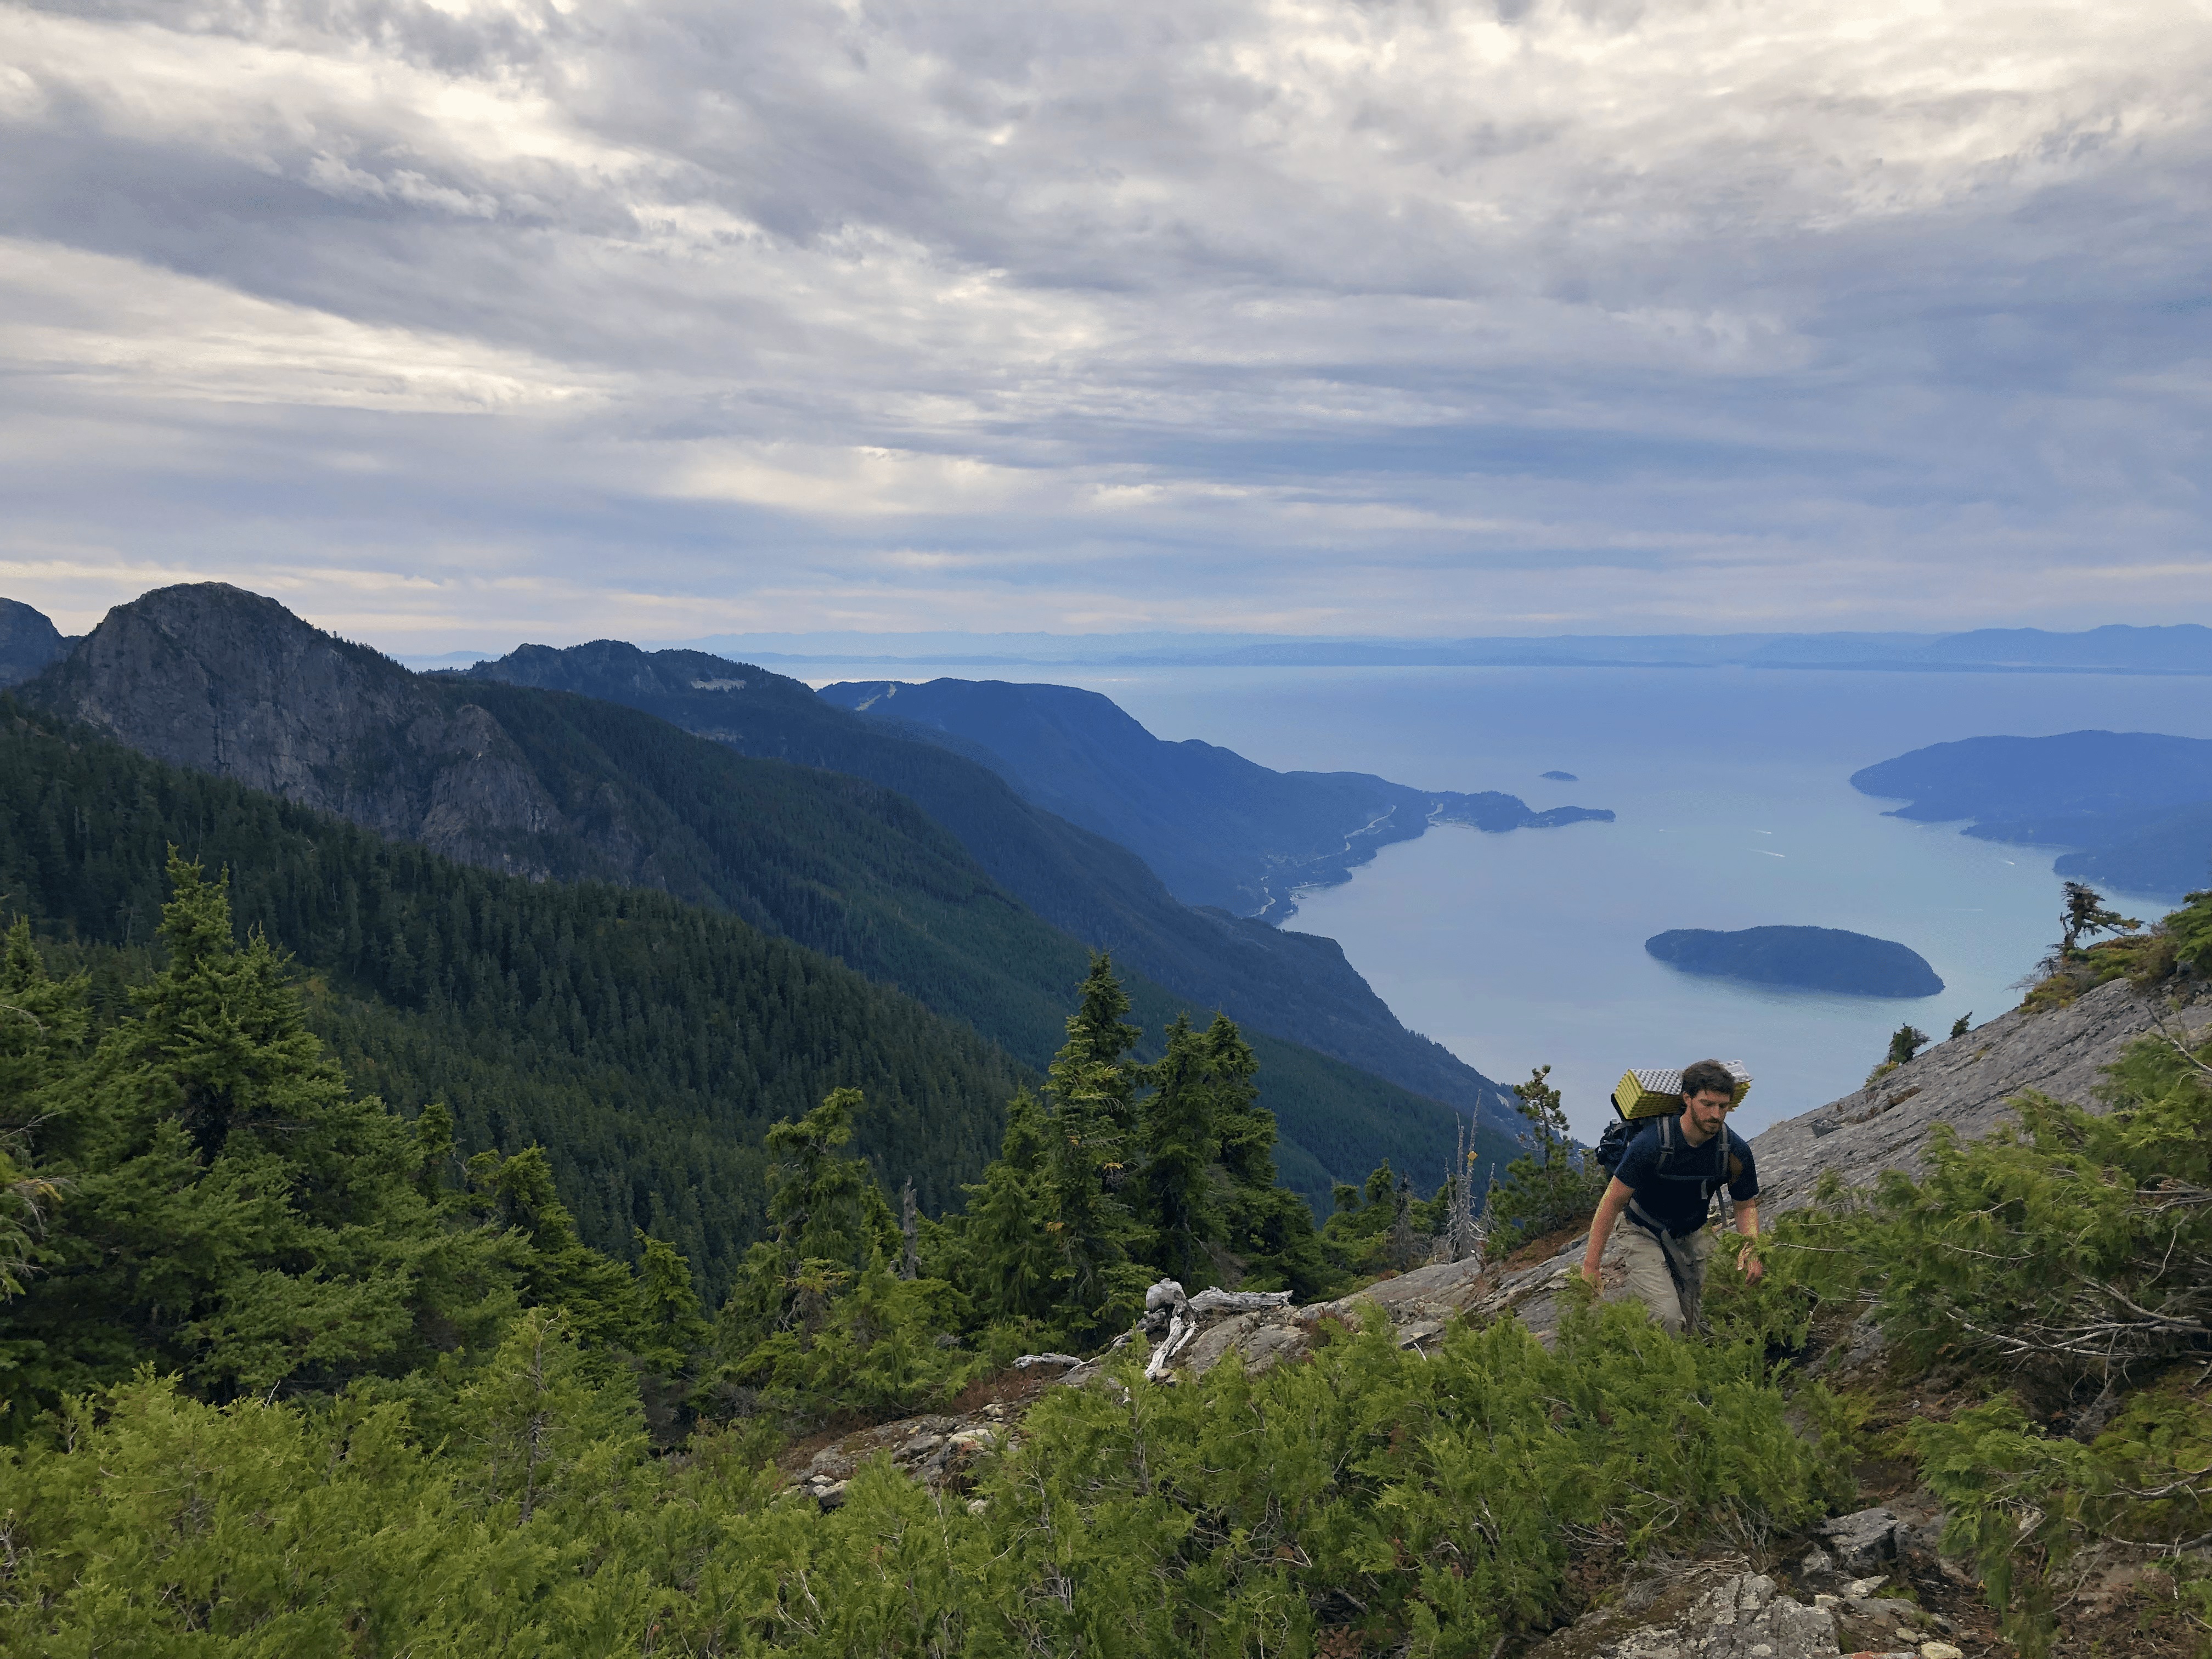
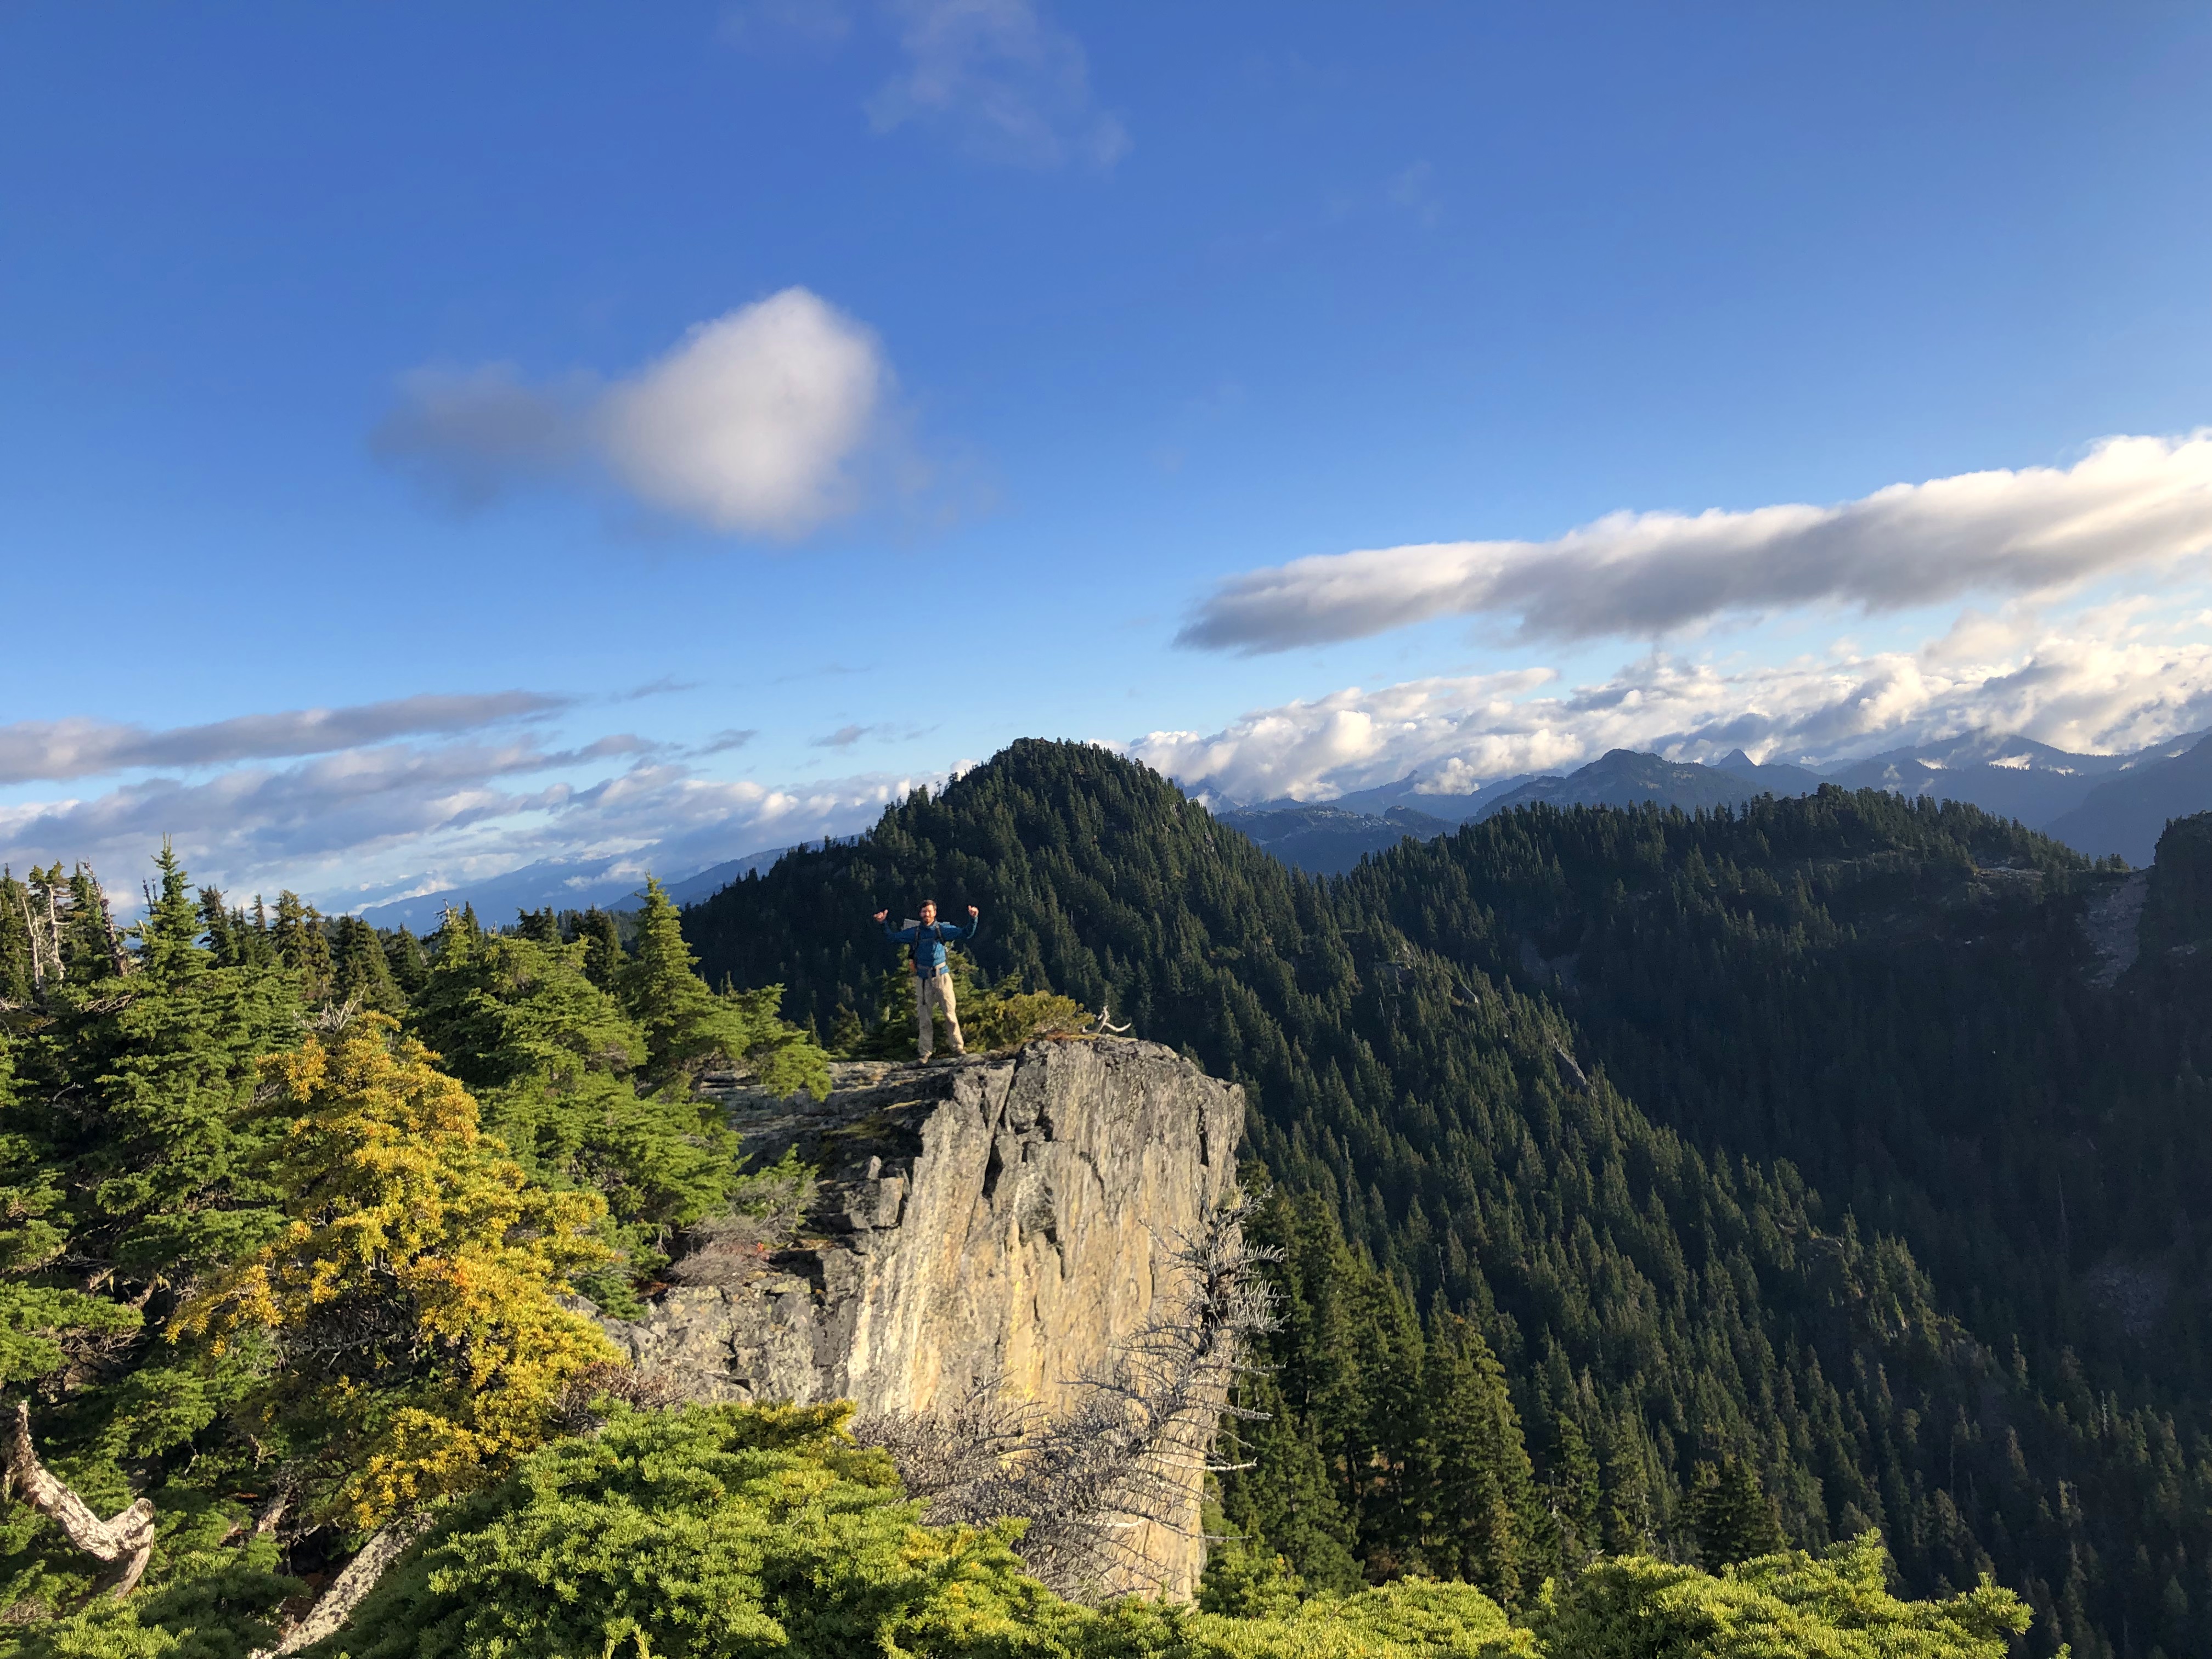
Looking to the south as we reach the summit of Hat Peak with Mount Harvey, and Howe Sound seen behind us.

Panorama view from Hat Peak showing the approximate route we would do around the basin.
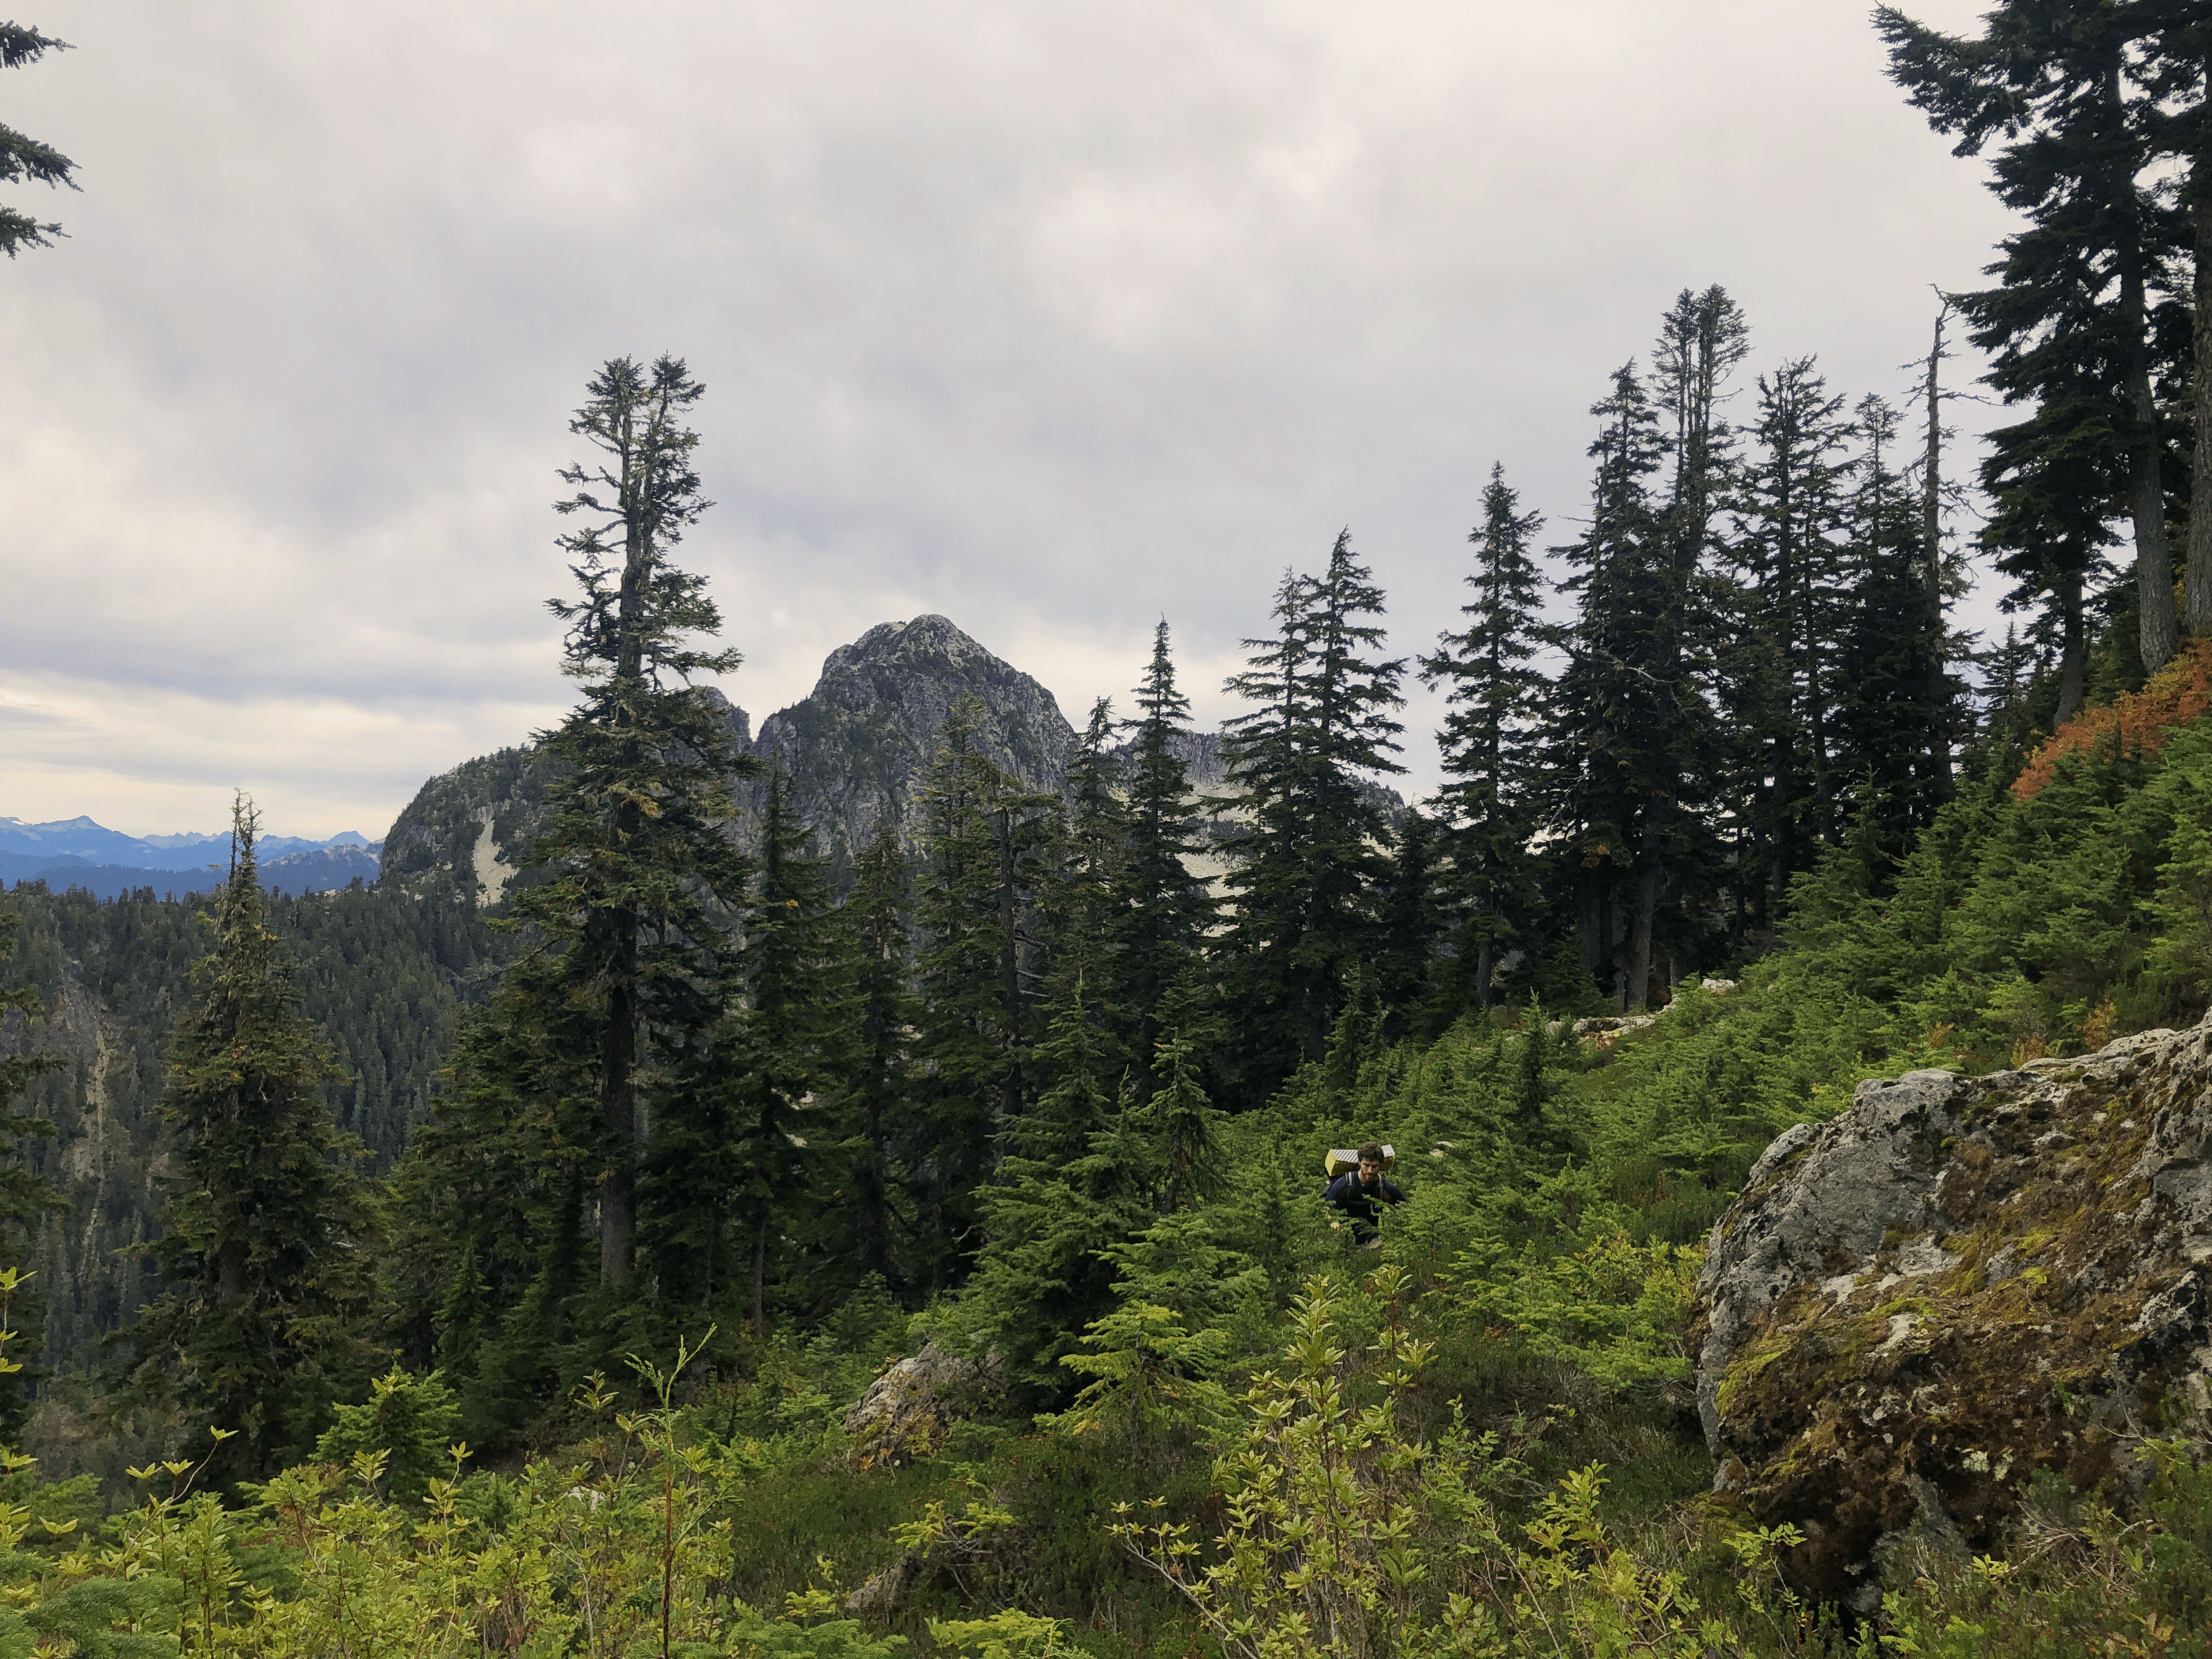
Bushwacking north of Wettin Peak. Mount Hanover is seen behind us to the southeast.
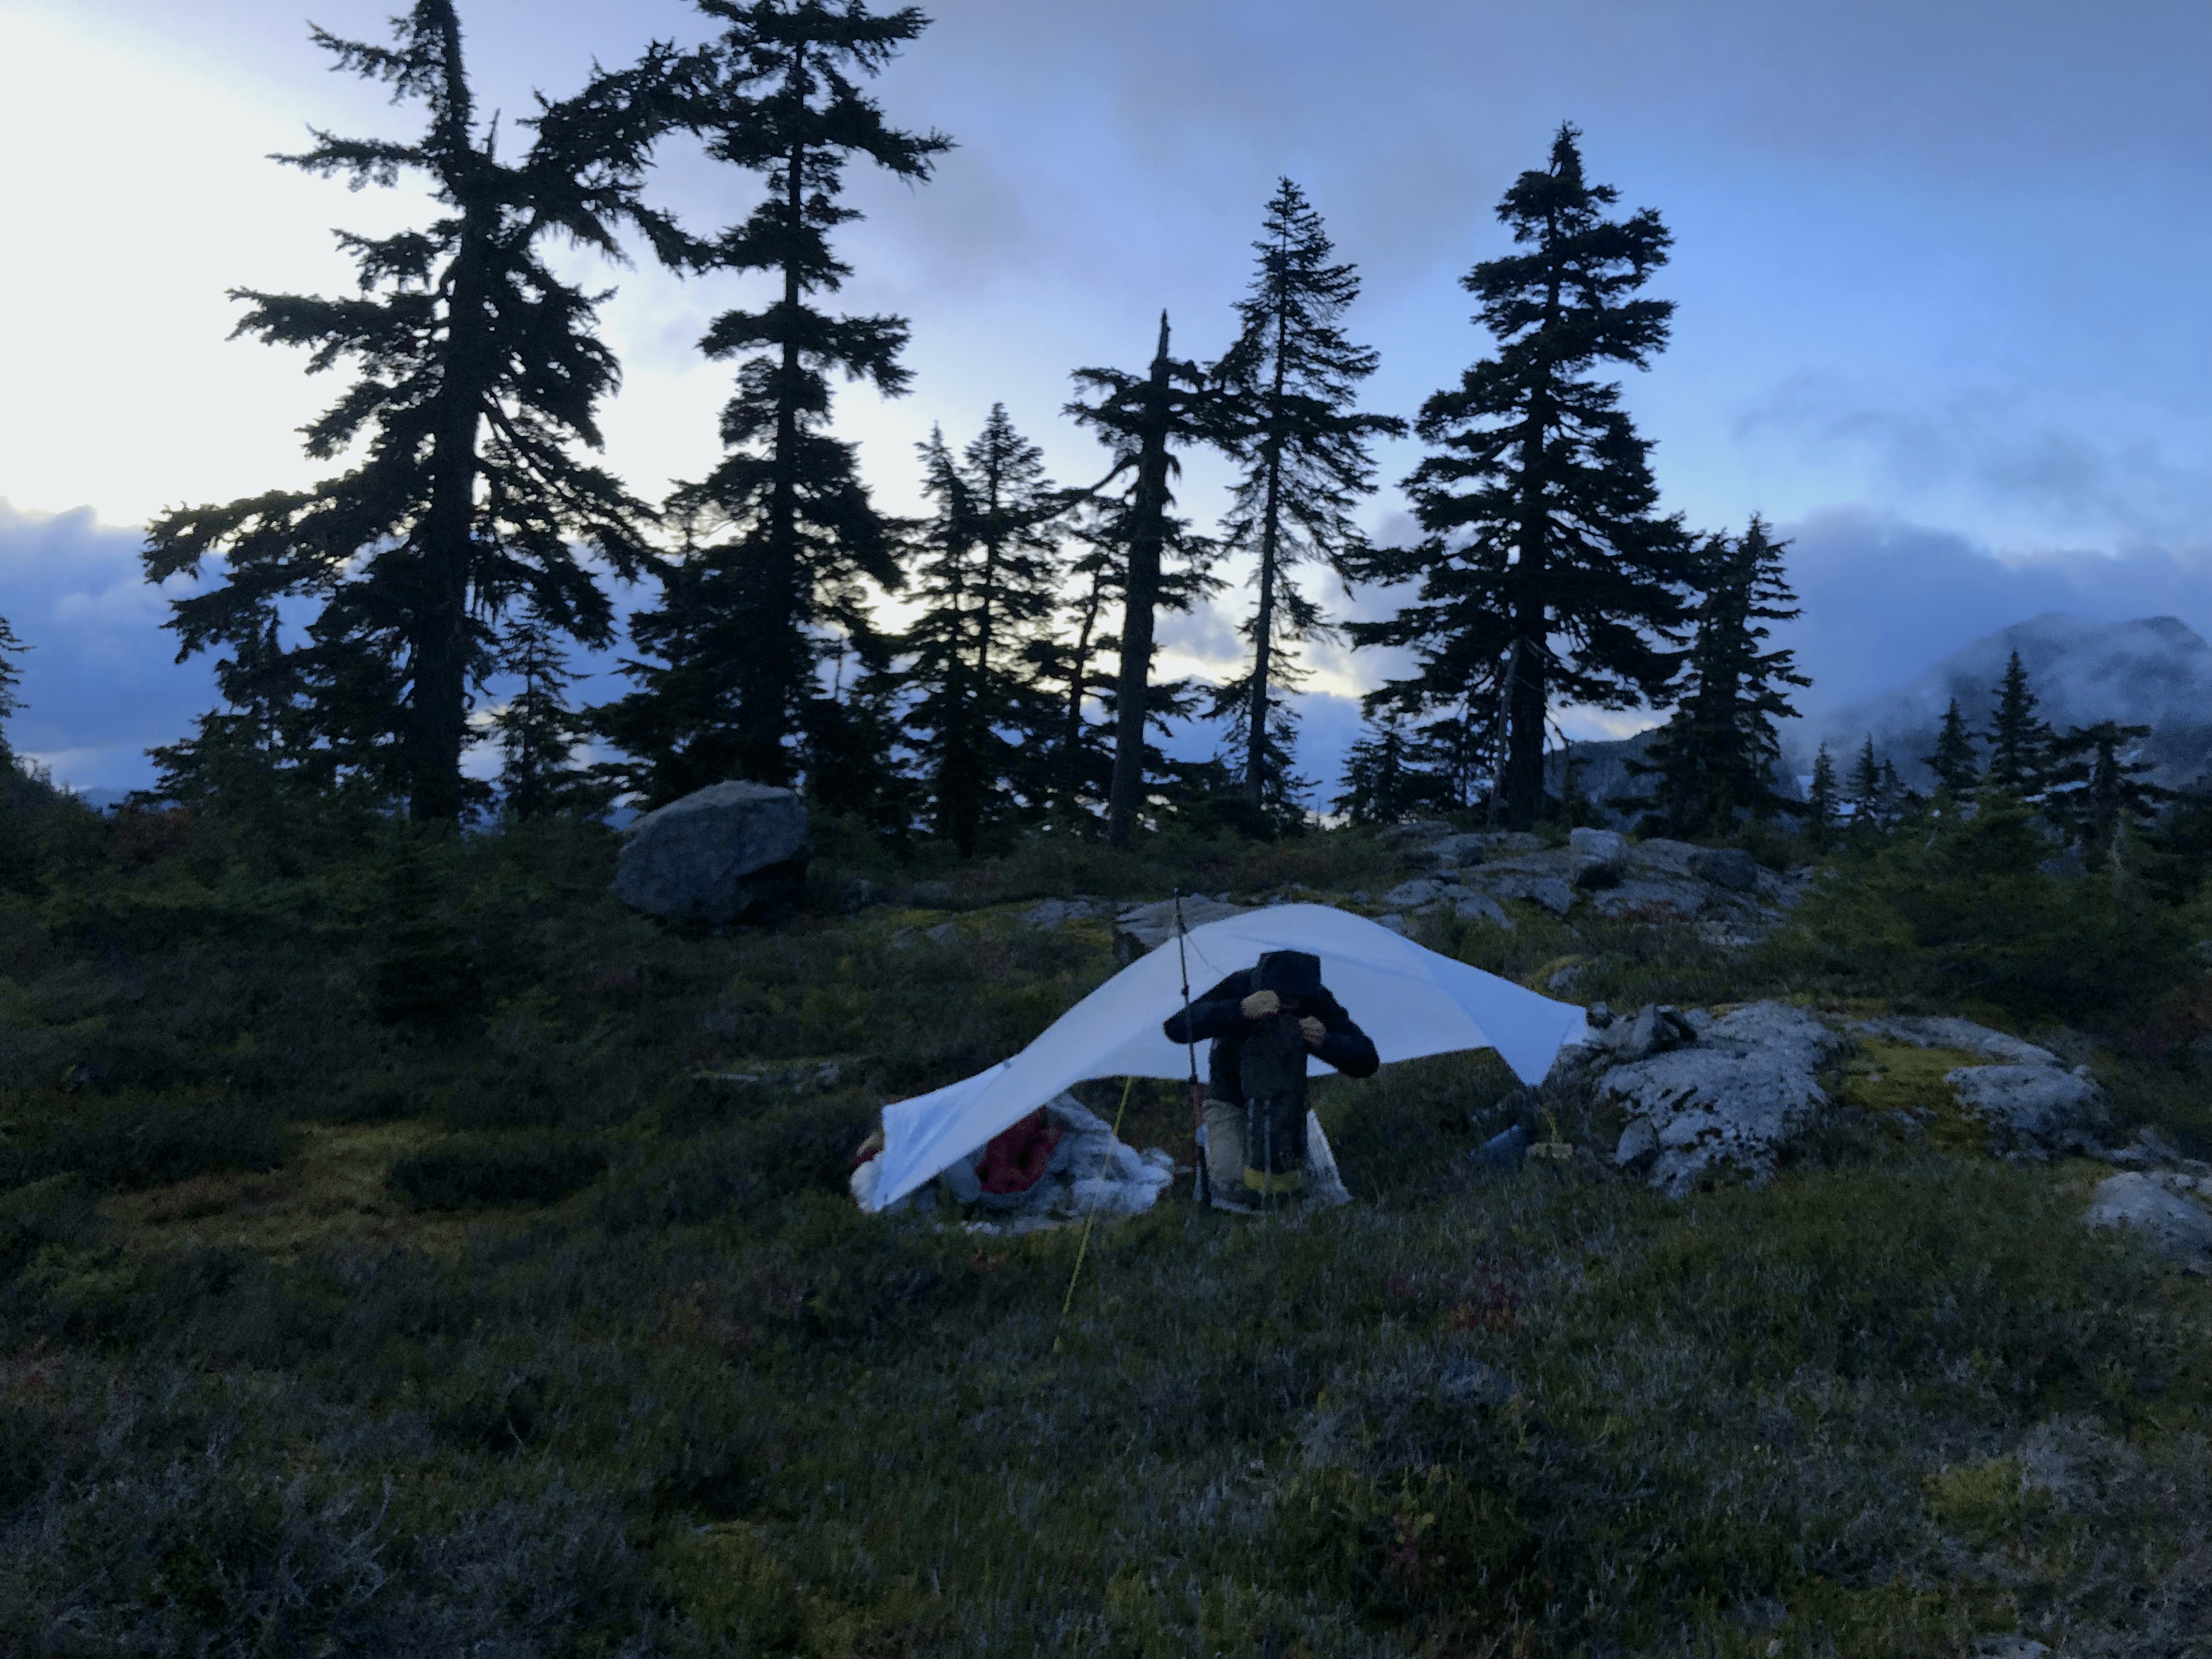
At this point it was already late in the day. With the sun setting early this time of year, we decided we would have just enough time to race up to the Mount Windsor summit and then bushwack south to a small lake for camp. At camp we made our mega brie cheese sandwiches (calling our camp: Brie Lake) and both squeezed under my already hilariously small one-person tarp as the forecast had called for rain/snow over night.
Climbing up to the Mount Windsor summit as the sun begins to set.
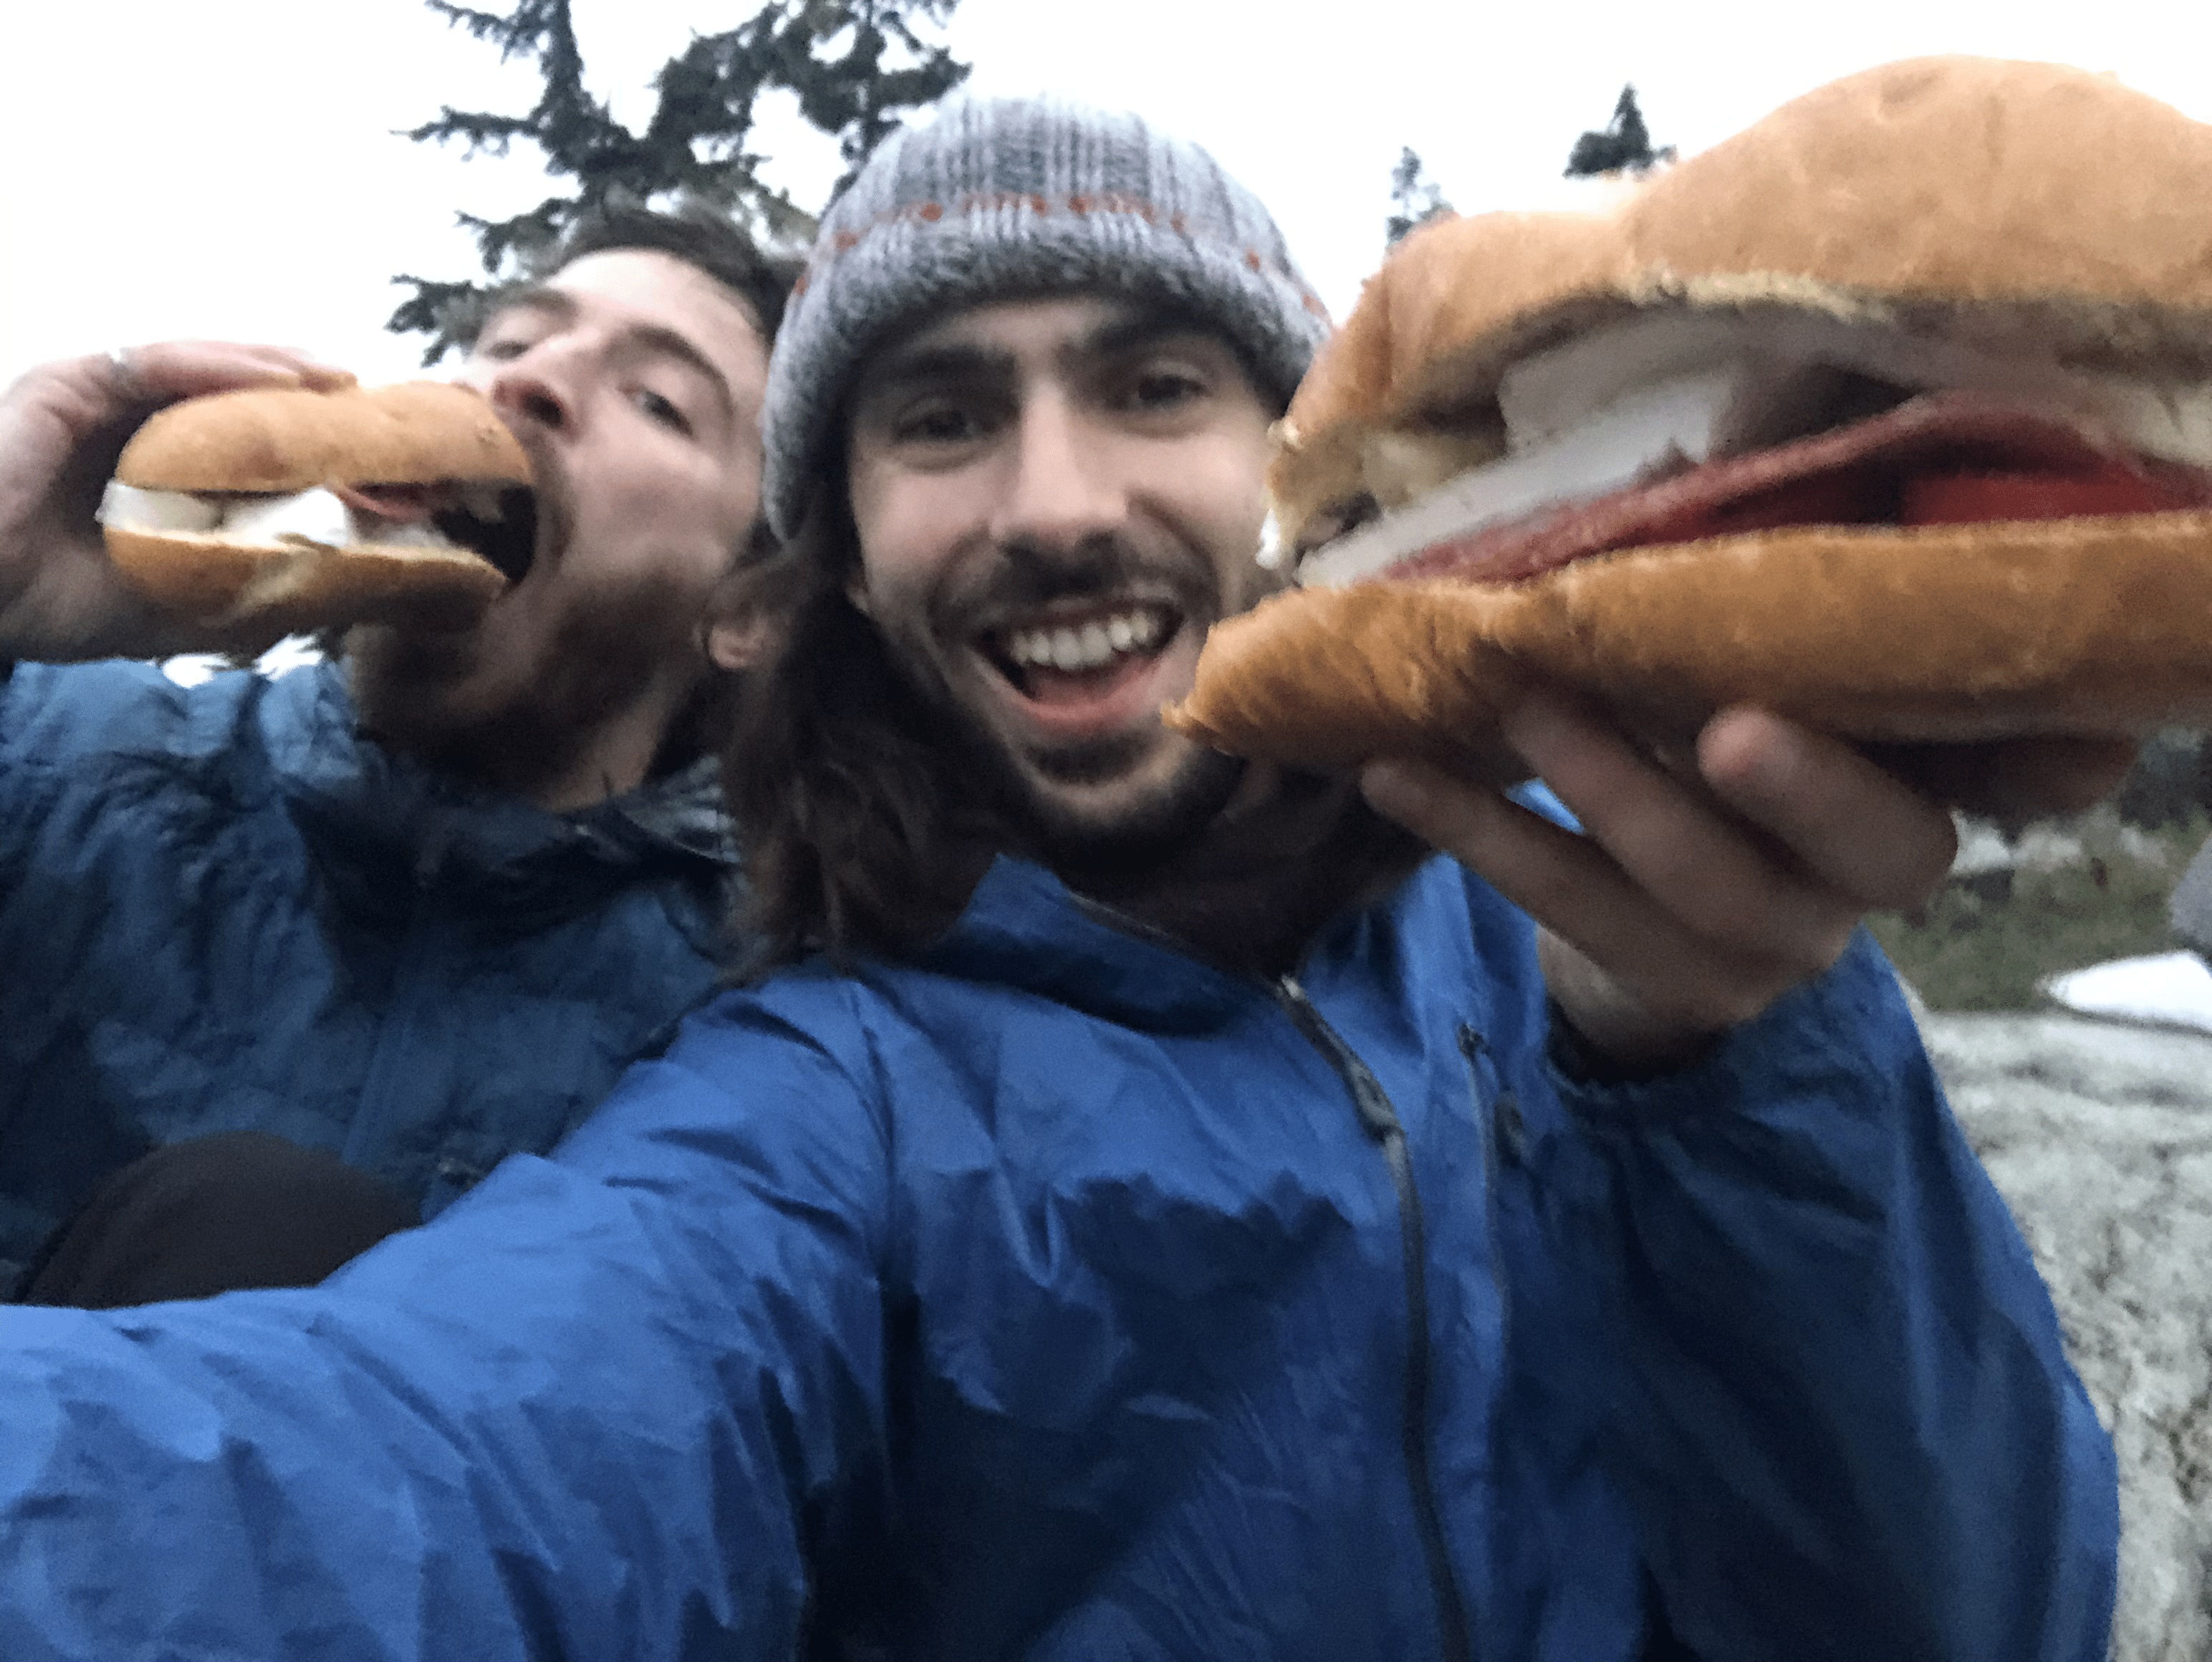
Mega brie cheese sandwiches for dinner.
After a frigid night, we packed up and got back on the flagged route to the basin’s eastern peaks of Gotha Peak and Coburg Peak (and two other bumps we called the Galactic Ass Peaks with the saddle point between them naturally being the Intergalactic Saddle). These summits involved some tricky scrambling, but fixed ropes (which were in great shape) were supplied when needed.
Packing up camp in the morning with frozen fingers.
Errol on one of the bumps north of Gotha Peak which we called “Galactic Ass Peak”. Mount Windsor seen to the north.
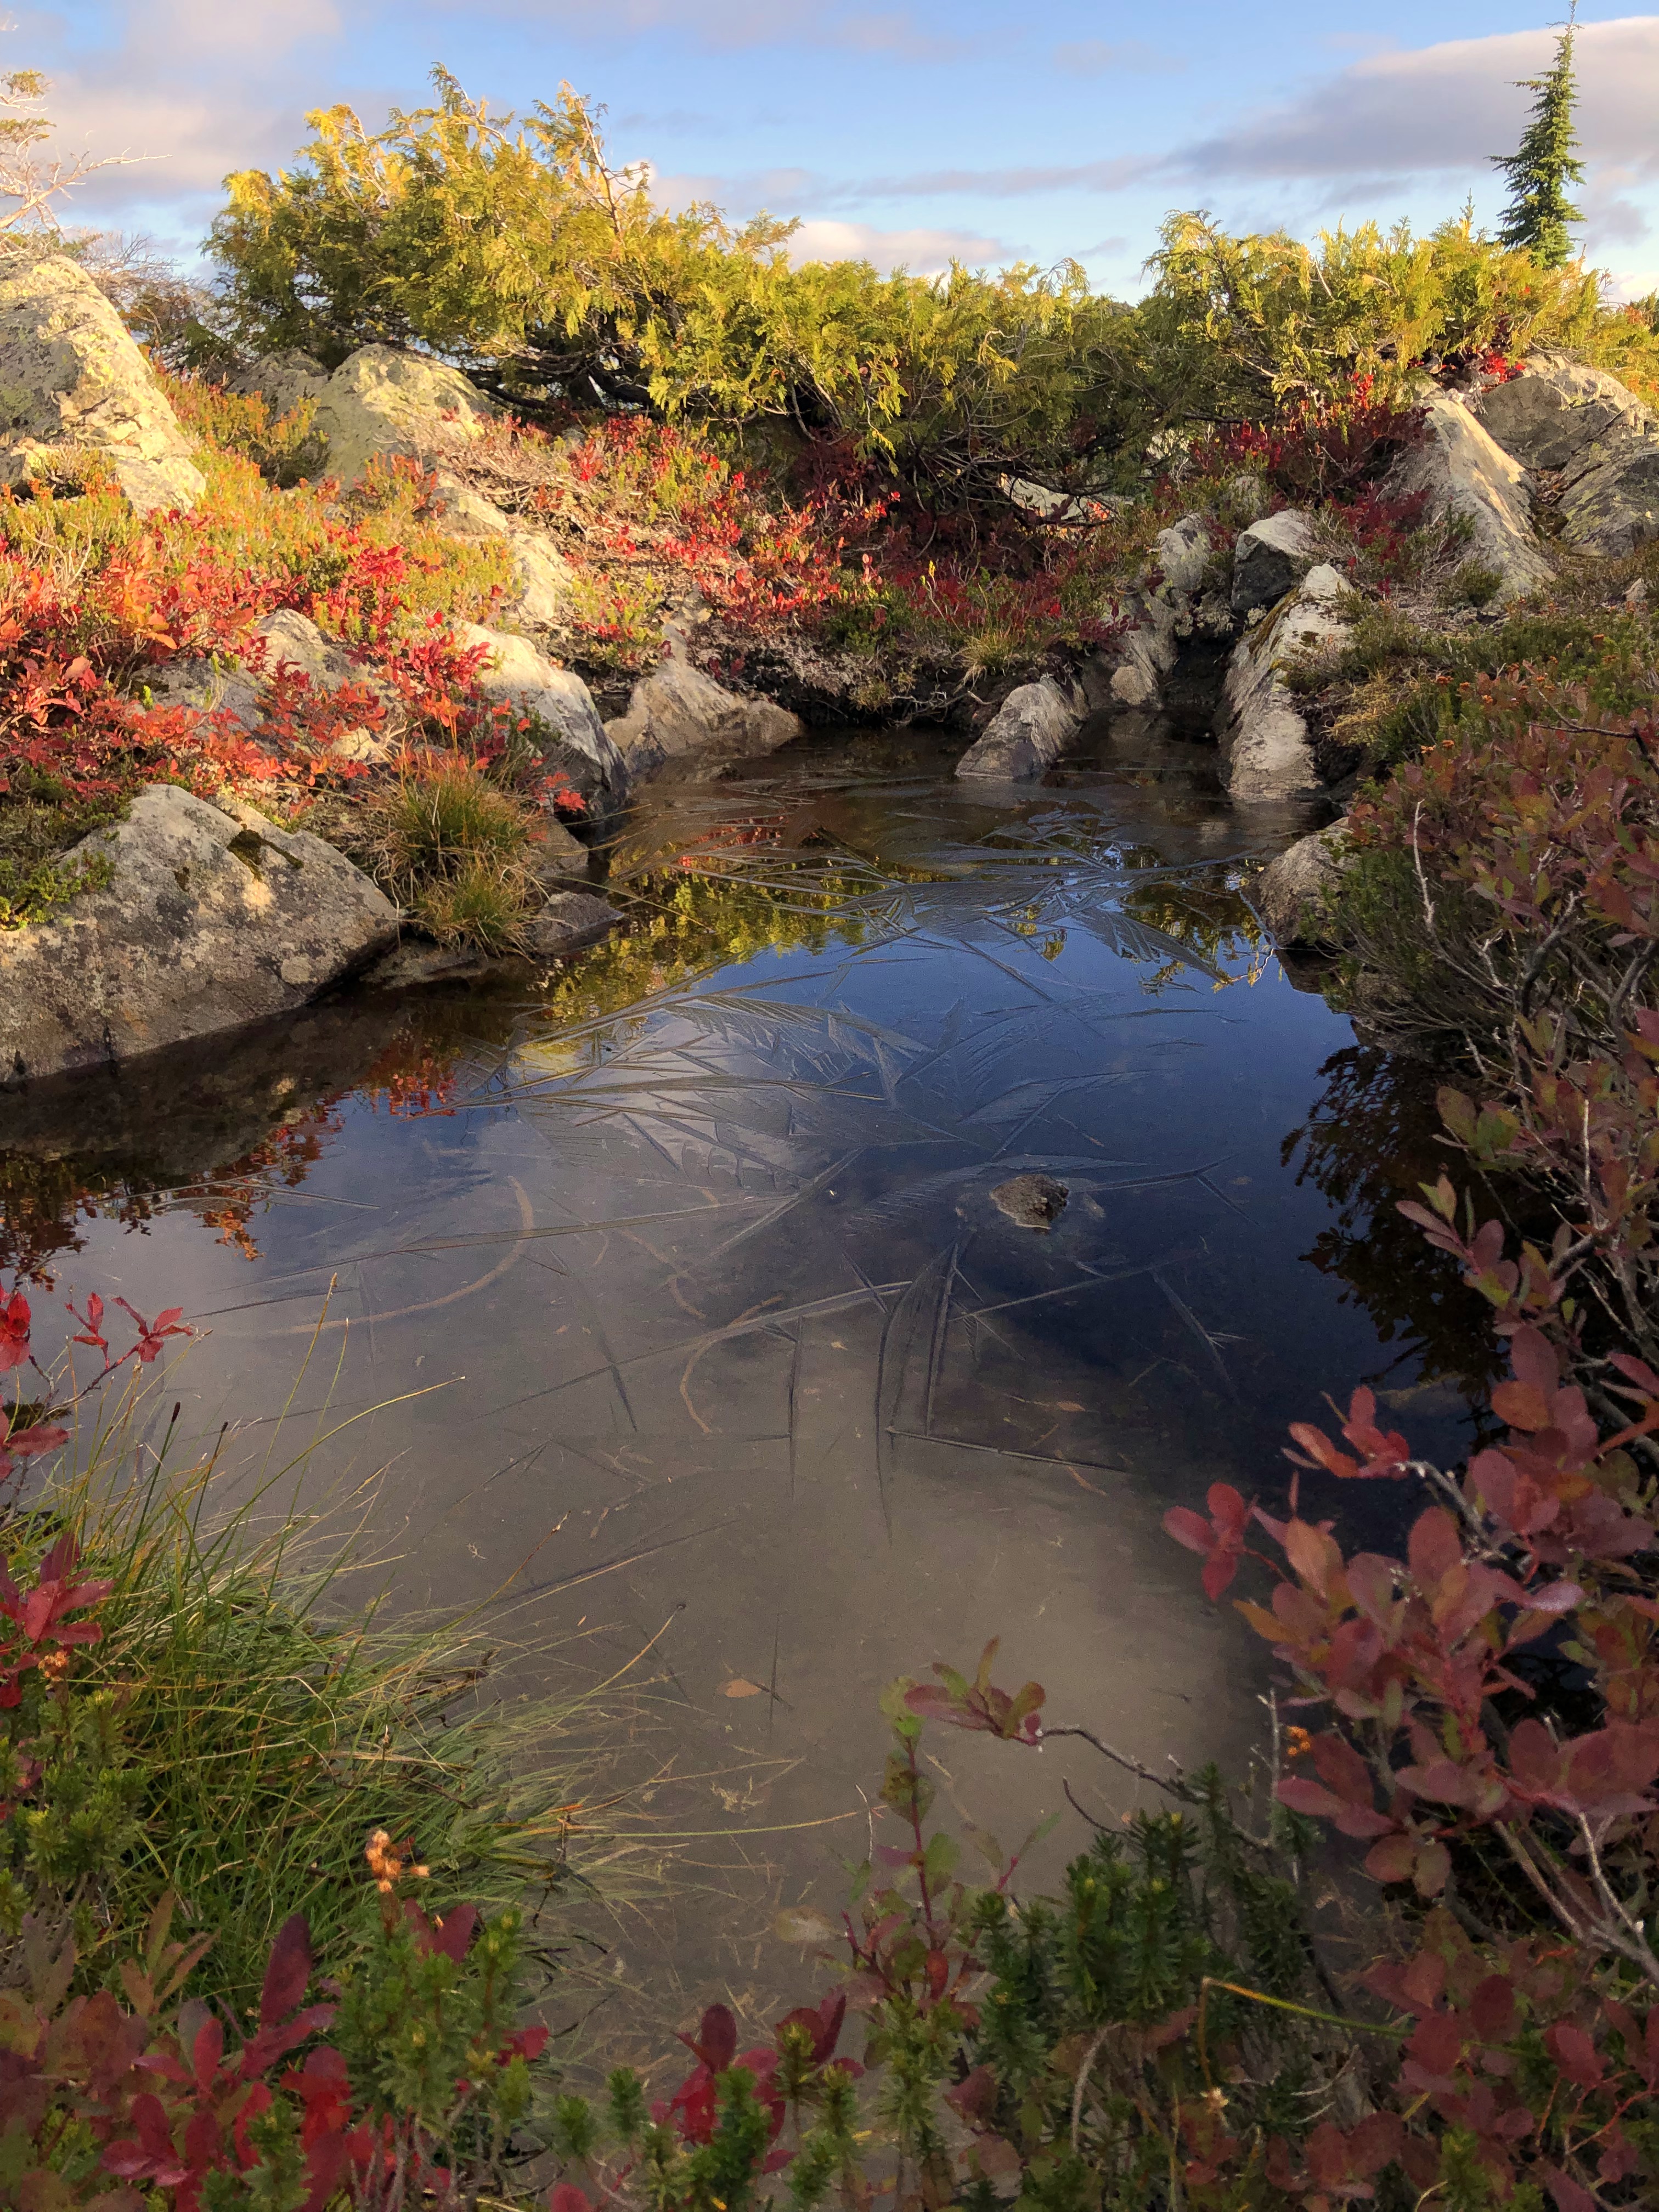
Frozen water tarns and fresh overnight snow seen on distant peaks of Nch’ḵay (Mount Garibaldi) and Mamquam Mountain got us stoked for the ski season to come.
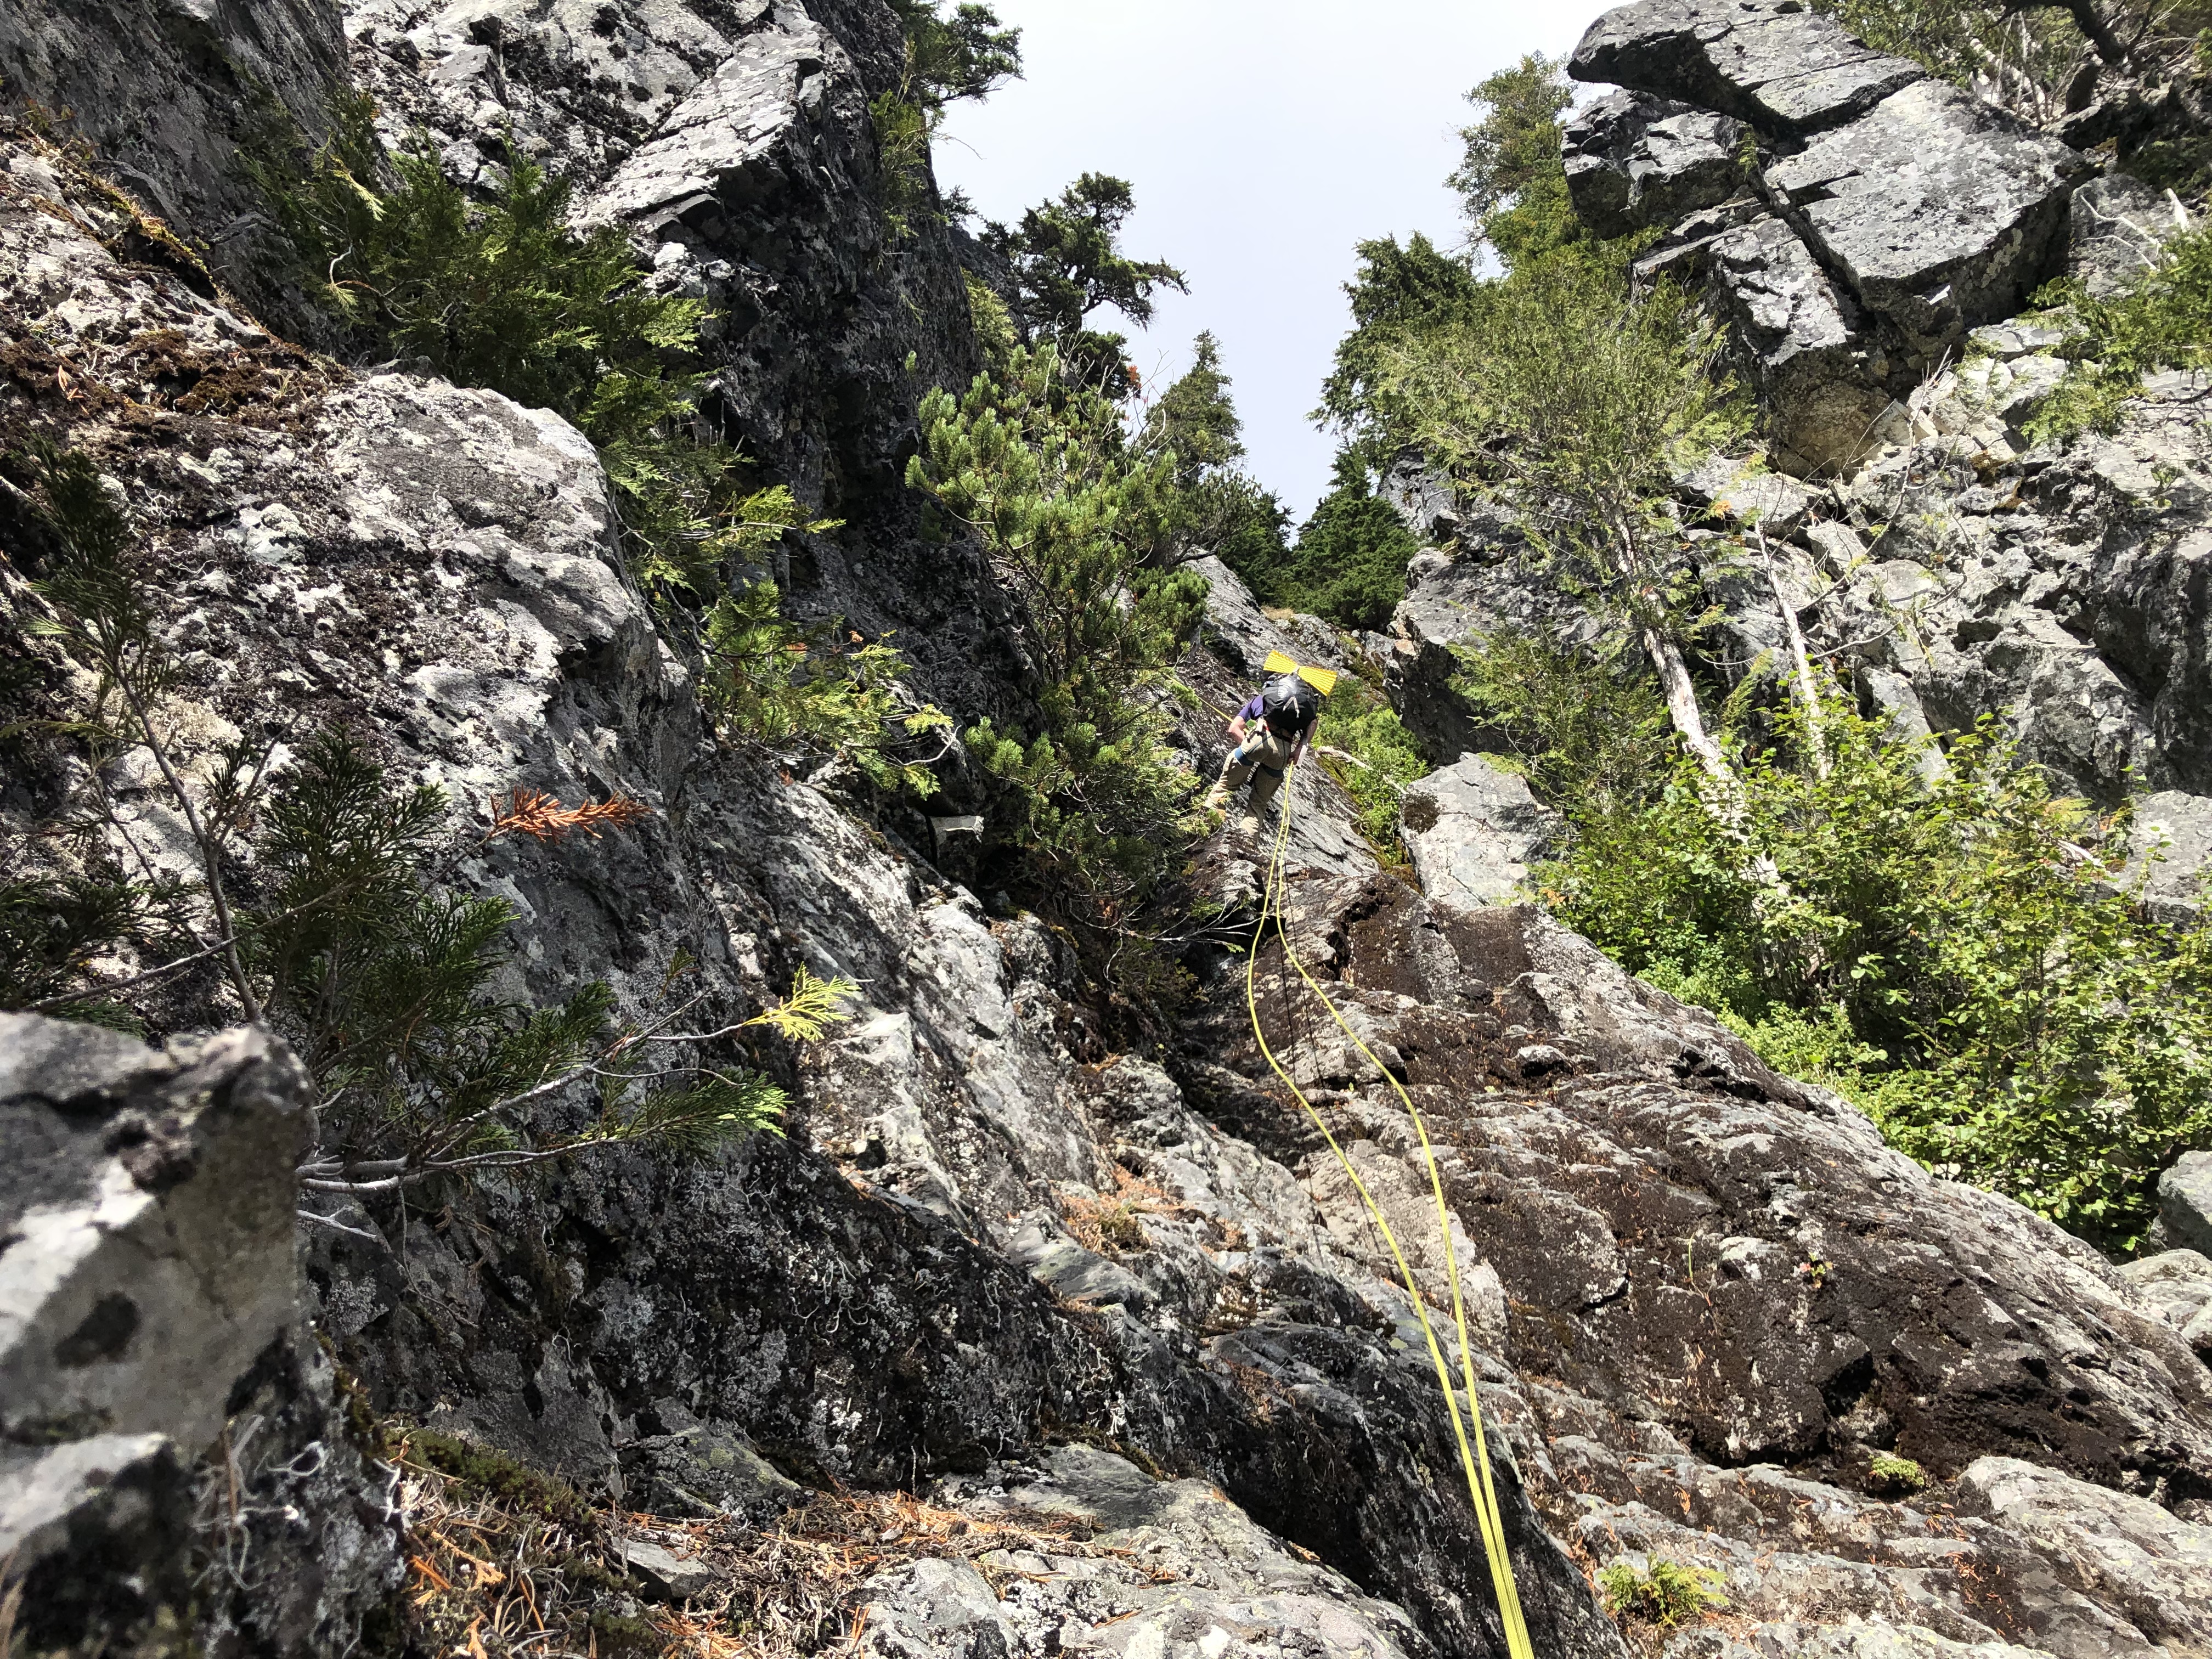
After reaching the summit of Coburg Peak, the real fun began. I had only found a couple of trip reports of people climbing the south face of Coburg Peak (none of a successful descent) and the route was described as “highly NOT recommended; I won’t ever do it again” -oldmatt 2016. For this reason, we had carried gear to rappel this face and ended up doing 5x30m rappels over many cliff bands of vertical bush.

Rappelling off the south face of Coburg Peak through vertical bush and into the unknown.
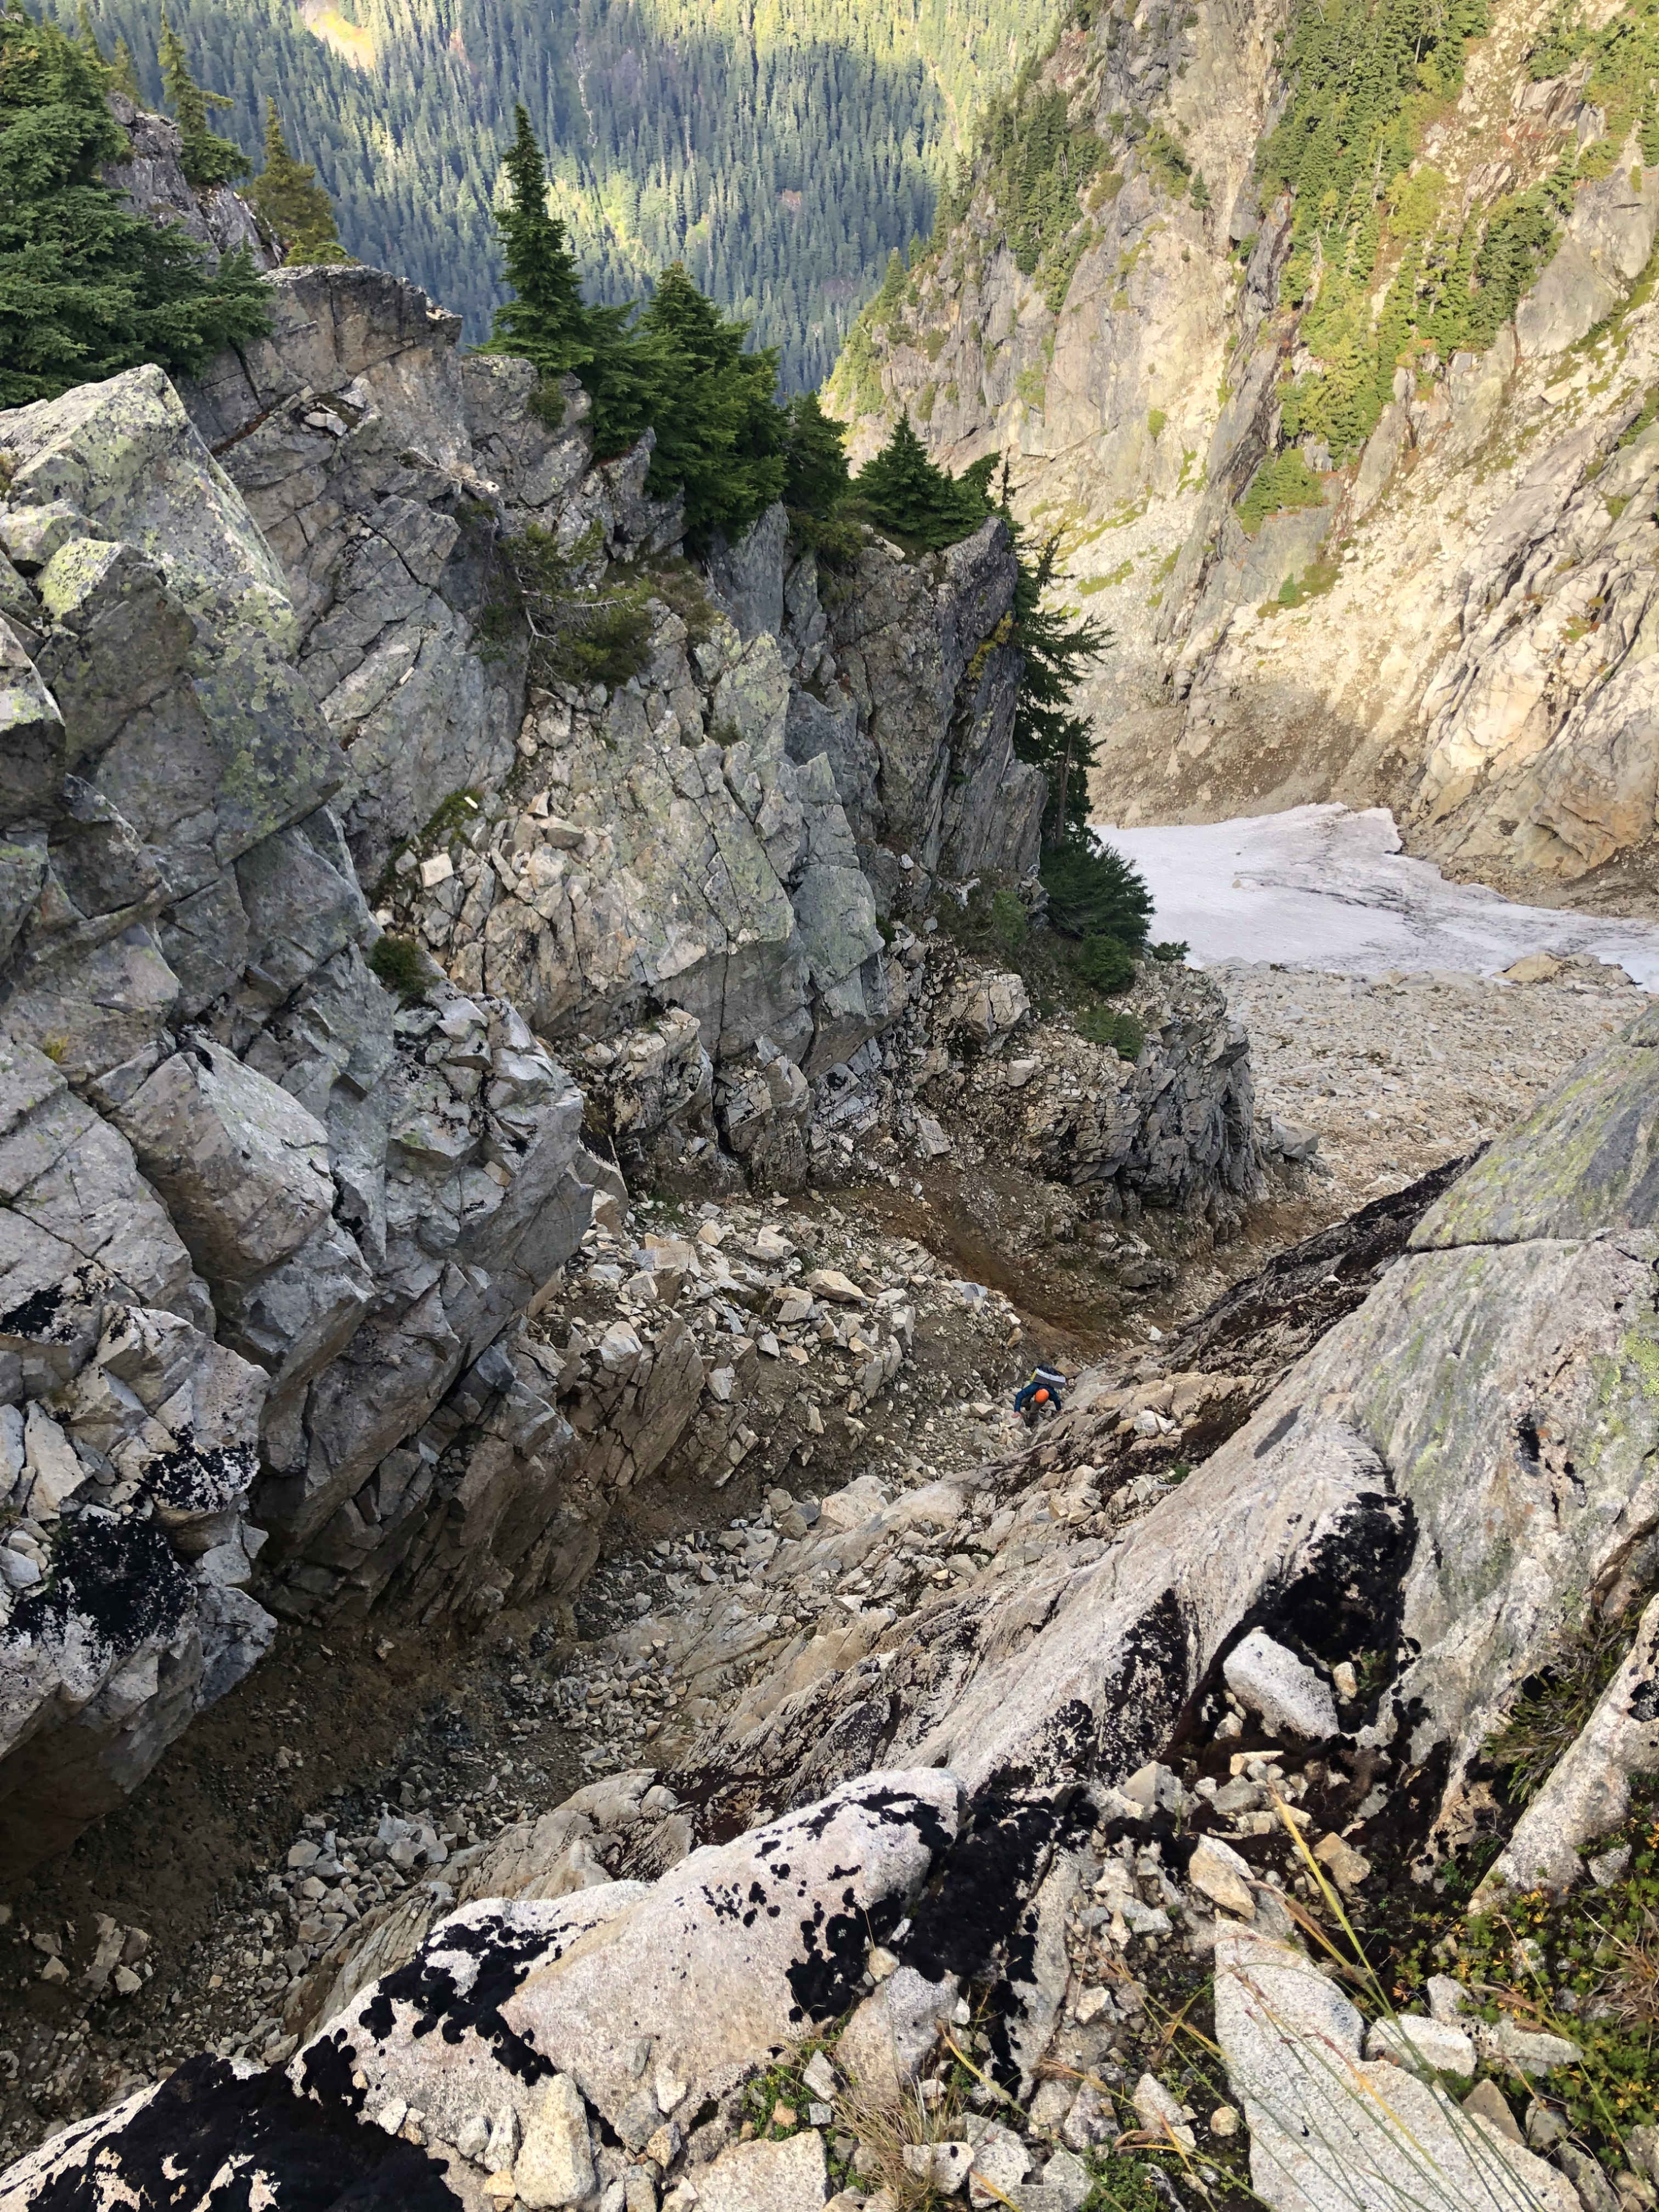
Errol reaching the bottom of our rappels, passing over many cliff bands.
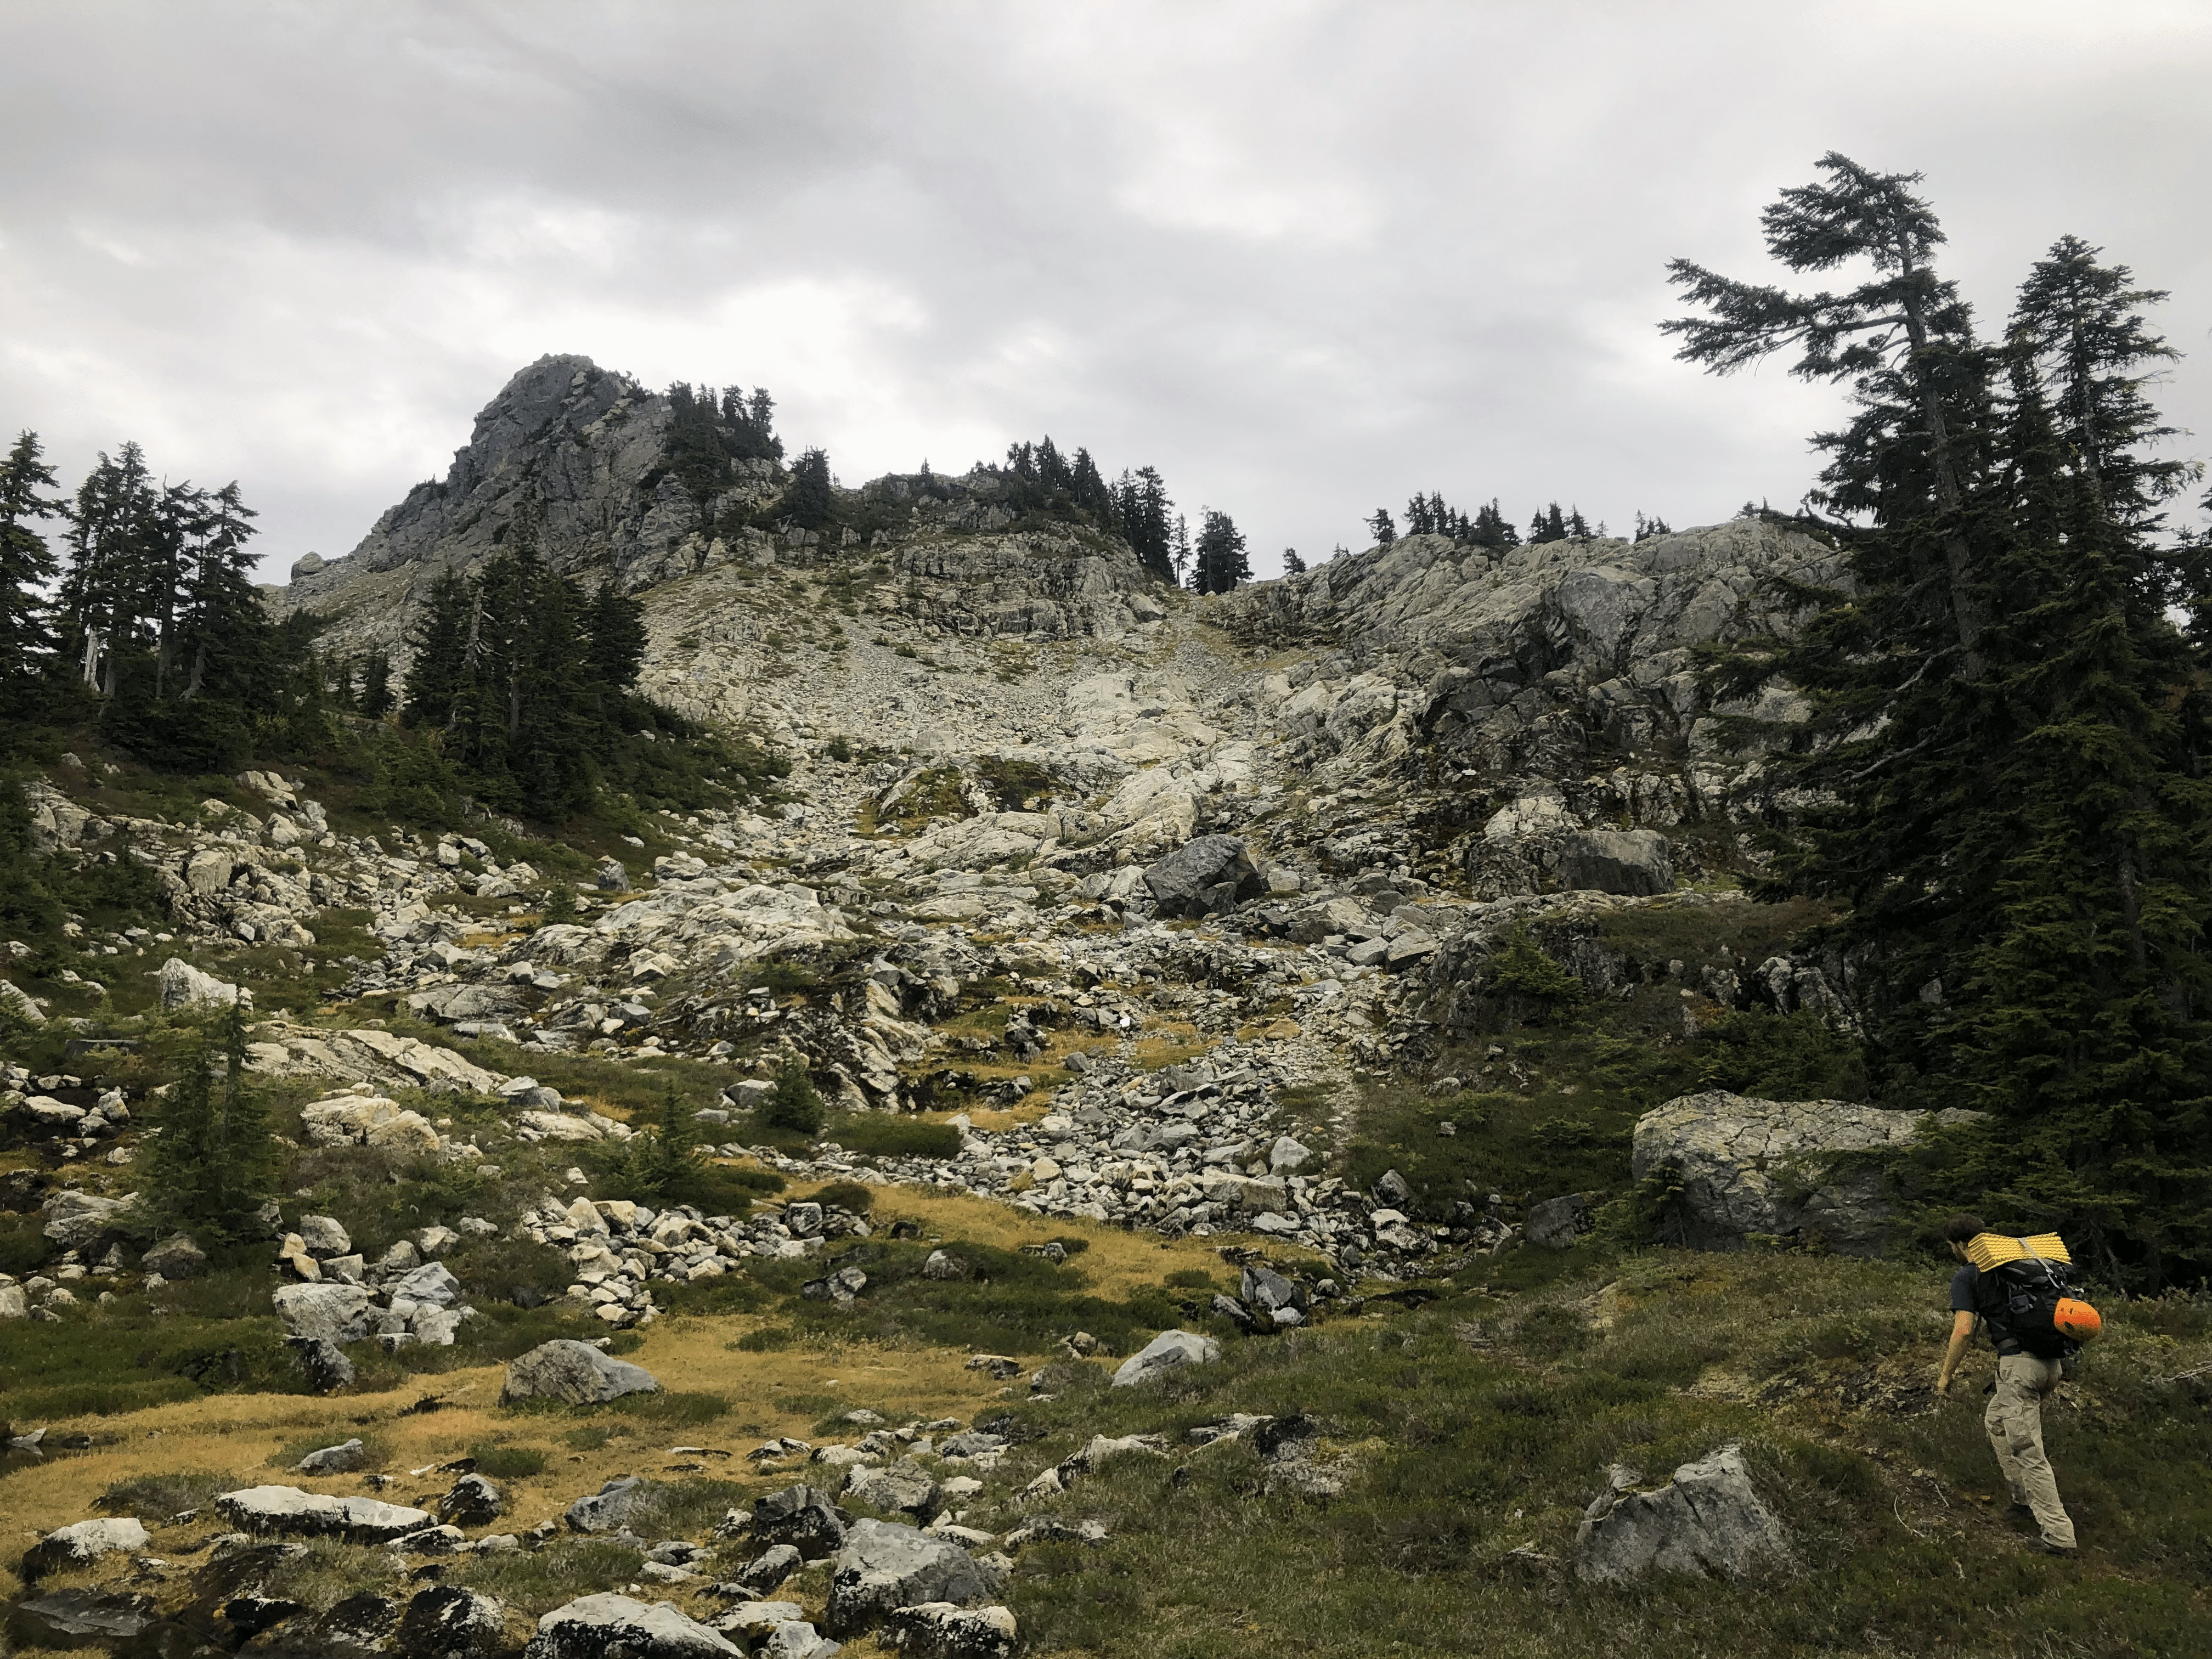
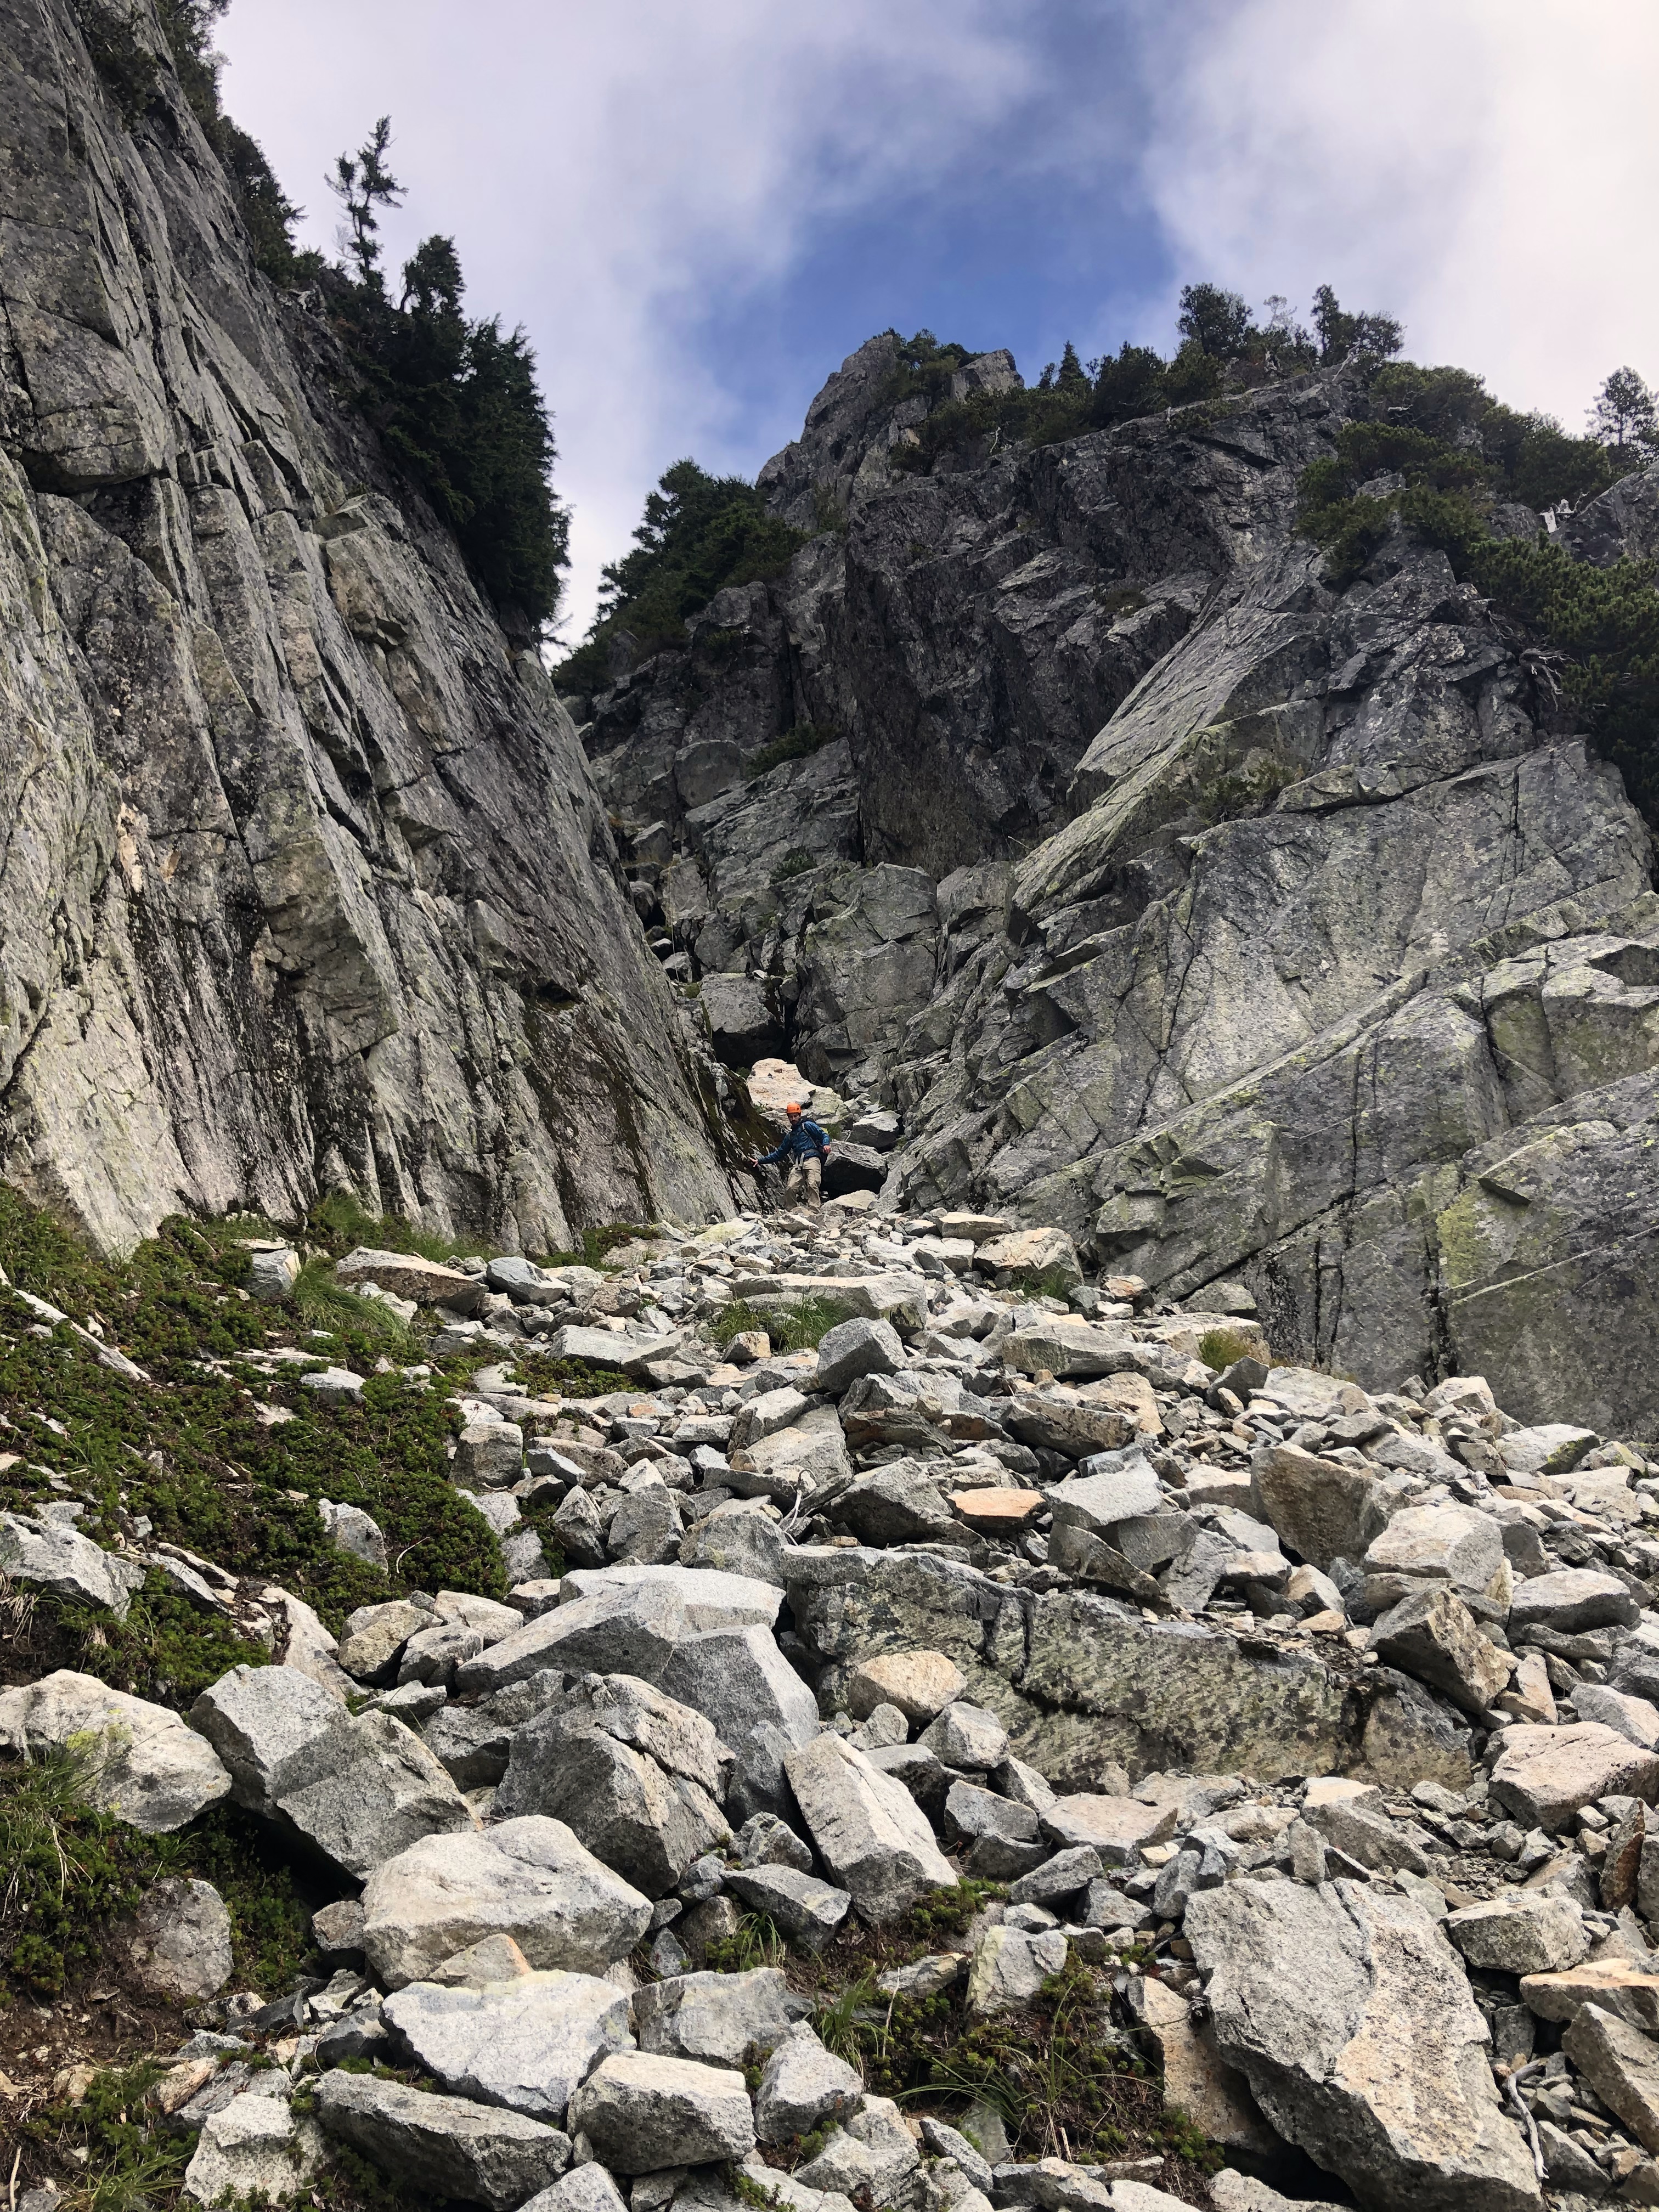
Back on reasonable terrain, we stopped by some lovely meadows for lunch and began climbing a never-ending boulder field up the backside (relative to the common view) of Mount Hanover. From here, the route beta I had to gain the east ridge of Mount Hanover looked heinous from below: a steep and loose pile of talus rubble (where each step forward would send you two steps backwards and cause an avalanche of rock debris). Knowing that others had descended rather than ascended this feature, we began looking for any potential alternatives. What we came across was a gully system which headed towards the summit and included ledge features allowing you to escape the gully onto the main ridgeline. Climbing the gully swiftly and one at a time, we eventually found a suitable exit onto the cruisy east ridge and up to the Mount Hanover summit. This route, although requiring maybe one or two 4th class moves, worked quite well and I would pick it again over the loose choss alternative.
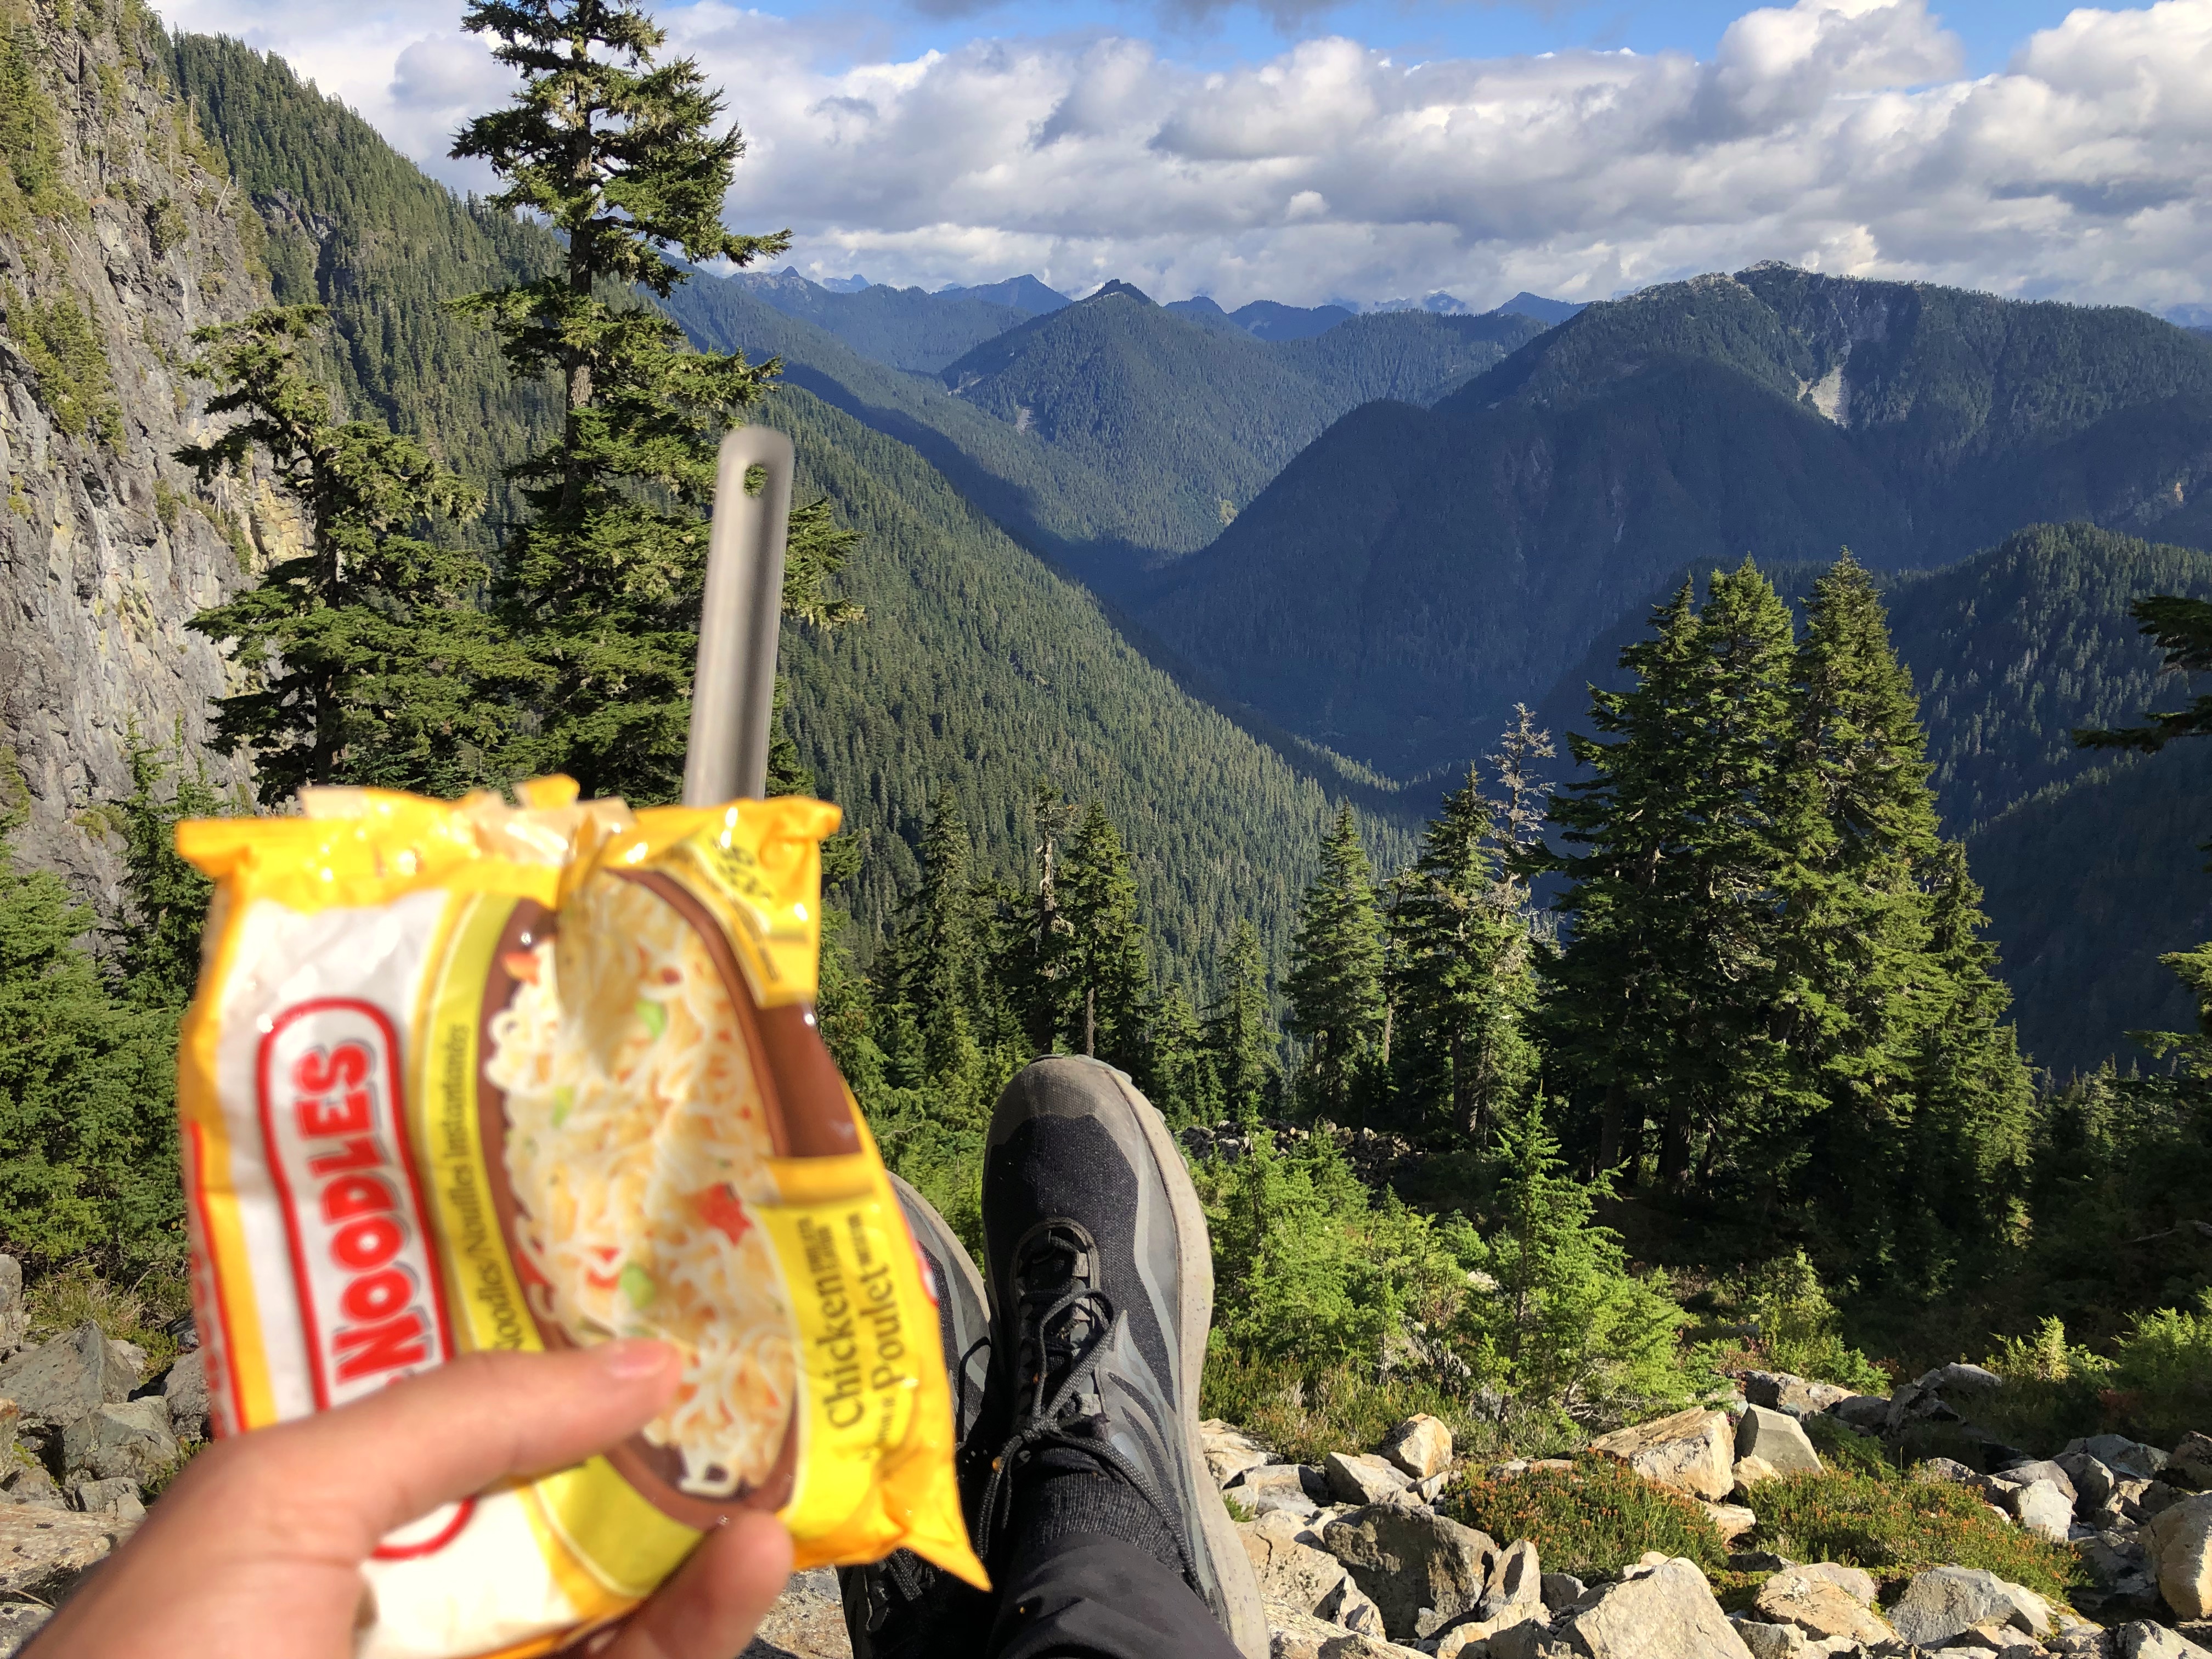
Looking east into the Capilano Water Shed and towards the obscure mountains of Appian Mountain and Drone Peak. Enjoying my favourite snack of raw ramen.
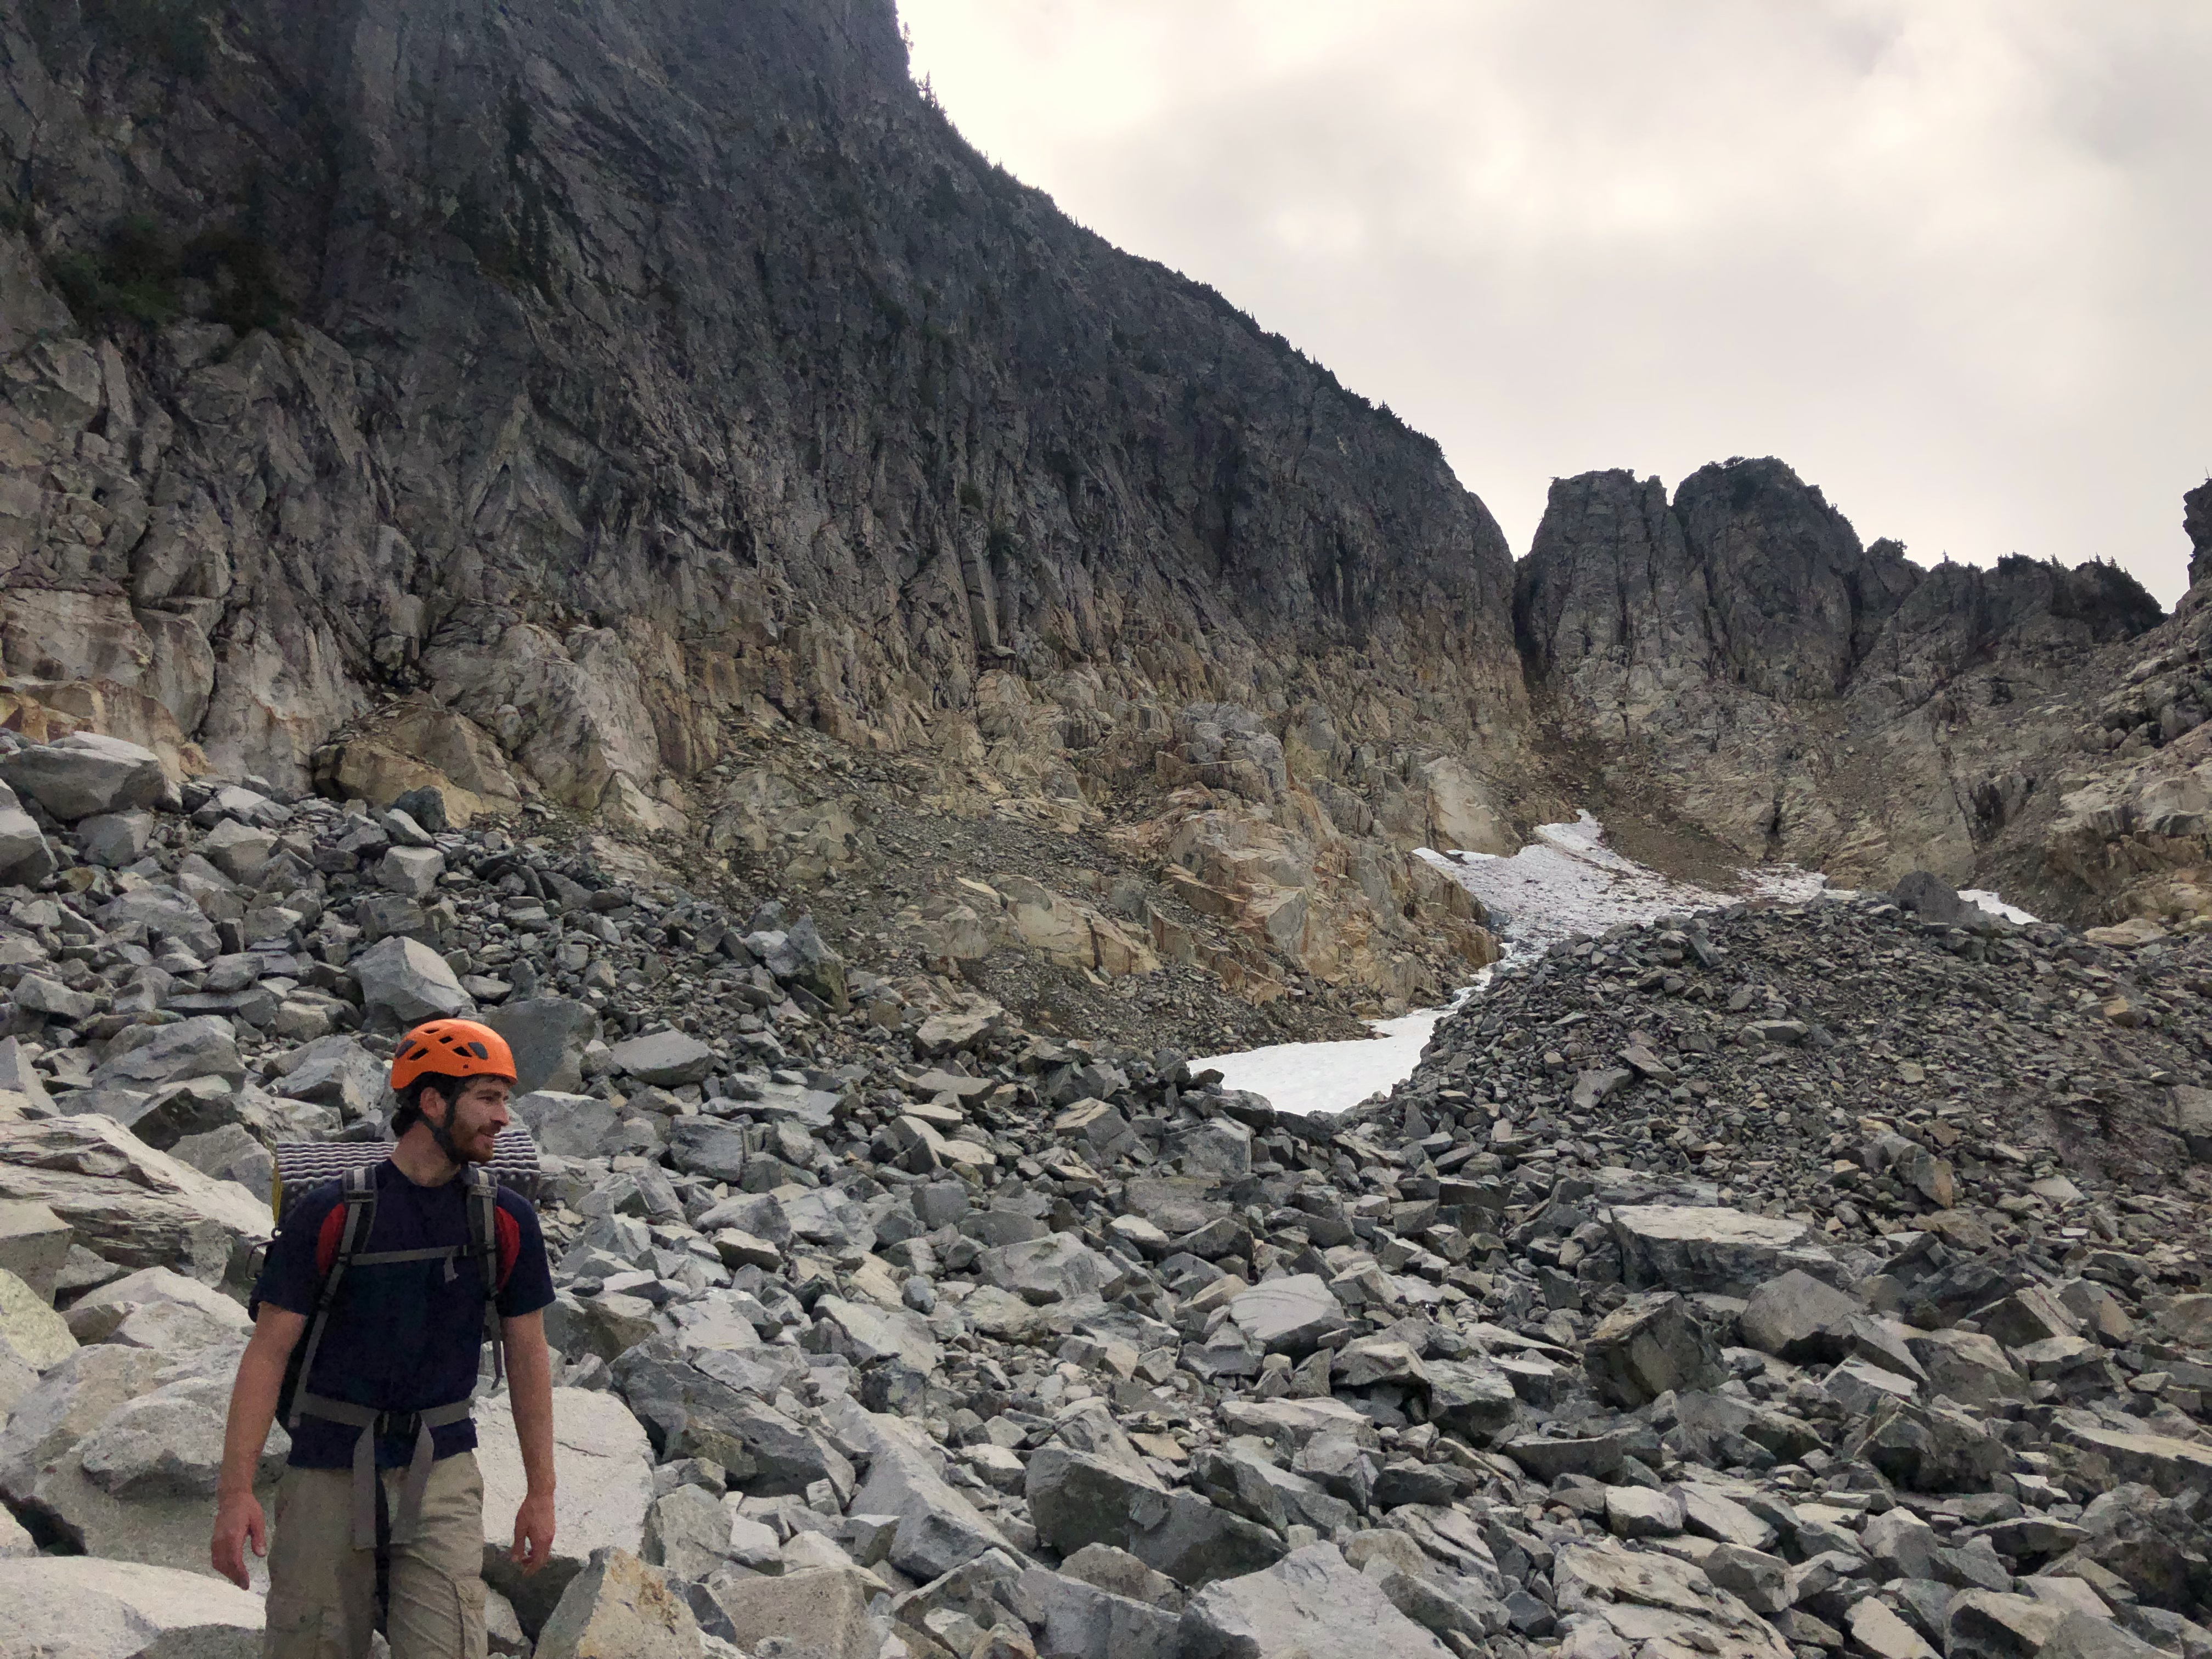
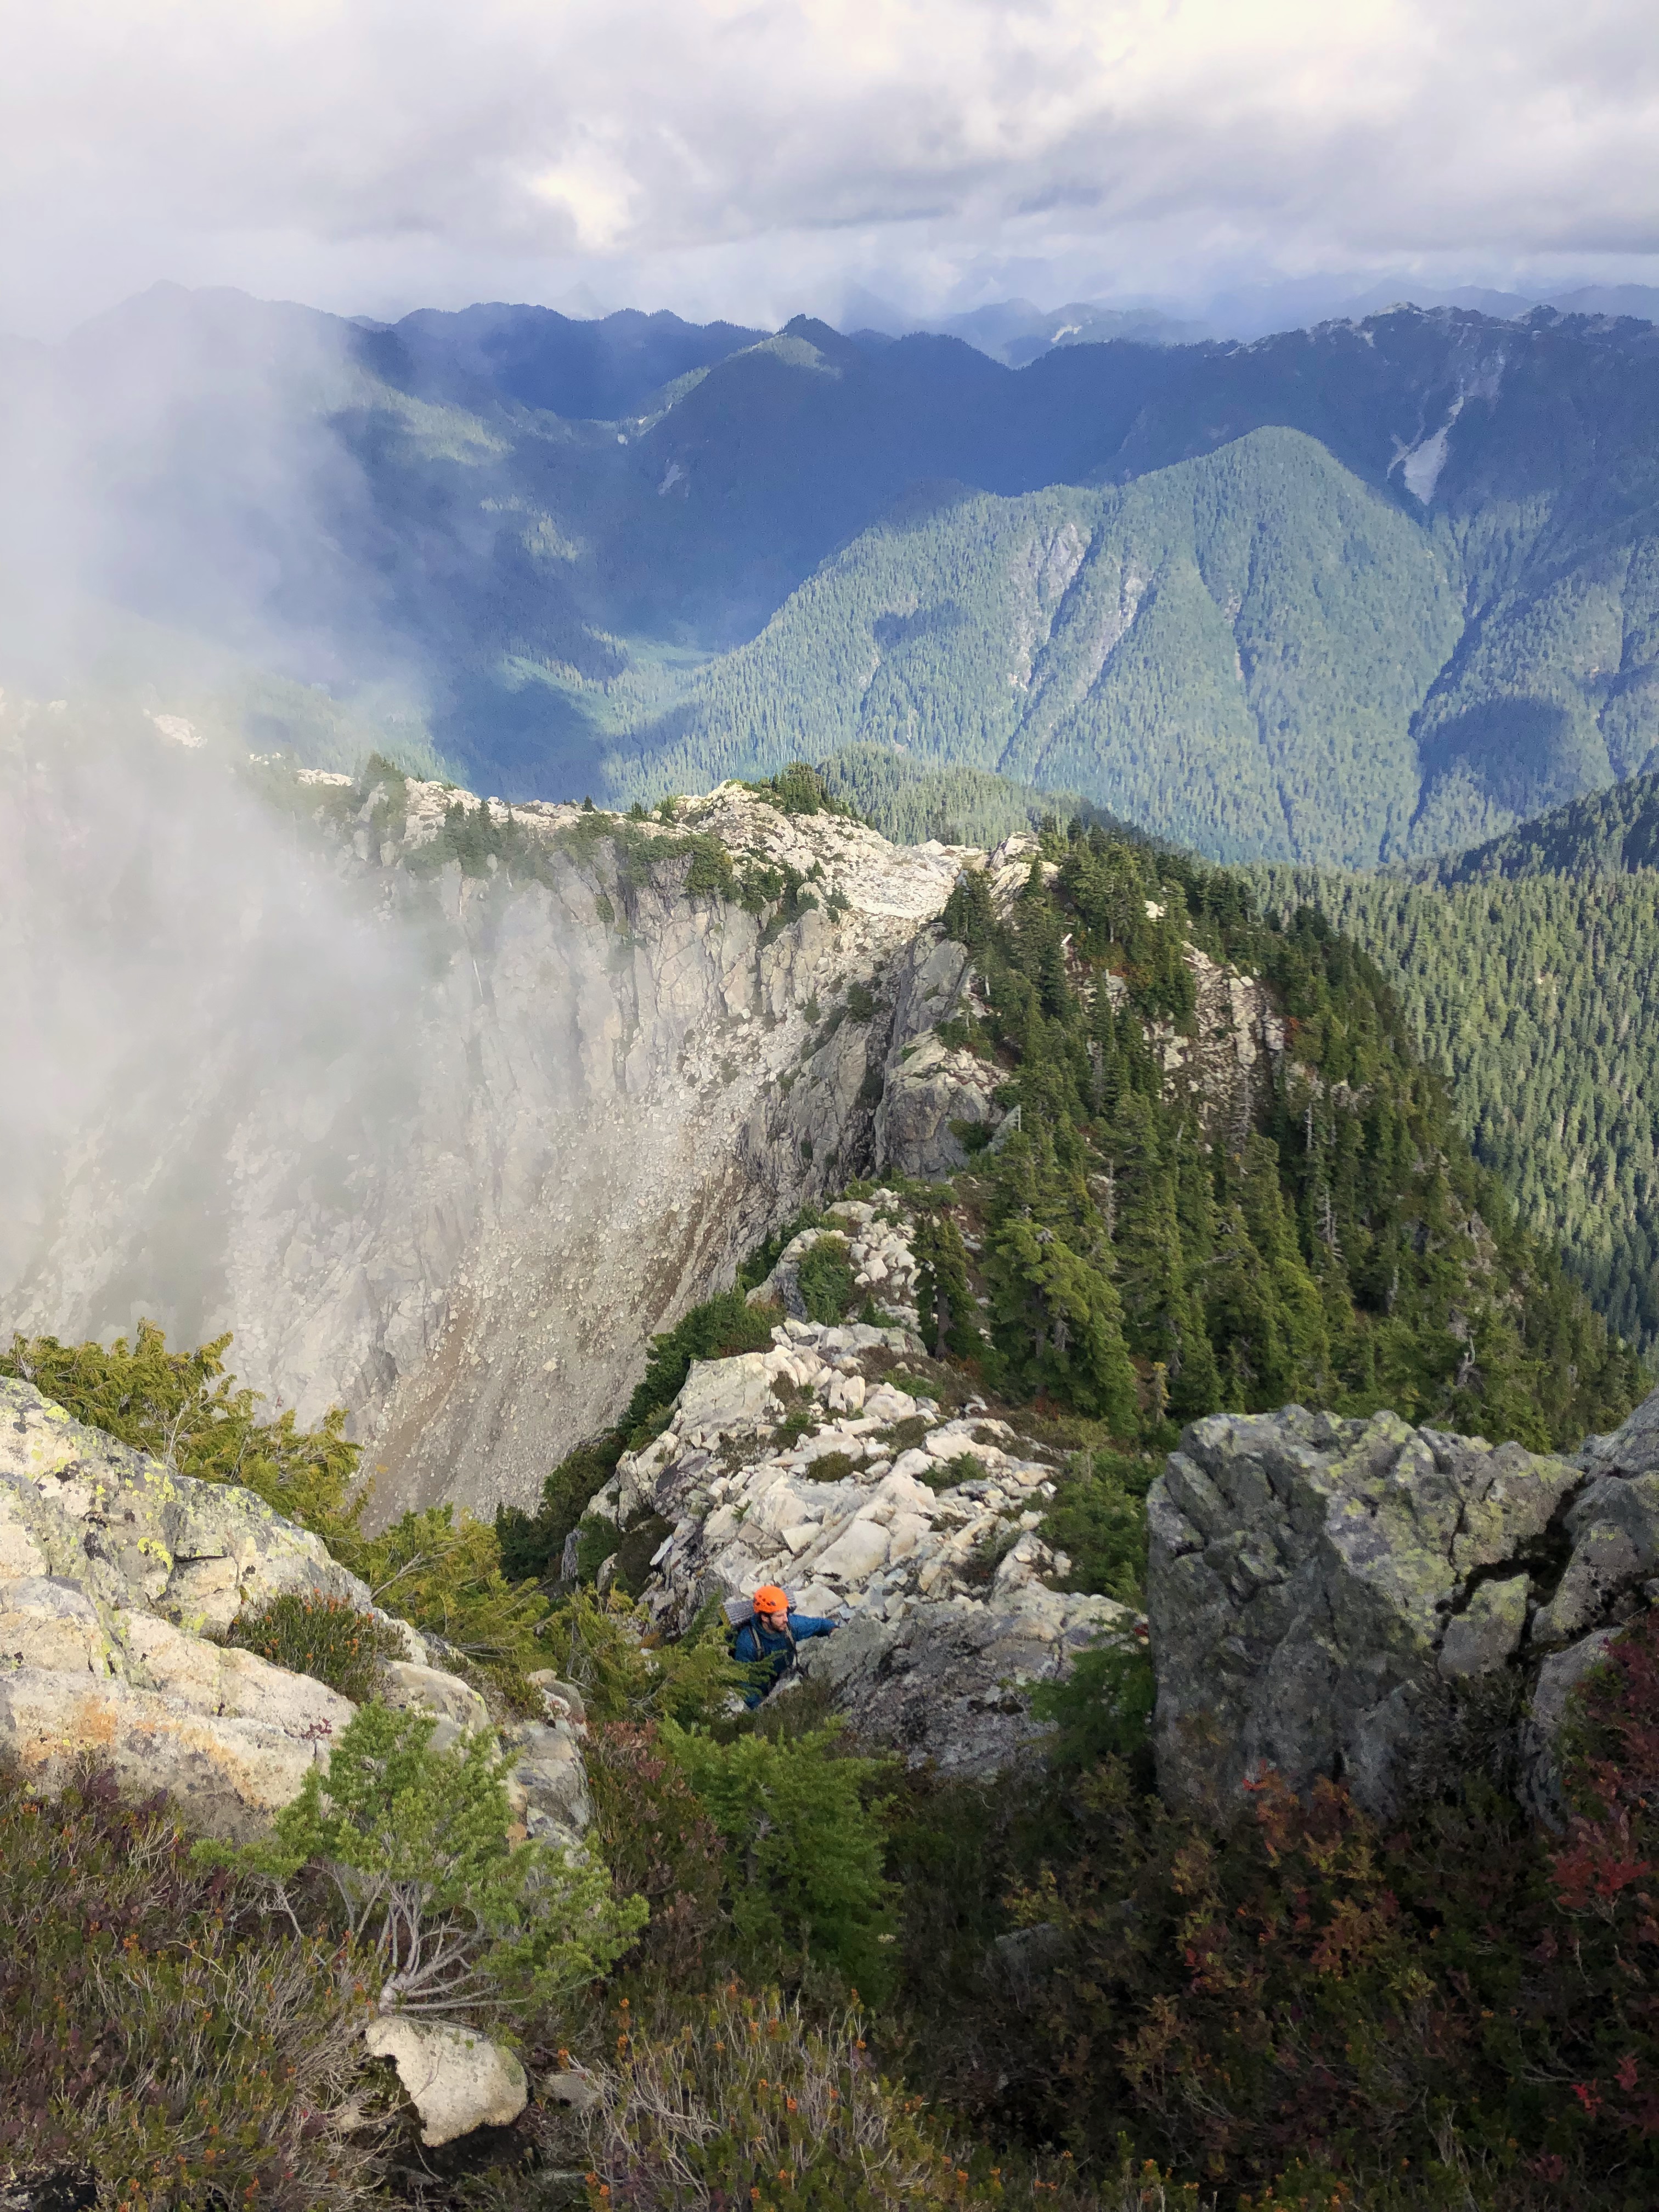
Reaching the top of the boulder field below the north face of Mount Hanover. The backside of “The Tuning Fork” showing itself once again.
Climbing up our gully system alternative route. Photo taken from the ledge used to exit the gully.
Gaining the main east ridge of Mount Hanover. Easy travel from here to the summit. The loose choss pile alternative can be seen behind further to the east.
From the summit we were back on a flagged route which presented two options for descending the frontside of Mount Hanover. Although I was pretty sure one of the routes was supposedly easier than the other, when we arrived at first option we saw, we figured it couldn’t be too bad if someone put in flagging and began our decent. Getting down, there were a few fixed lines (also in great condition), some left over rap tat, and even a bolted rap anchor, but overall it wasn’t too bad to just downclimb.
Reaching the bottom of the standard route on the southwest side of Mt Hanover.
However, at this point we were quite a bit behind schedule and had to catch the last bus at 6:39pm. So rather than take the complex (and seemingly extremely chossy) ridgeline to the final summit of Brunswick Mountain, we took the standard flagged route which connects back to the main trail. Running at this point, we blasted up Brunswick Mountain via the standard route and descended all the way down to the bus stop in Lion’s Bay. Although our legs were quite angry at us, we managed to arrive with ten minutes to spare before the last bus arrived to bring us back to Vancouver.
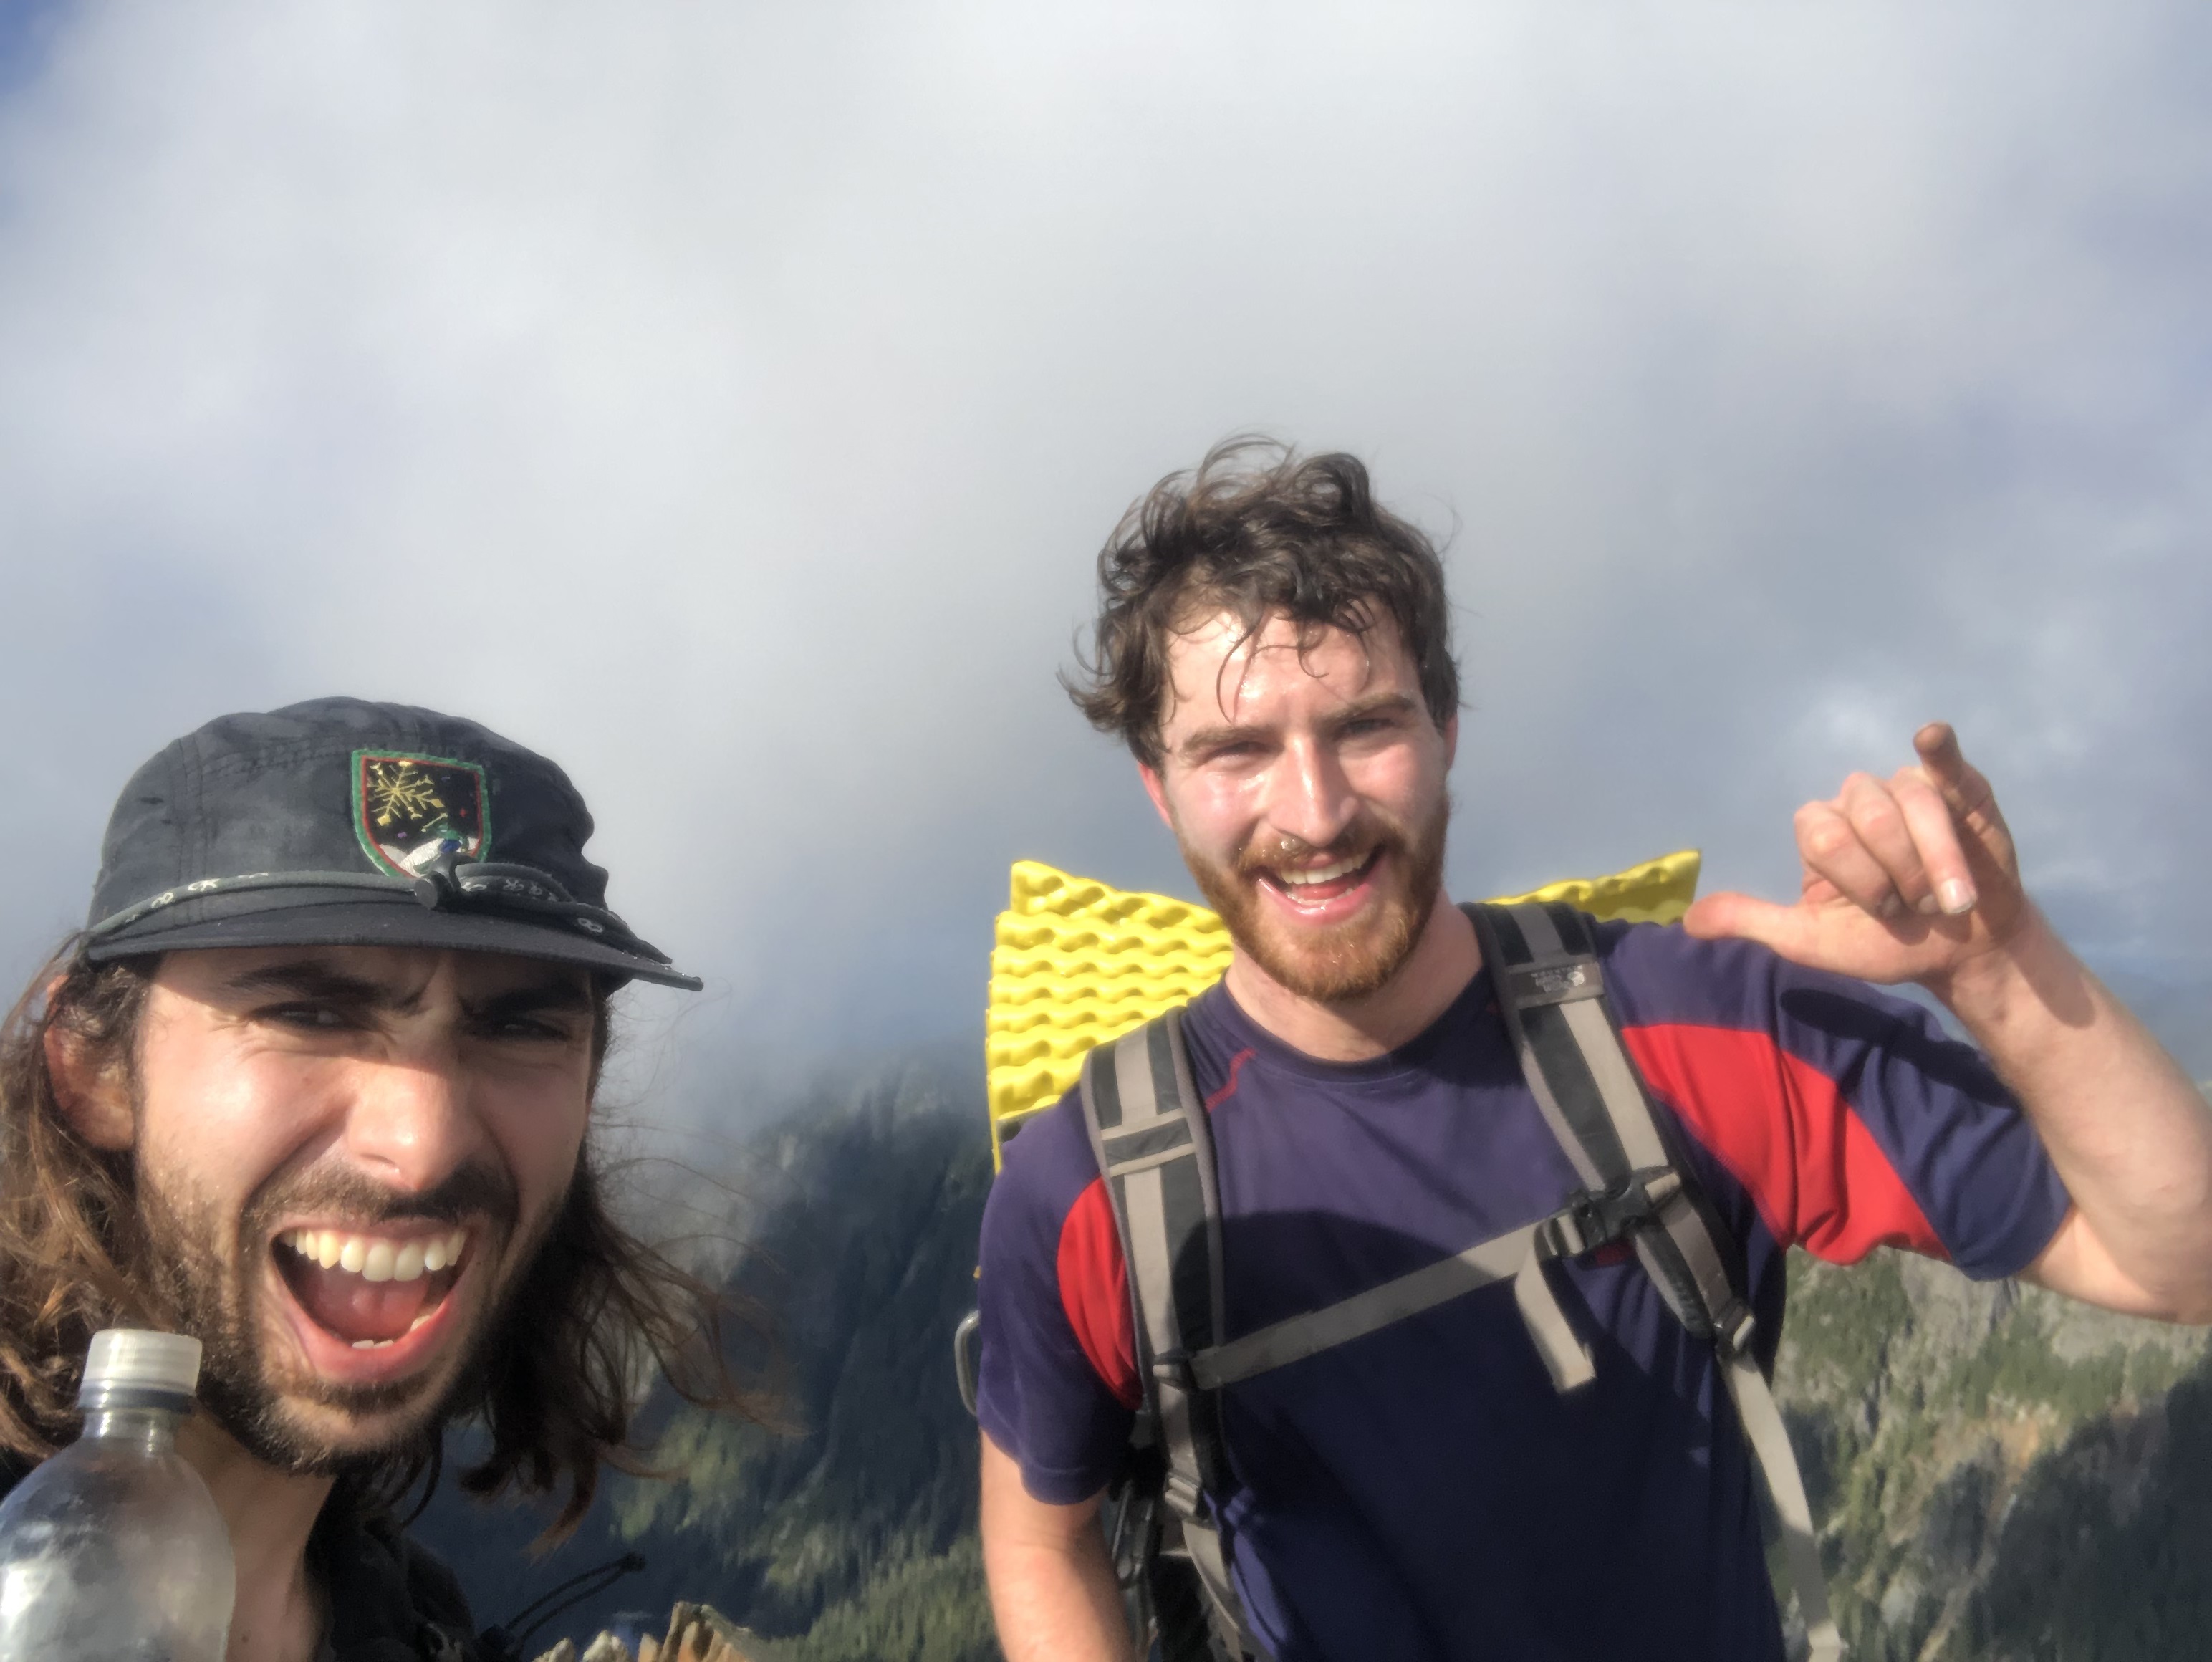
Summit selfie on Brunswick Mountain. The final summit for our Deeks Lake Basin linkup.

Panorama view from Brunswick Mountain looking north towards the ring of peaks surrounding the Deeks Lake Basin.
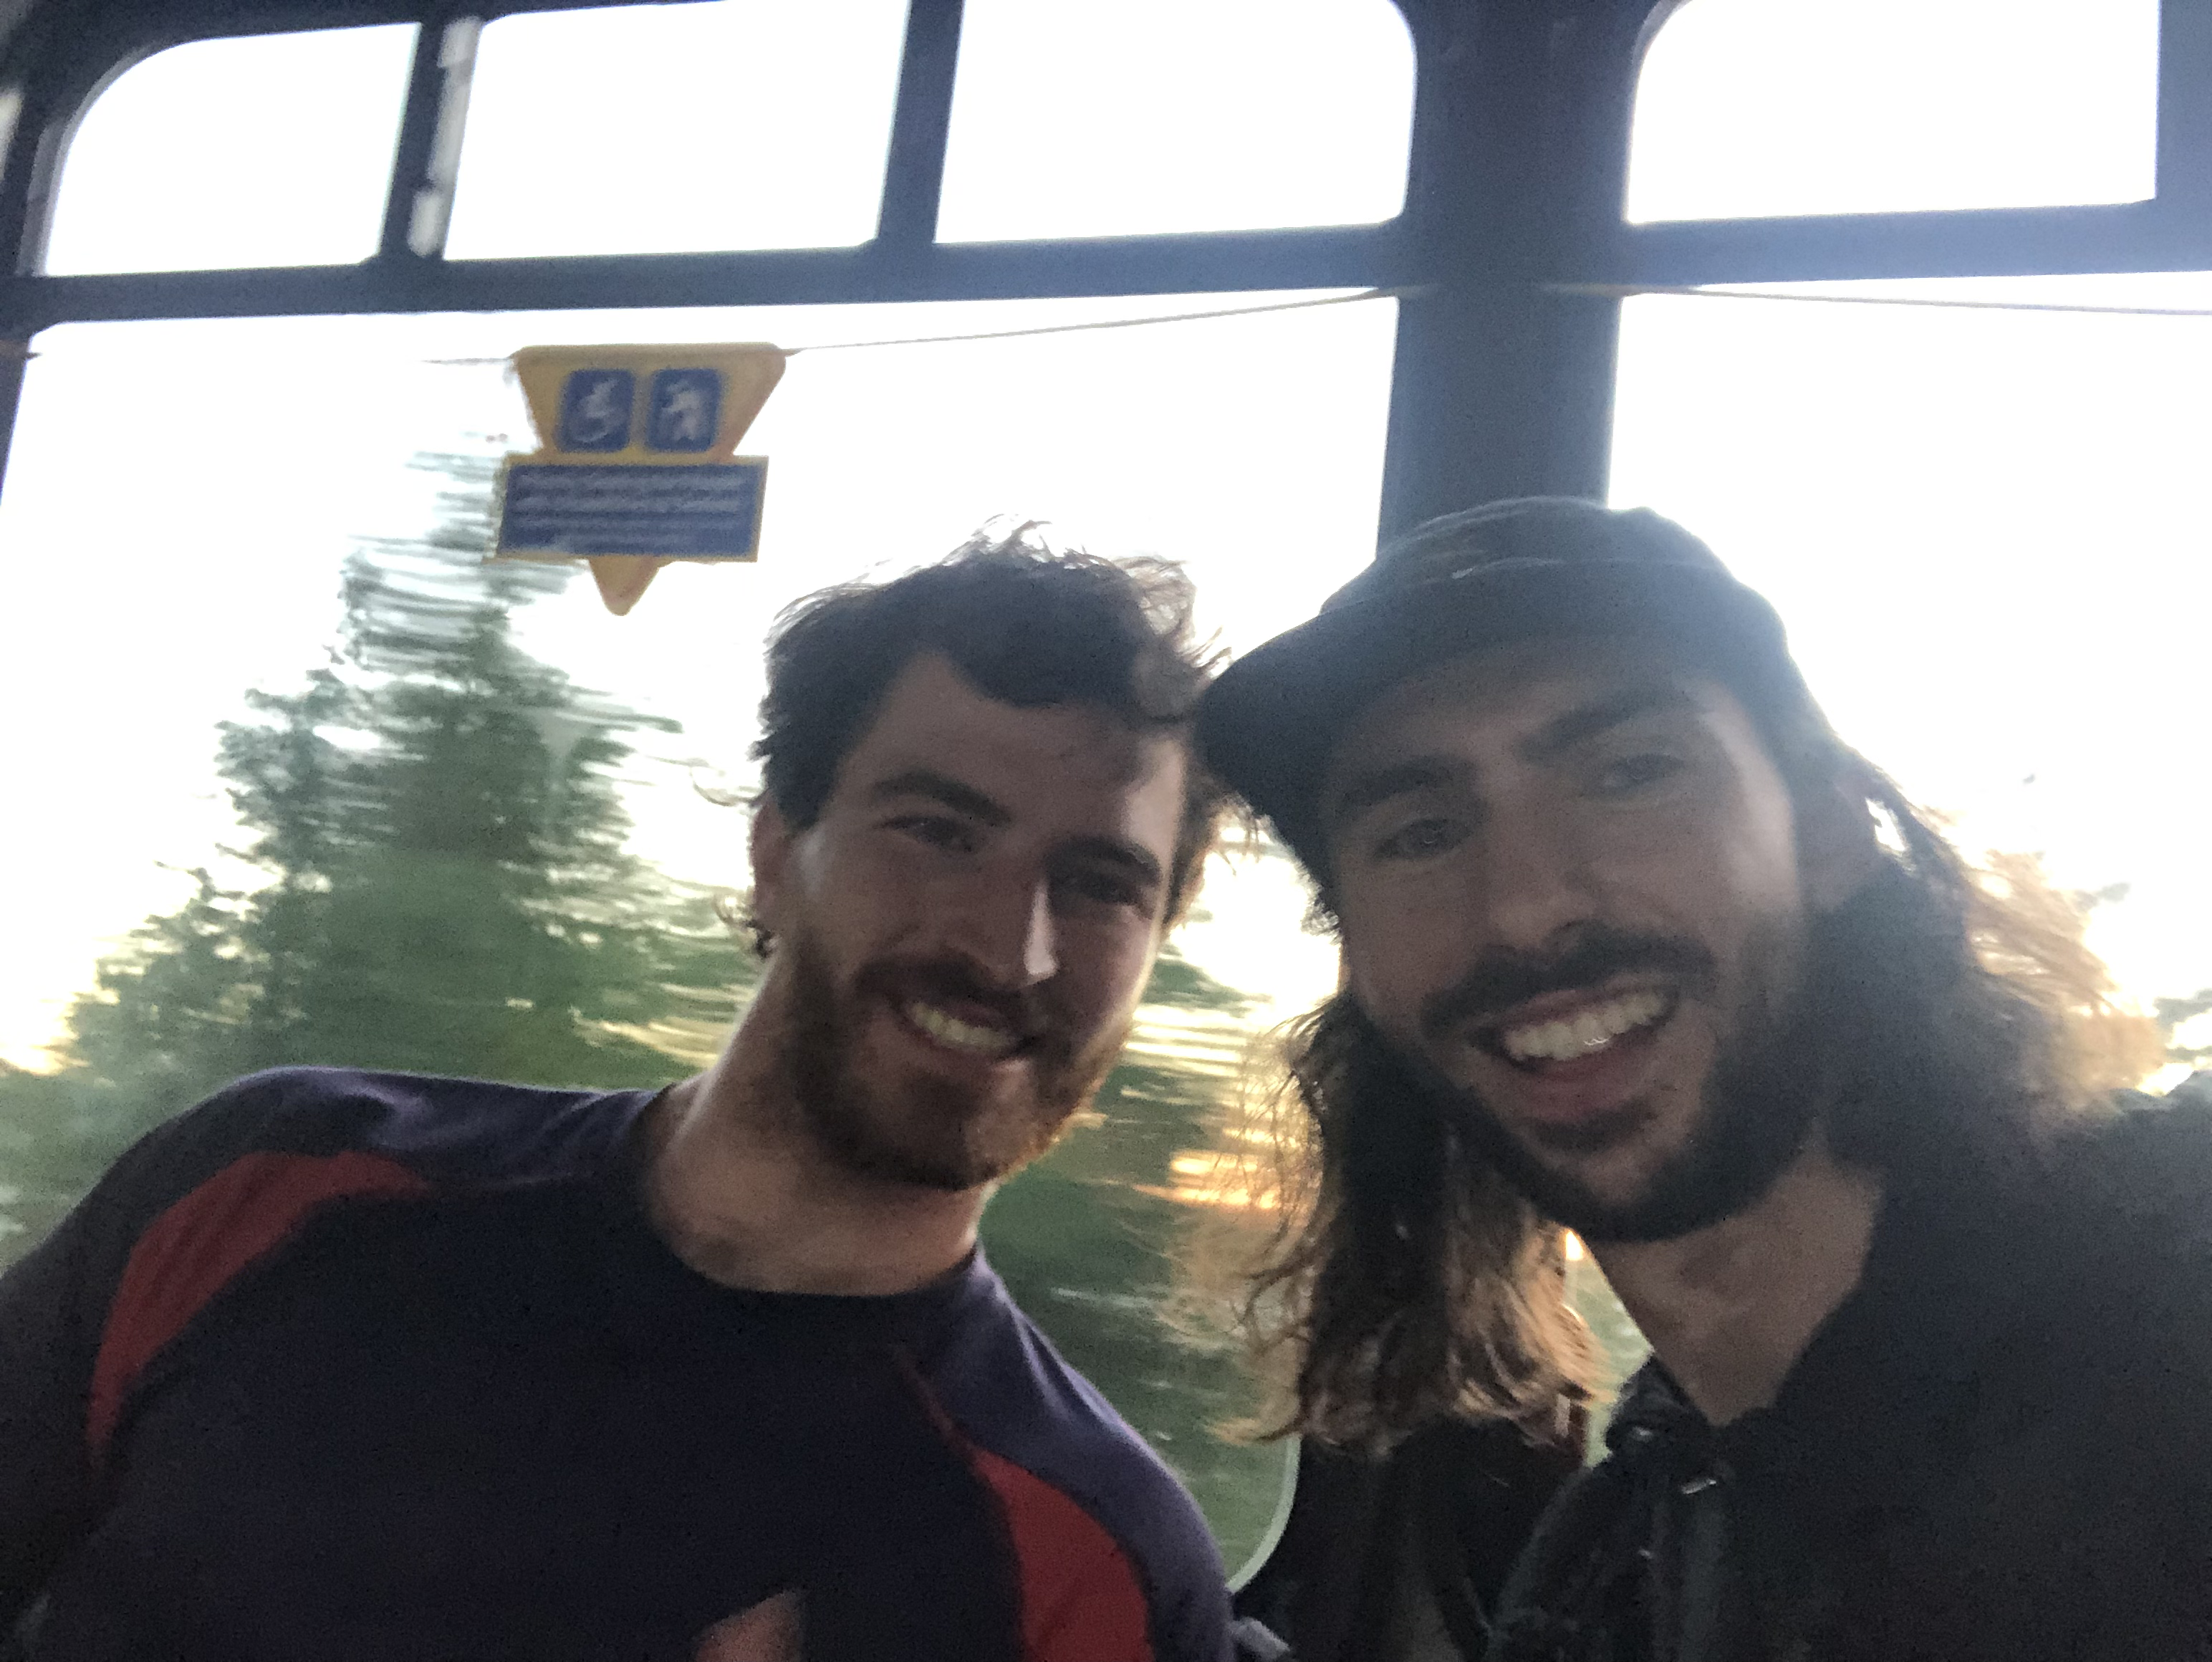
On the bus heading back home, stoked on the successful trip!
Overall: An excellent “public transportation adventure” that I would highly recommend.
Still room for improvement: add in Ardberg Peak, Deeks Peak, and Oban Peak? Direct ridge from Coburg Peak to Mount Hanover passing over “The Tuning Fork”? Direct ridge from Mount Hanover to Brunswick Mountain? Single day push? (shoutout to oldmatt’s 2016 clubtread trip report)
Stats: Two days, 30km, 3700m gain. B4 bushwacking, a couple 4th class moves, 5x30m rappels.
Also, I would like to publicly shame Errol for somehow not being a VOC member despite being a UBC student.
An absurd adventure, I love it!