Trip Date: June 21st-22nd, 2024
Participants: Noah Macdonald, Seton Kriese

1 | CONTEXT
Rogers Pass holds a special place in my heart. Soaring quartzite summits and ridges hold beautiful alpine climbing and scrambling in the summer and the transitional snowpack climate offers world-class ski touring that combines the best of coastal and continental conditions. It is a year-round mountain paradise.
The most famous mountain in Rogers Pass is Mt. Sir Donald. Its Northwest Ridge is one of the 50 Classic Climbs of North America and serves as an excellent introductory alpine rock climb. Yet, I believe that Sir Donald does not possess the best overall climbing in the range. On the similarly named Mt. Macdonald (whose intimidating North face looms over the south side of the highway just east of the Discovery Centre), the Northwest Ridge provides some of the best climbing in the range at a moderate grade.
The route typically goes at 5.8, D+, V, ~15-18 pitches. In off-season conditions (as we found the route) and with the particular line we took to avoid snowy patches, I would give the route 5.10b, TD, V.
2 | OUR FIRST ATTEMPT
Last summer (2023), Seton and I spent a few days in Rogers Pass. We started our trip by trying (and failing) to climb Mt. Macdonald’s NW Ridge; after a heinous approach up the (snow-free) Herdman Couloir, we witnessed large rockfall events down both possible descent couloirs, and promptly lost our nerve. Mt. Macdonald is best done when the descent couloirs are filled with snow, and 2023 was a rather dry summer. Some famous alpinists had recently descended Macdonald after climbing a route on the North face via the Banana Couloir, and described the rappels as heinous. We had no beta on rappelling the now-dry top section of the Herdman Couloir (which is the normal summer descent when filled in with snow), but figured it would not be any less heinous. When in doubt, a conservative decision is often justified; we chose to bivy, then descend the next morning. We went climbing at Water World in Revelstoke instead (I strongly recommend Pirates of the Waterworld, 5.10b sport, 4 pitches), then did the Asulkan traverse the following day.
After we left, we vowed to return the following June when the couloirs were still full of snow. The guidebook states that the route (despite facing Northwest) dries off much earlier than many other climbs in Rogers Pass, and we figured that snow would make the approach substantially easier; we had been forced to scramble on the sides of the couloir, ascending dirt slopes that I would rate as low fifth class. But if the couloir was filled in with snow, the ascent and descent would be substantially easier.
3 | PREP
This June was much snowier than most years in the Rockies and Selkirks. When the weekend of the 22nd rolled around, it looked like no alpine rock was in. As much fun as I was having doing laps up Yamnuska, I was itching to get on some real alpine rock, and figured that Macdonald was as likely as anything to be in condition. I pitched the idea of driving out to Rogers Pass to scout conditions to Seton, and he was on board; we might end up driving to Rogers Pass just to discover it was too snowy to climb, but we judged it worth the risk.
On the evening of the 21st, we rolled up to Hermit parking lot and investigated the route with binoculars. We could see snow on the Promenade Ledge, but the rest of the route looked dry enough. This was enough to commit us to an attempt, and we went to camp at the Illecillewaet campground which had just opened for the summer.
We packed a triple rack (mostly due to a miscommunication that was only discovered at the start of the climb), a 60m single rope, gri-gris for simul-climbing, and a tagline (in case we needed to bail — it was never used).

The rack
We went to bed early (Seton in his car, and me in a bivy sack) and left the car the next morning at 3:04am.
4 | THE CLIMB
The route consists of 9 main sections:
1 – Connaught Creek Crossing
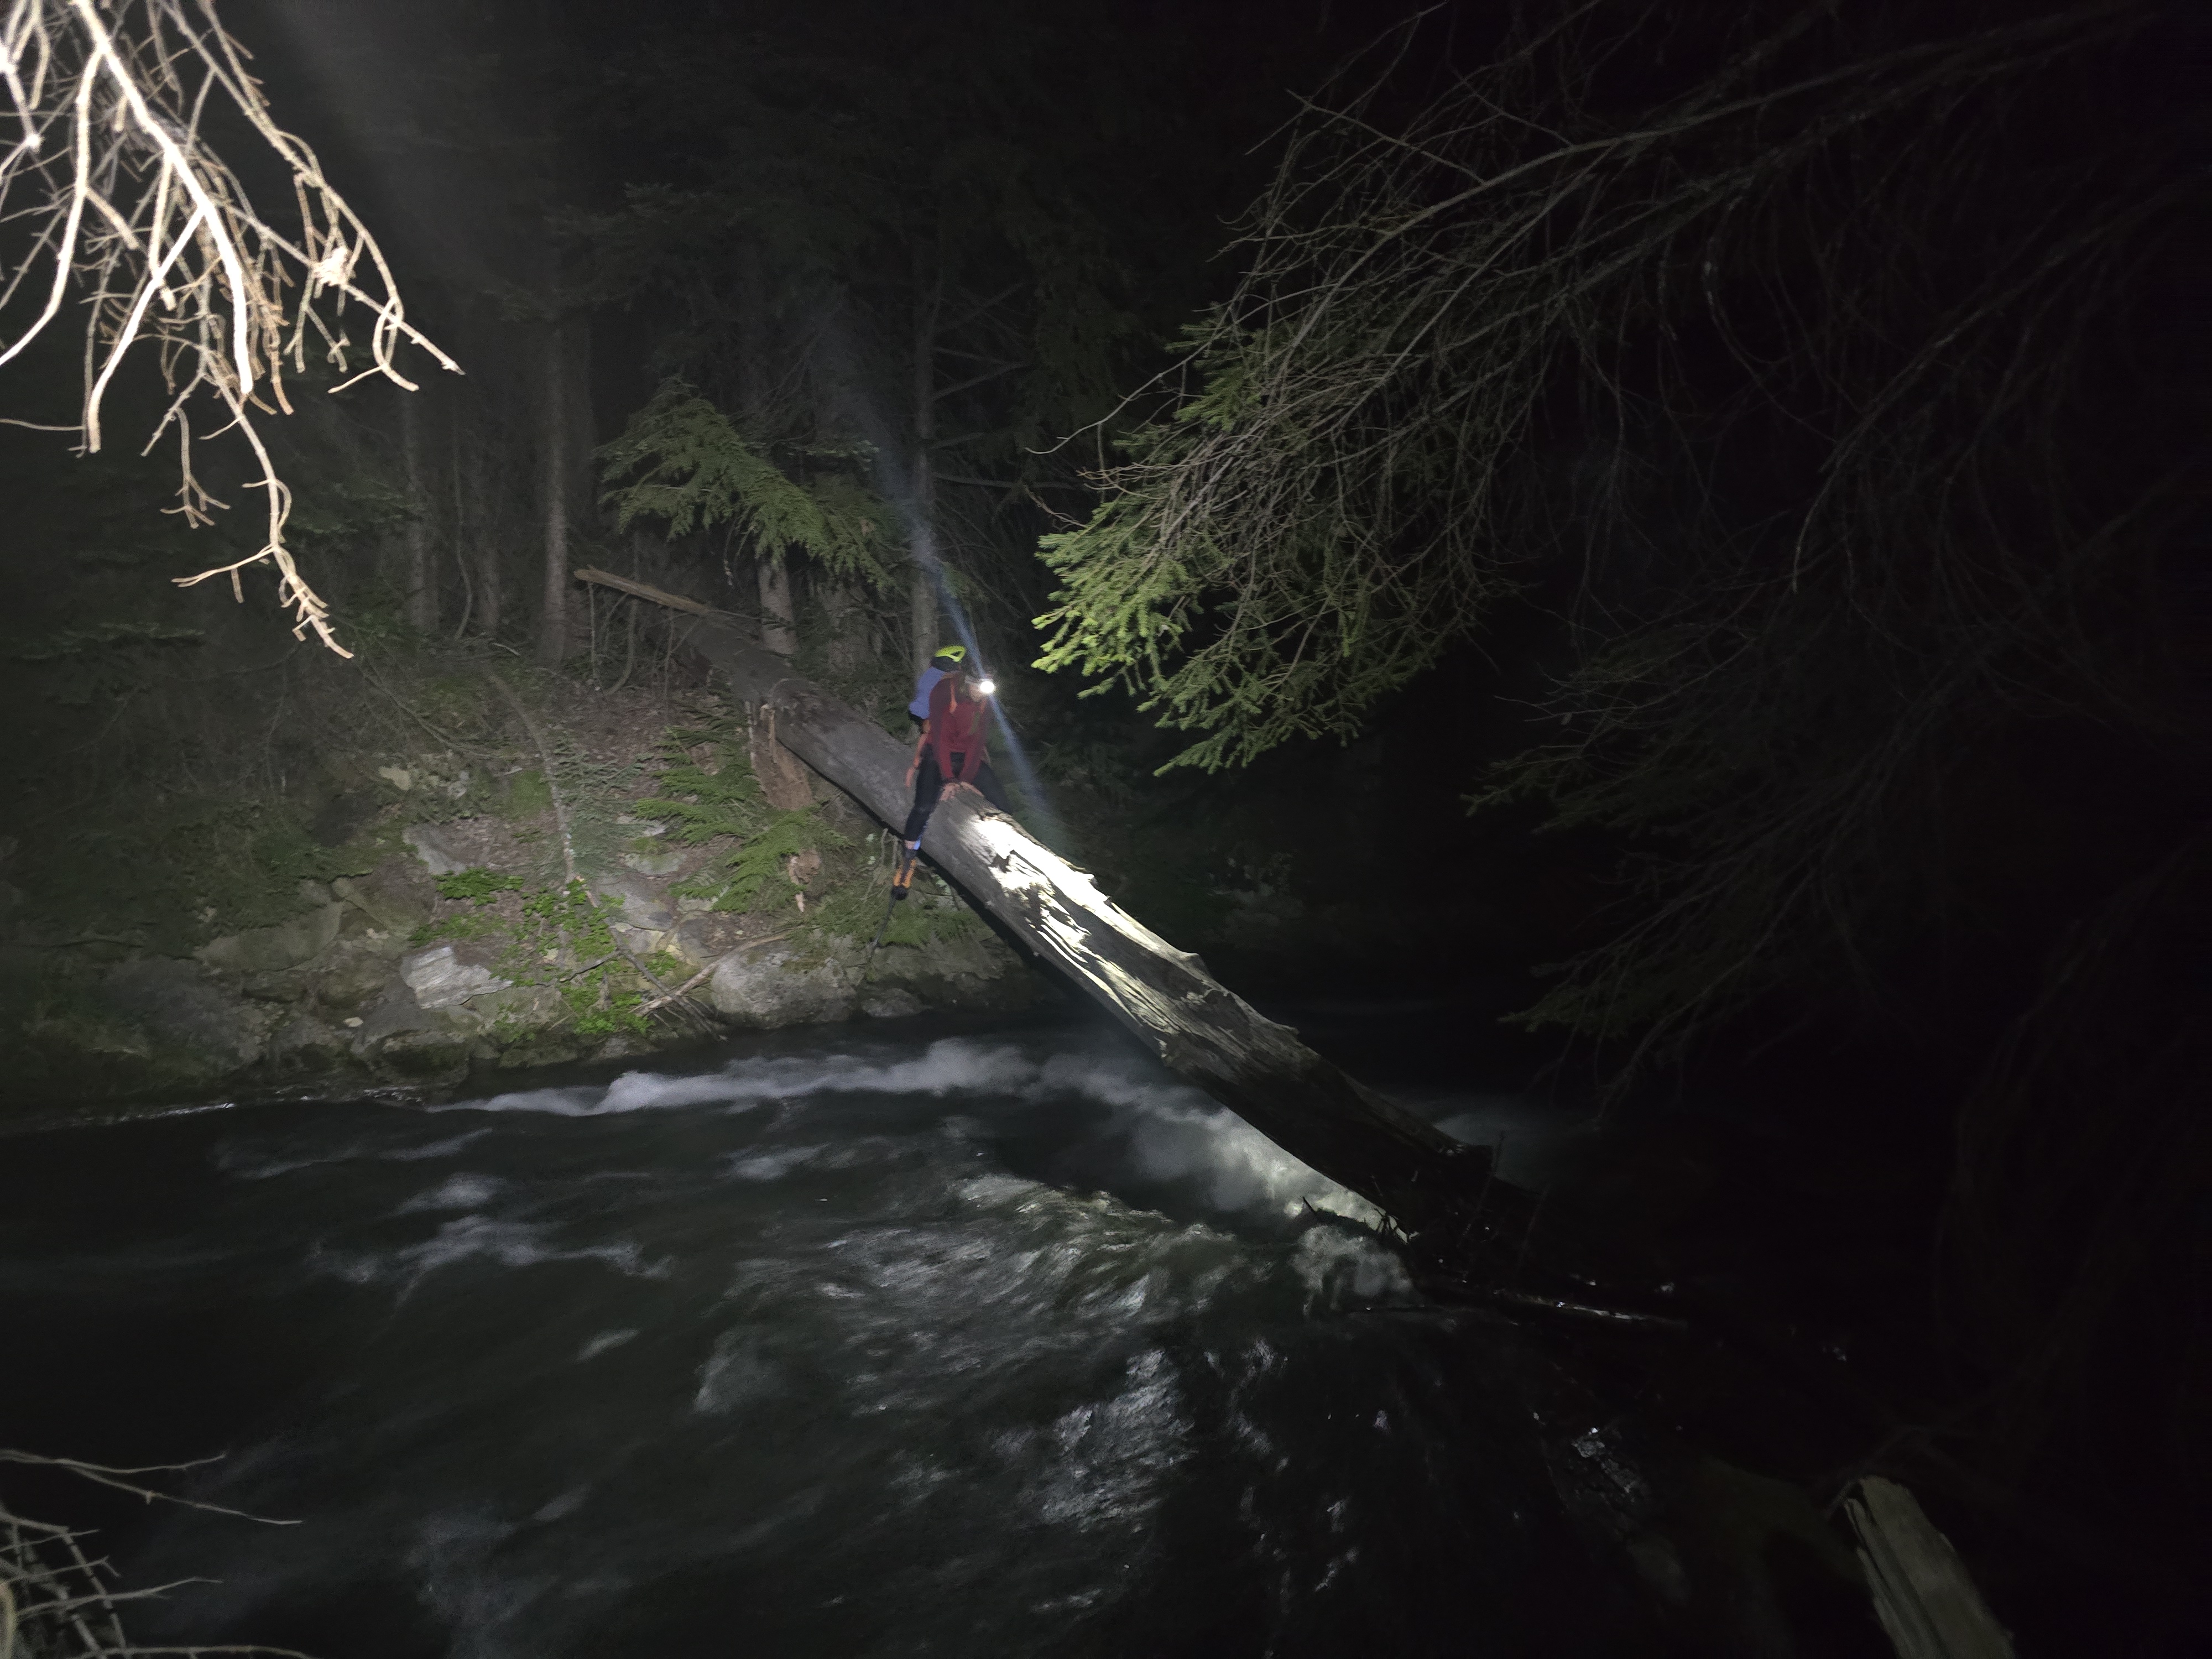
After parking your car on the south side of the highway right before the avalanche snowshed just east of the Hermit parking lot, bushwhack down towards Connaught Creek. Almost immediately beside the parking spot is a downed log that you can use to cross the creek.
2 – The Bushwhack
Follow the creek east (downstream) for a bit (with easiest travel being 10-20m away from the bank) before angling towards Mt Macdonald. The bushwhack lasts for just under 1km before you reach the Herdman Couloir. In theory, there is a trail through here, but I never managed to consistently stay on it. There is a fair amount of Devils Club; wear long pants and exercise caution.
If you’re trying to do this route in a day, onsighting the bushwhack in the dark might be very tricky. Feel free to reach out to me if you’d like my GPX file(s), though I can’t promise that they represent the optimal route.
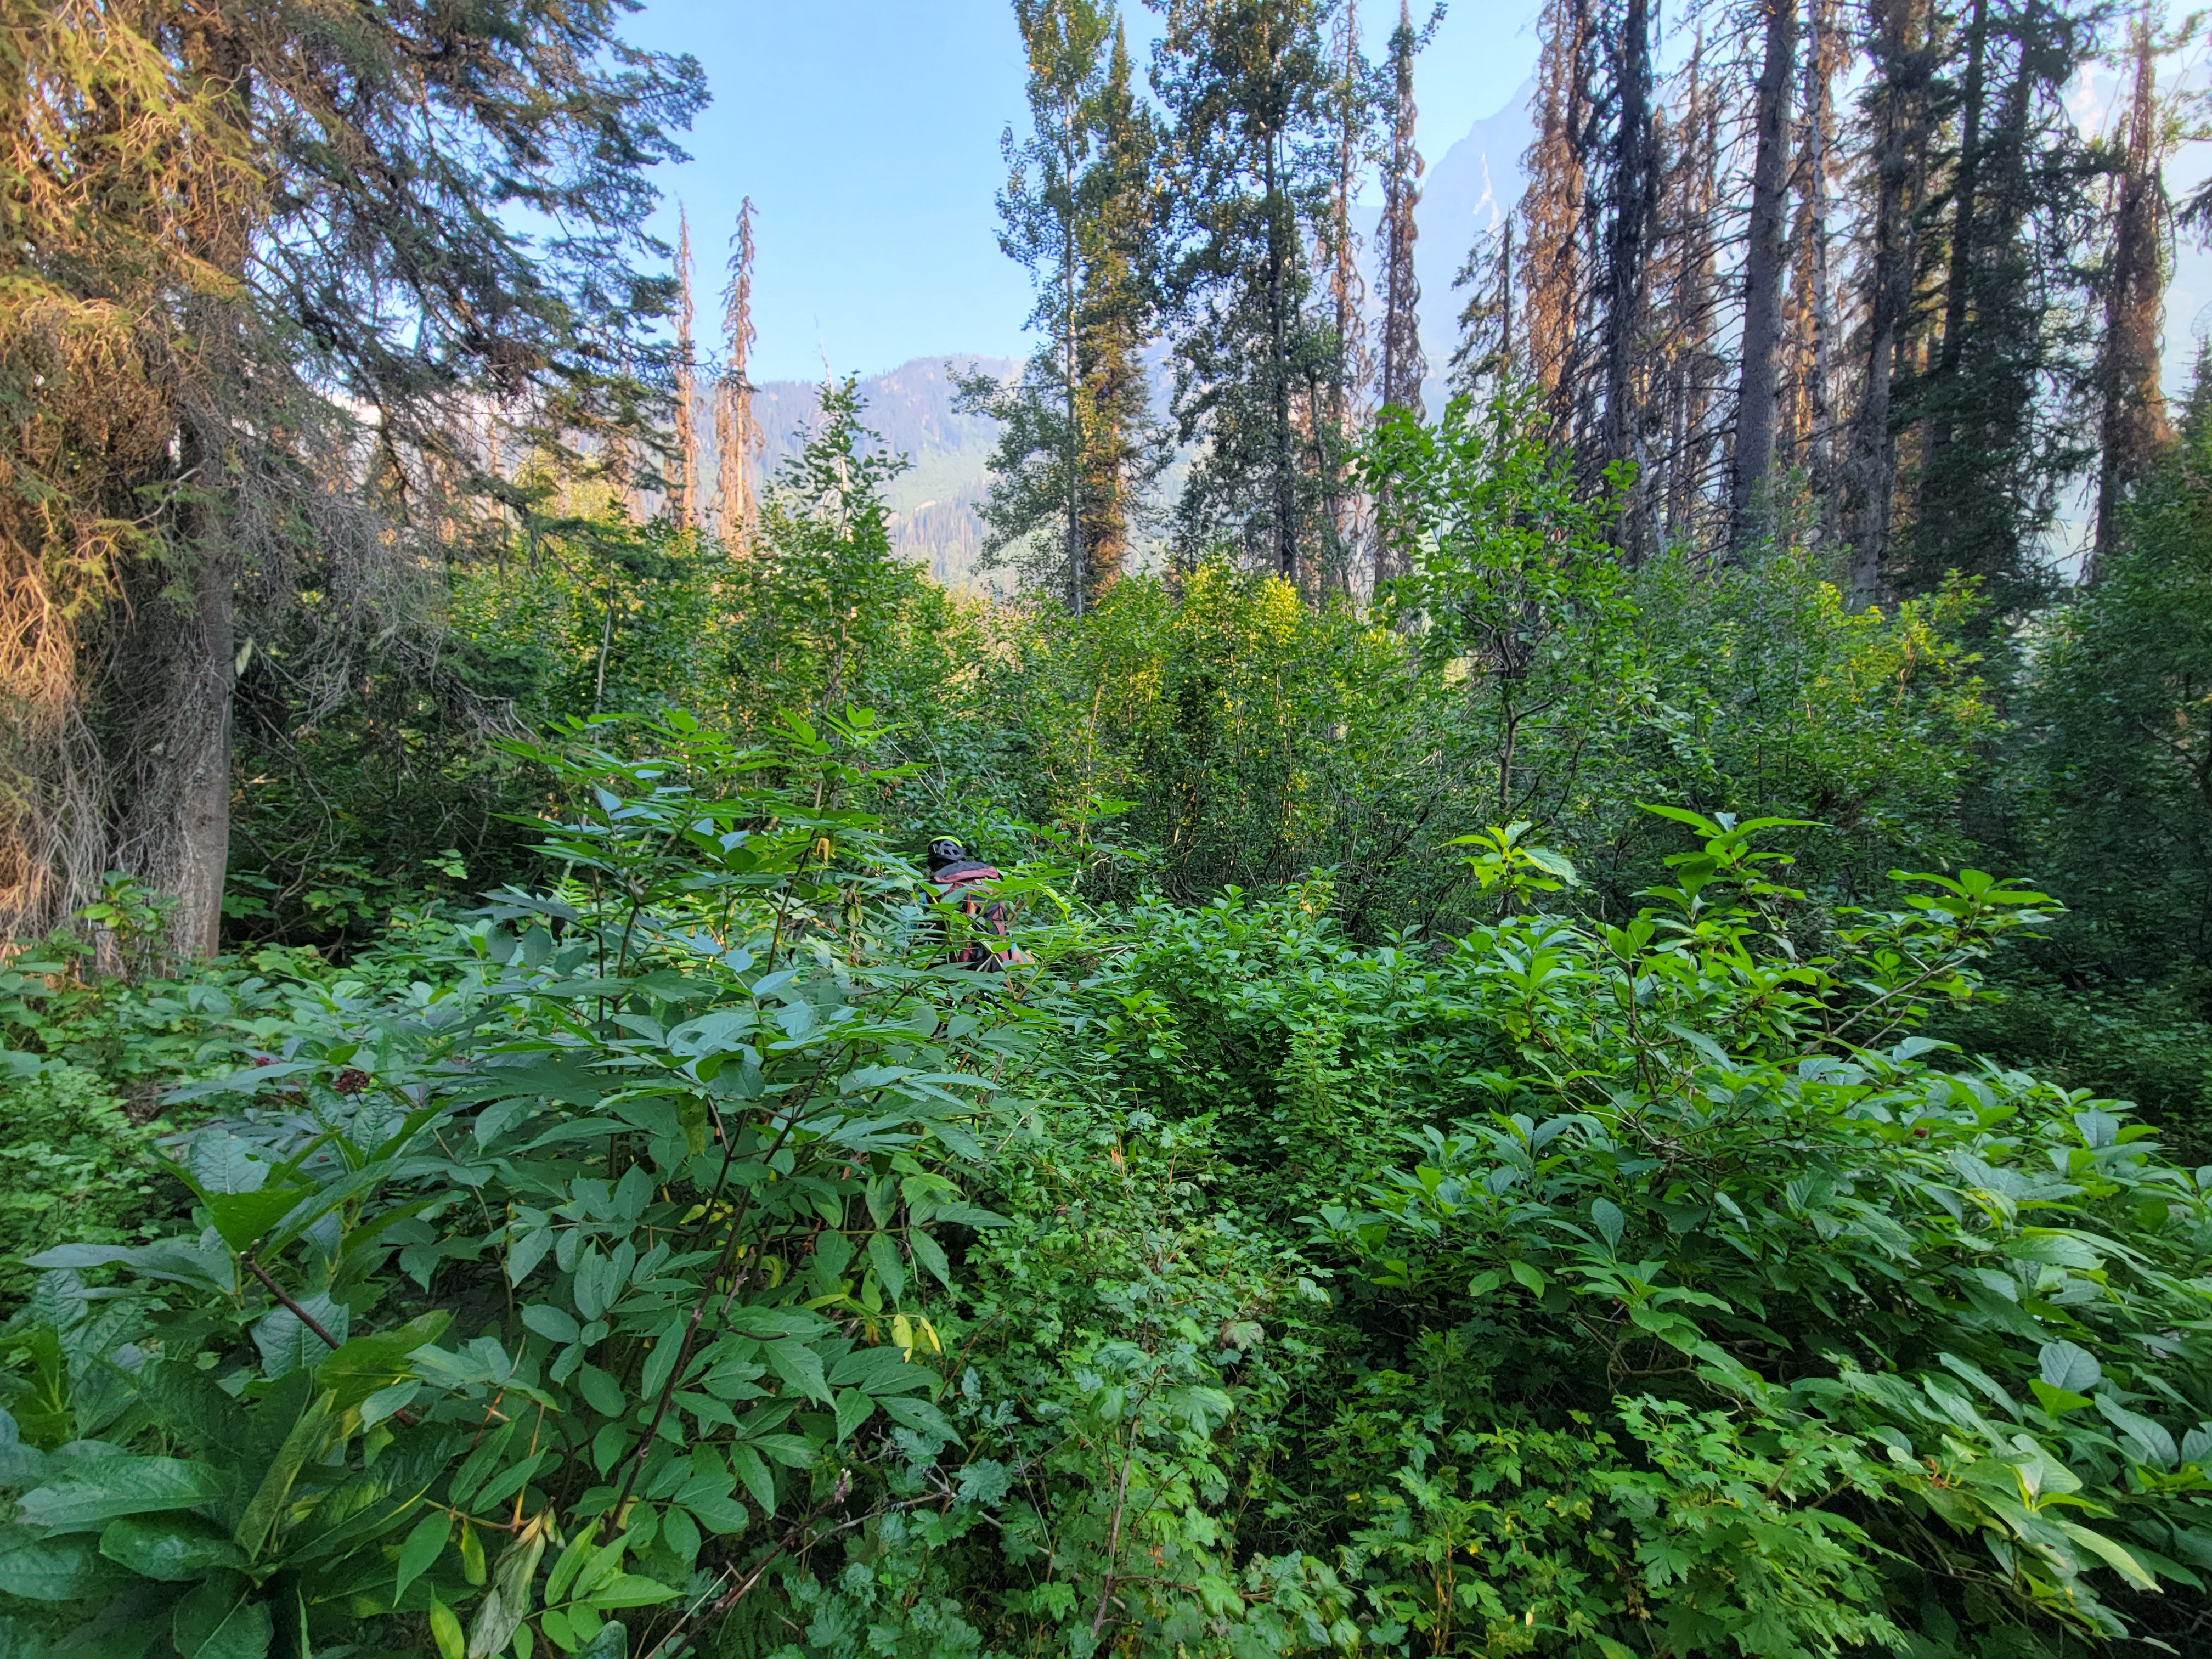
A photo from our 2023 attempt. This is one of the nicer sections.
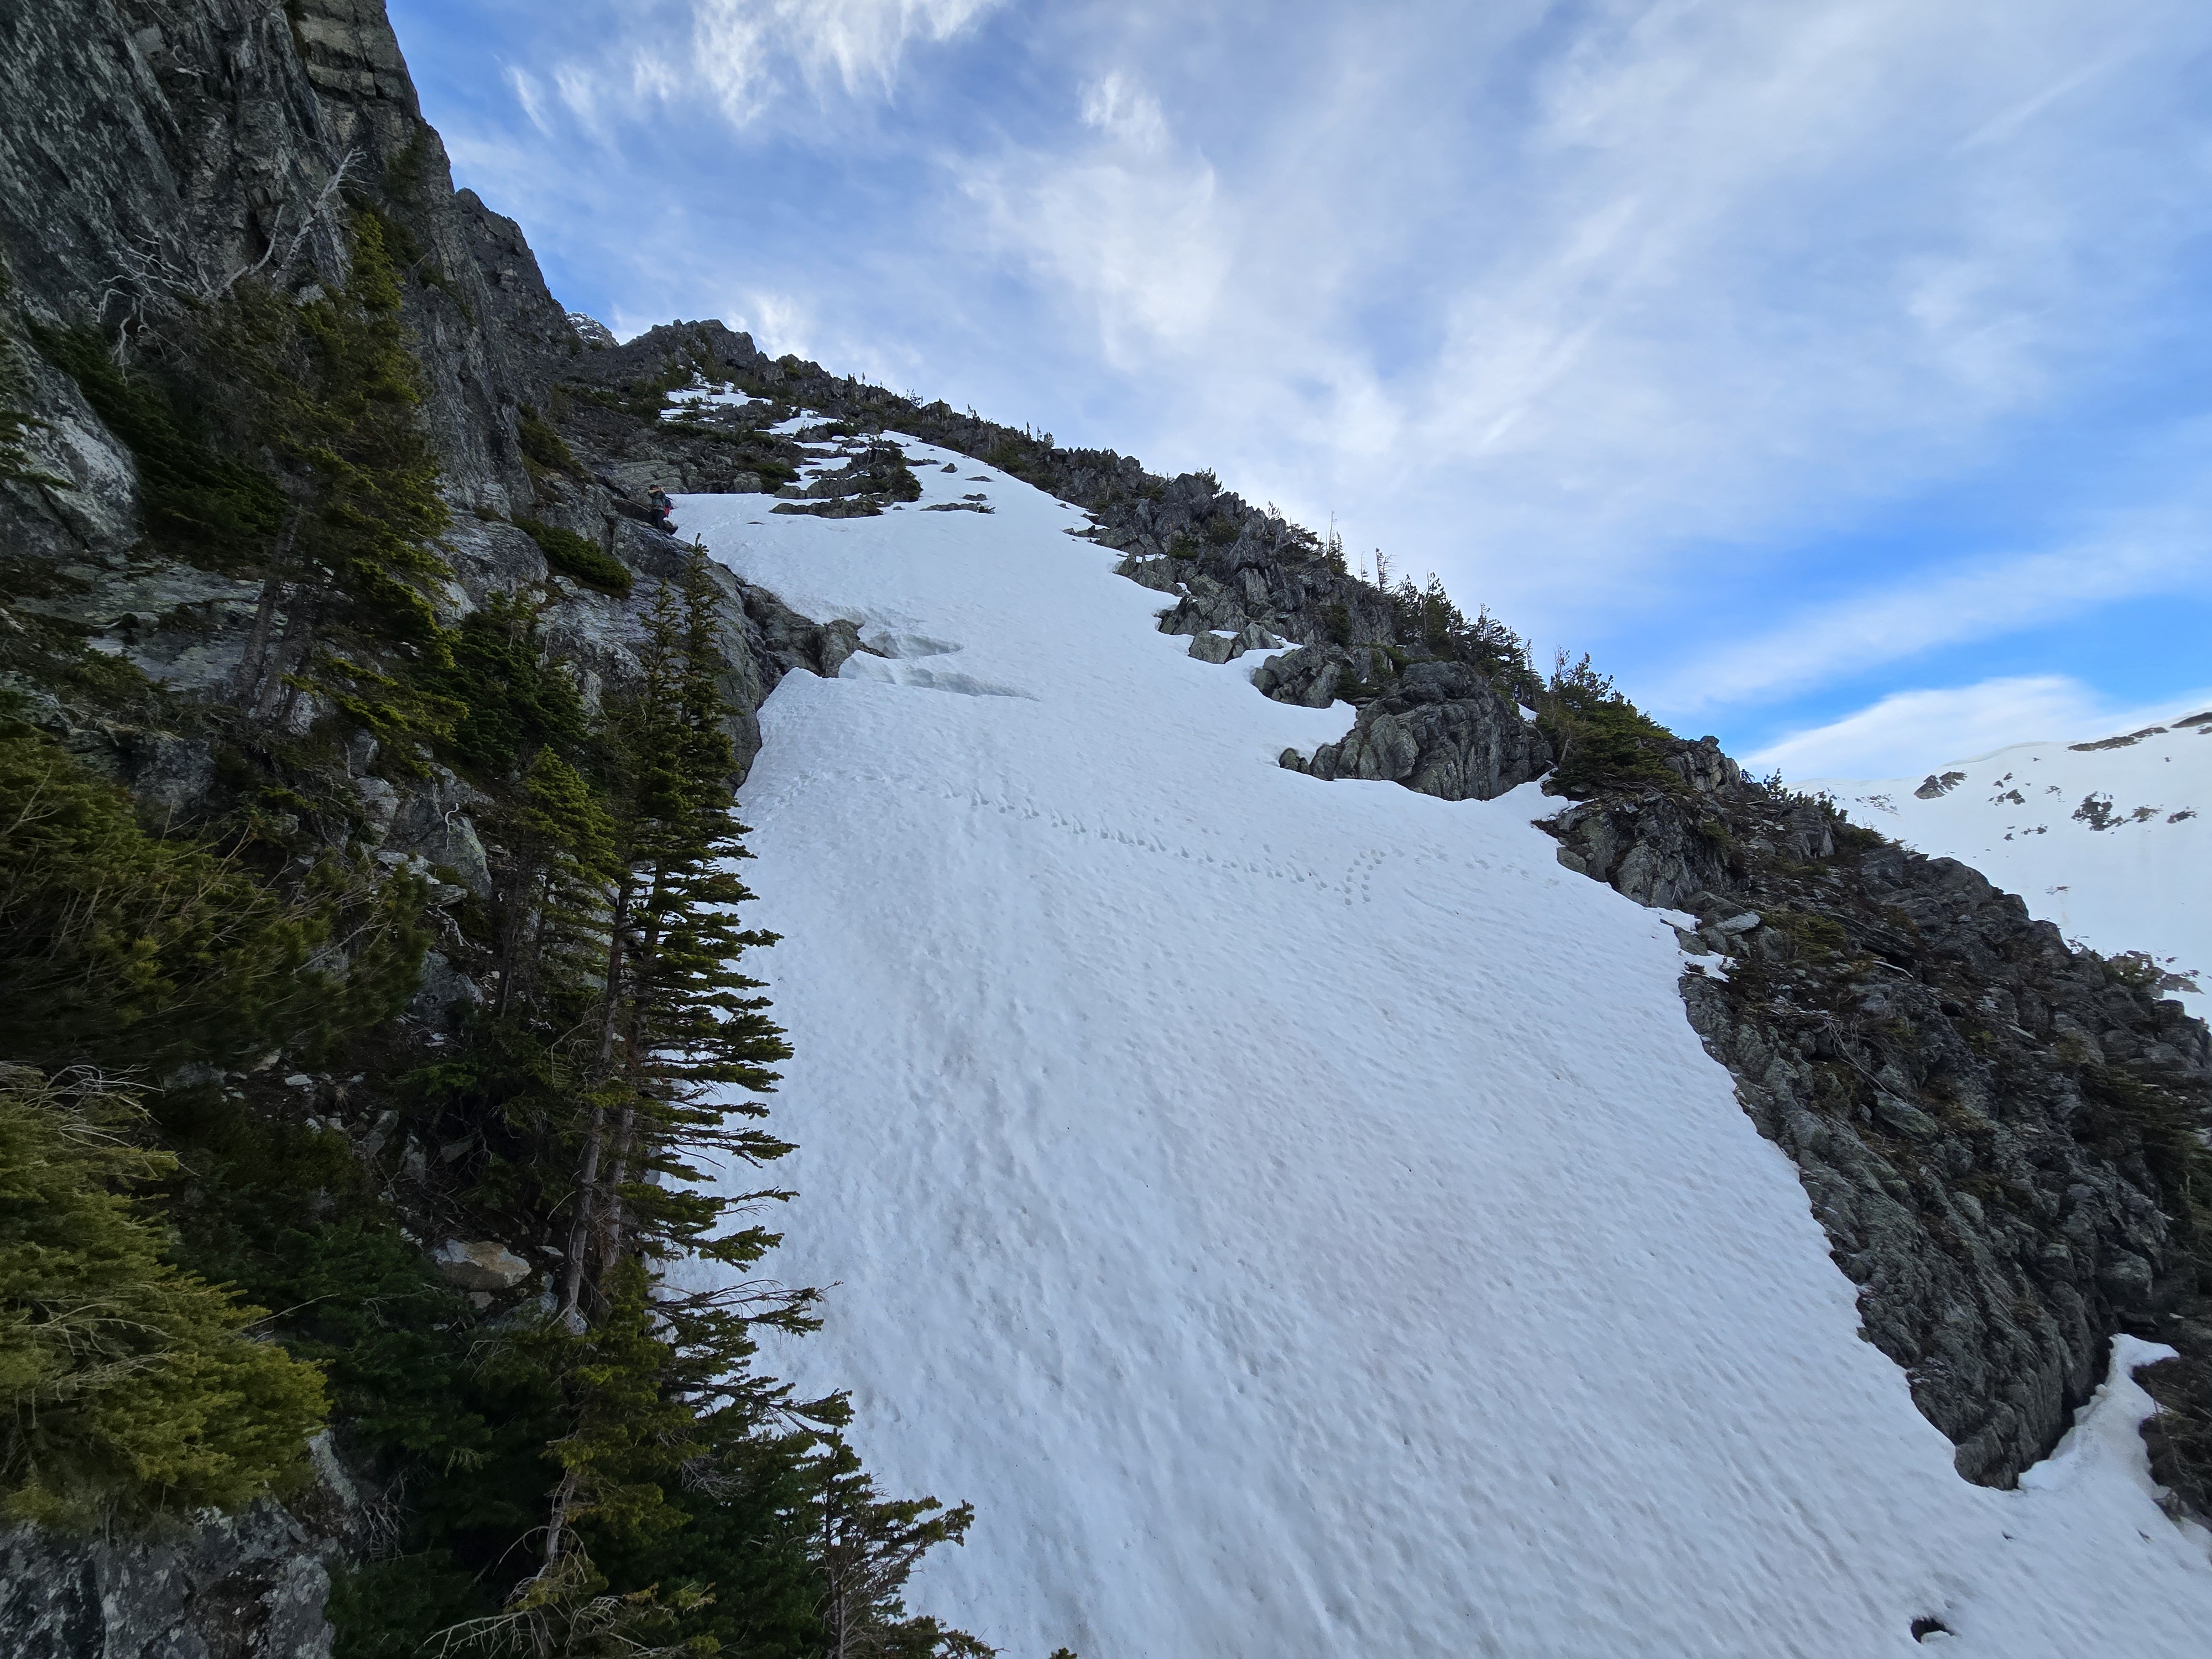
3 – The Lower Herdman Couloir
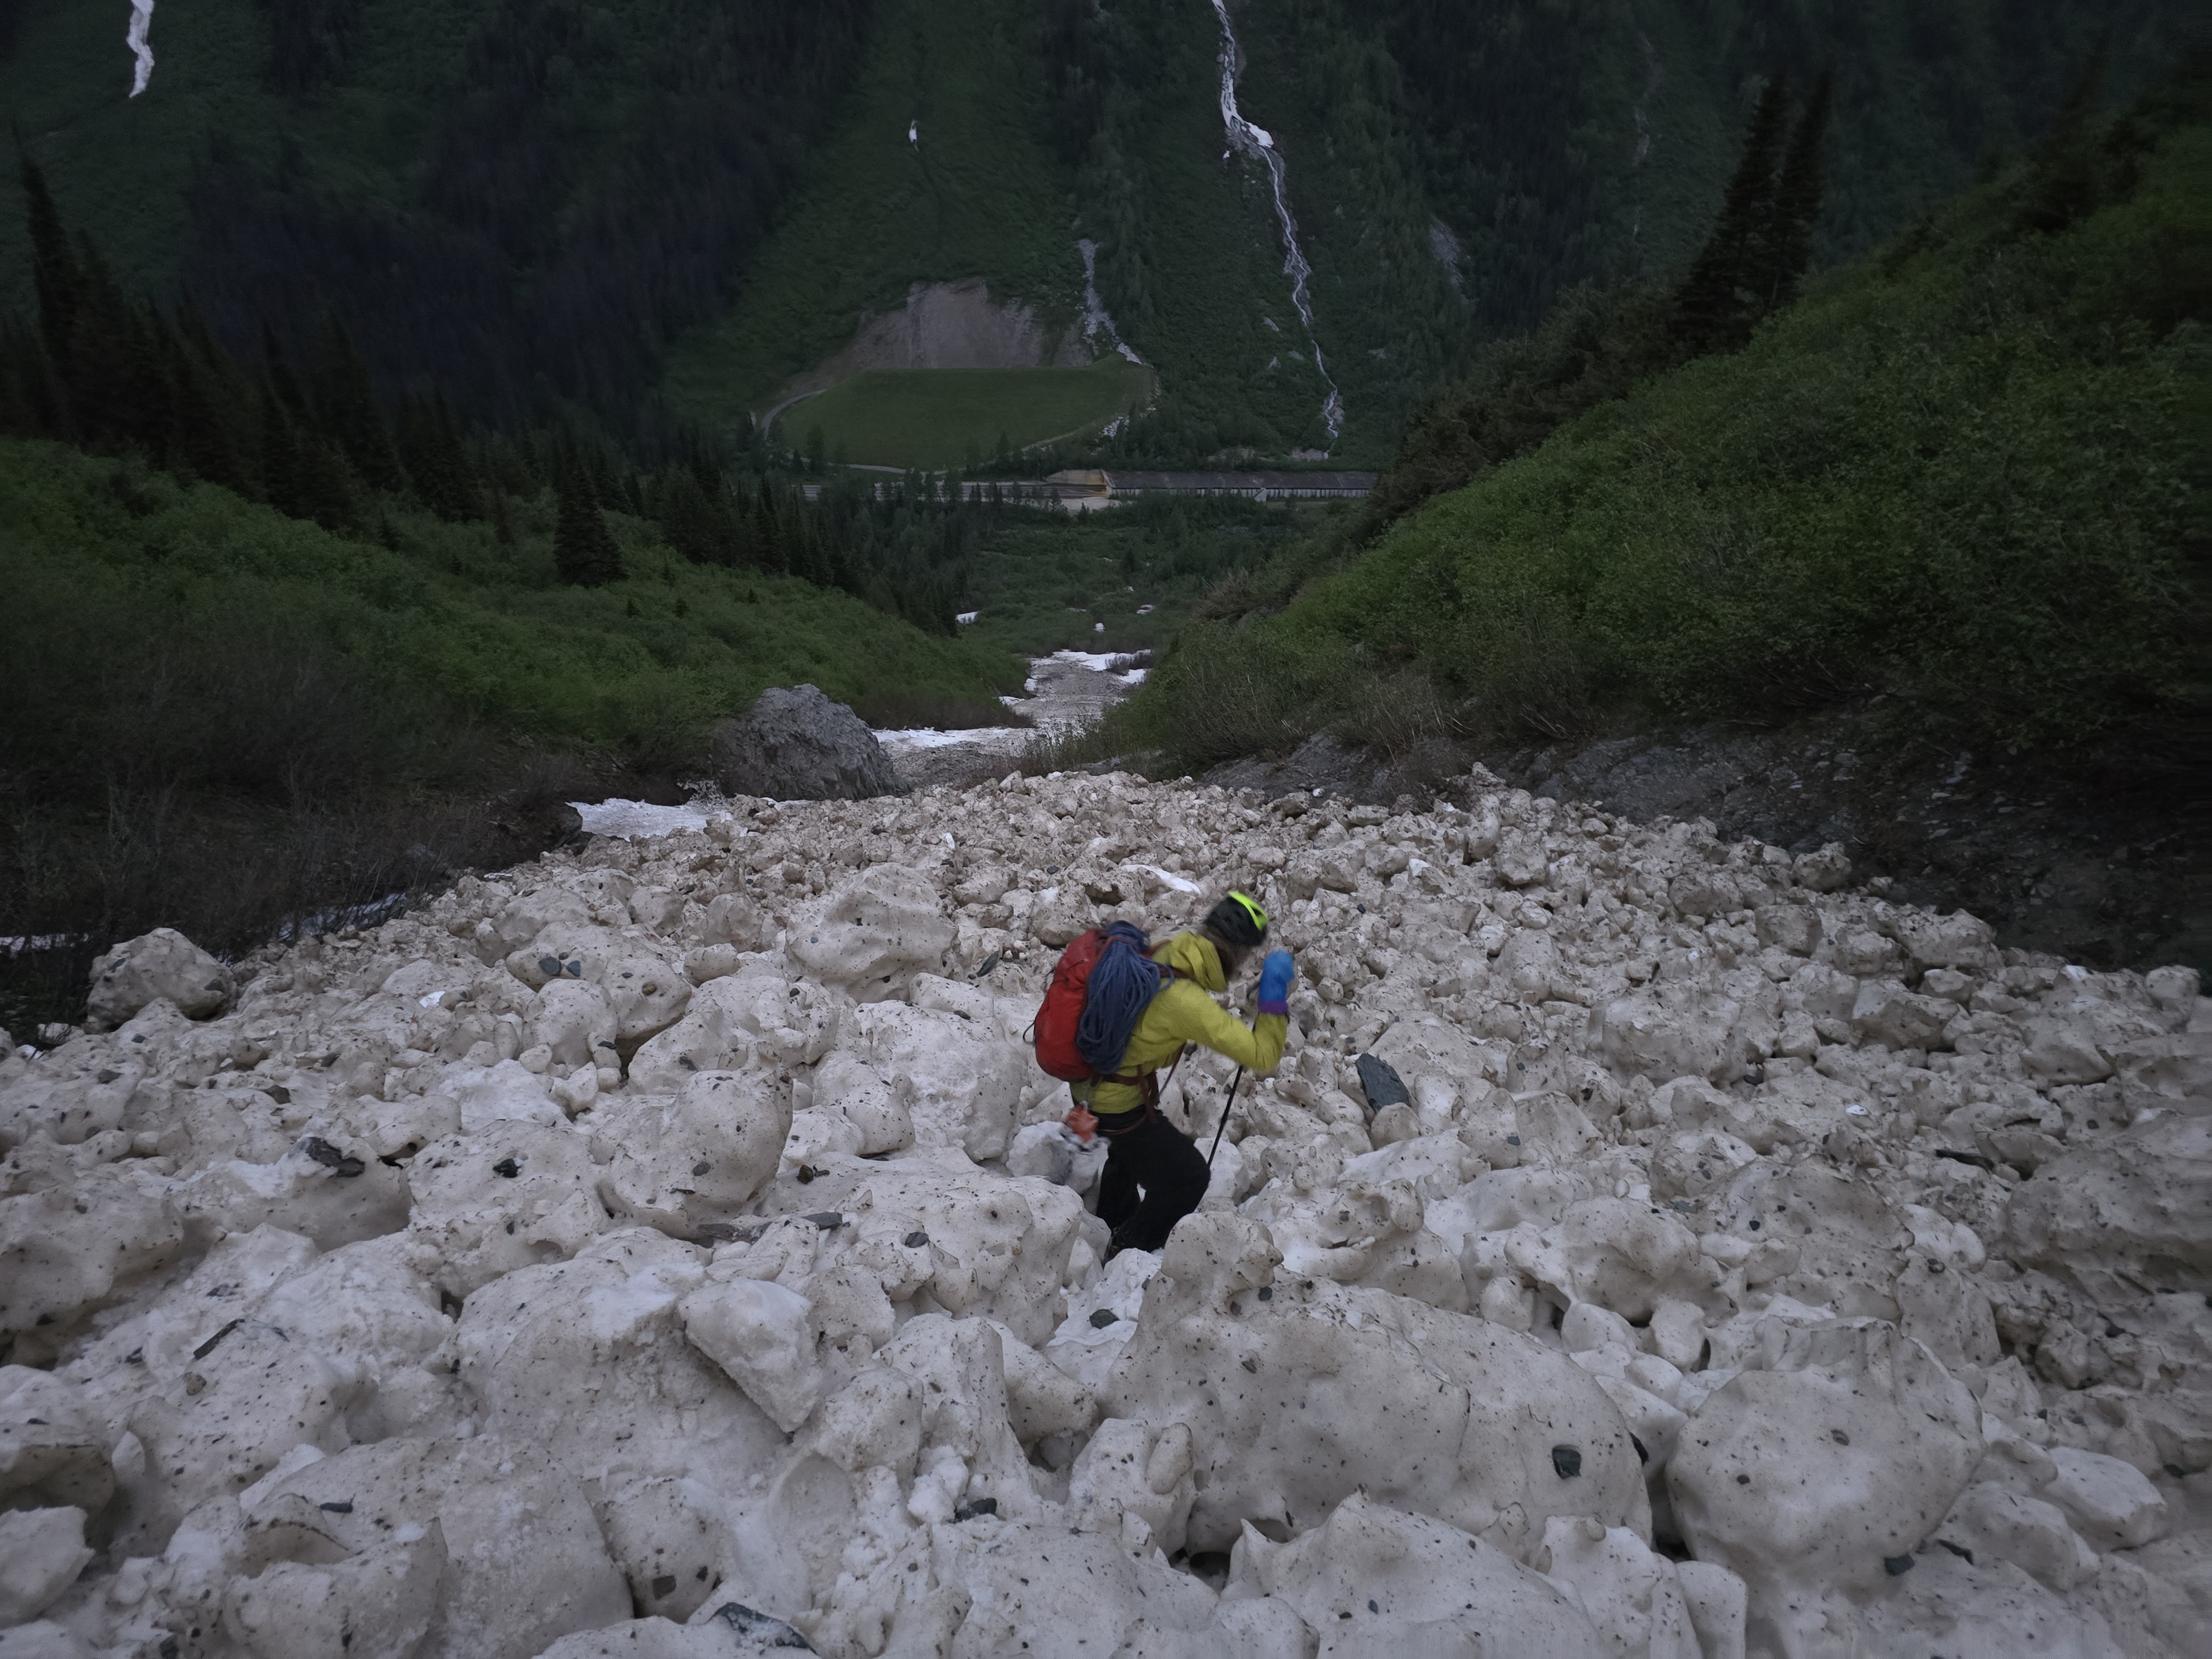
Join up with the stream, then angle into the Herdman. This is a moderate couloir (crampons and ice axe recommended) when filled in with snow, or a heinous scramble when dry. It stays covered in snow until early in the summer, despite being at a low elevation; so much avalanche debris accumulates that it takes a while to melt out.

In dry conditions in 2023. This is one of the more pleasant sections.

Even with snow, there were some dry steps. Seton went to the right, and I went left on sketchy slabs; the right is definitely easier.
4 – The Scramble
Once out of the Herdman couloir, angle leftwards up and towards the ridge. There is a nice obvious ledge to bivy on just left of the couloir. Higher up, steep scrambly terrain (interspersed with trees) provides access to a prominent notch that marks the start of the route. Gain a fair bit of elevation until you can break onto the steeper terrain, then angle up and left. From the bivy platform, the specific line you take is not obvious. Our approach of just taking the path of least resistance seemed to work well, and never got harder than 4th class. Once near the notch, you cross a gulley and gain ledges that look improbable from afar, but provide easy access to the ridge.

A *very* approximate line for the scramble

Some of the harder scrambling
The final gulley to cross before the notch

The traverse ledge into the notch. I took the obvious line in the middle, battling my way through trees.
5 – The Lower Ridge
Climb up the ridge to where it steepens. There is a bit of a “bowl” here; we cut out left and went to the left of the crest before cutting back up. Then, follow the ridge crest (or often slightly to the left of it) up weaknesses. The climbing never felt harder than 5.8 (and was mostly easier). We did this section in 4 extended pitches by simul-climbing and placing progress capture devices so that the leader was never threatened by the possibility of the follower falling. Route finding felt rather straightforward while actually climbing, but it was not always obvious looking from the belays which way the path of least resistance would end up being. If it feels harder than 5.8, don’t push on. At the end of this section is the promenade ledge; a huge (and mostly quite flat) ledge that (a) offers a great spot to eat lunch, and (b) offers an escape if you no longer want to continue the climb (see the Rogers Pass guidebook by David P. Jones for details).
We started the roped climbing on the ridge by cutting out left, aiming for an obvious horn that you can sling
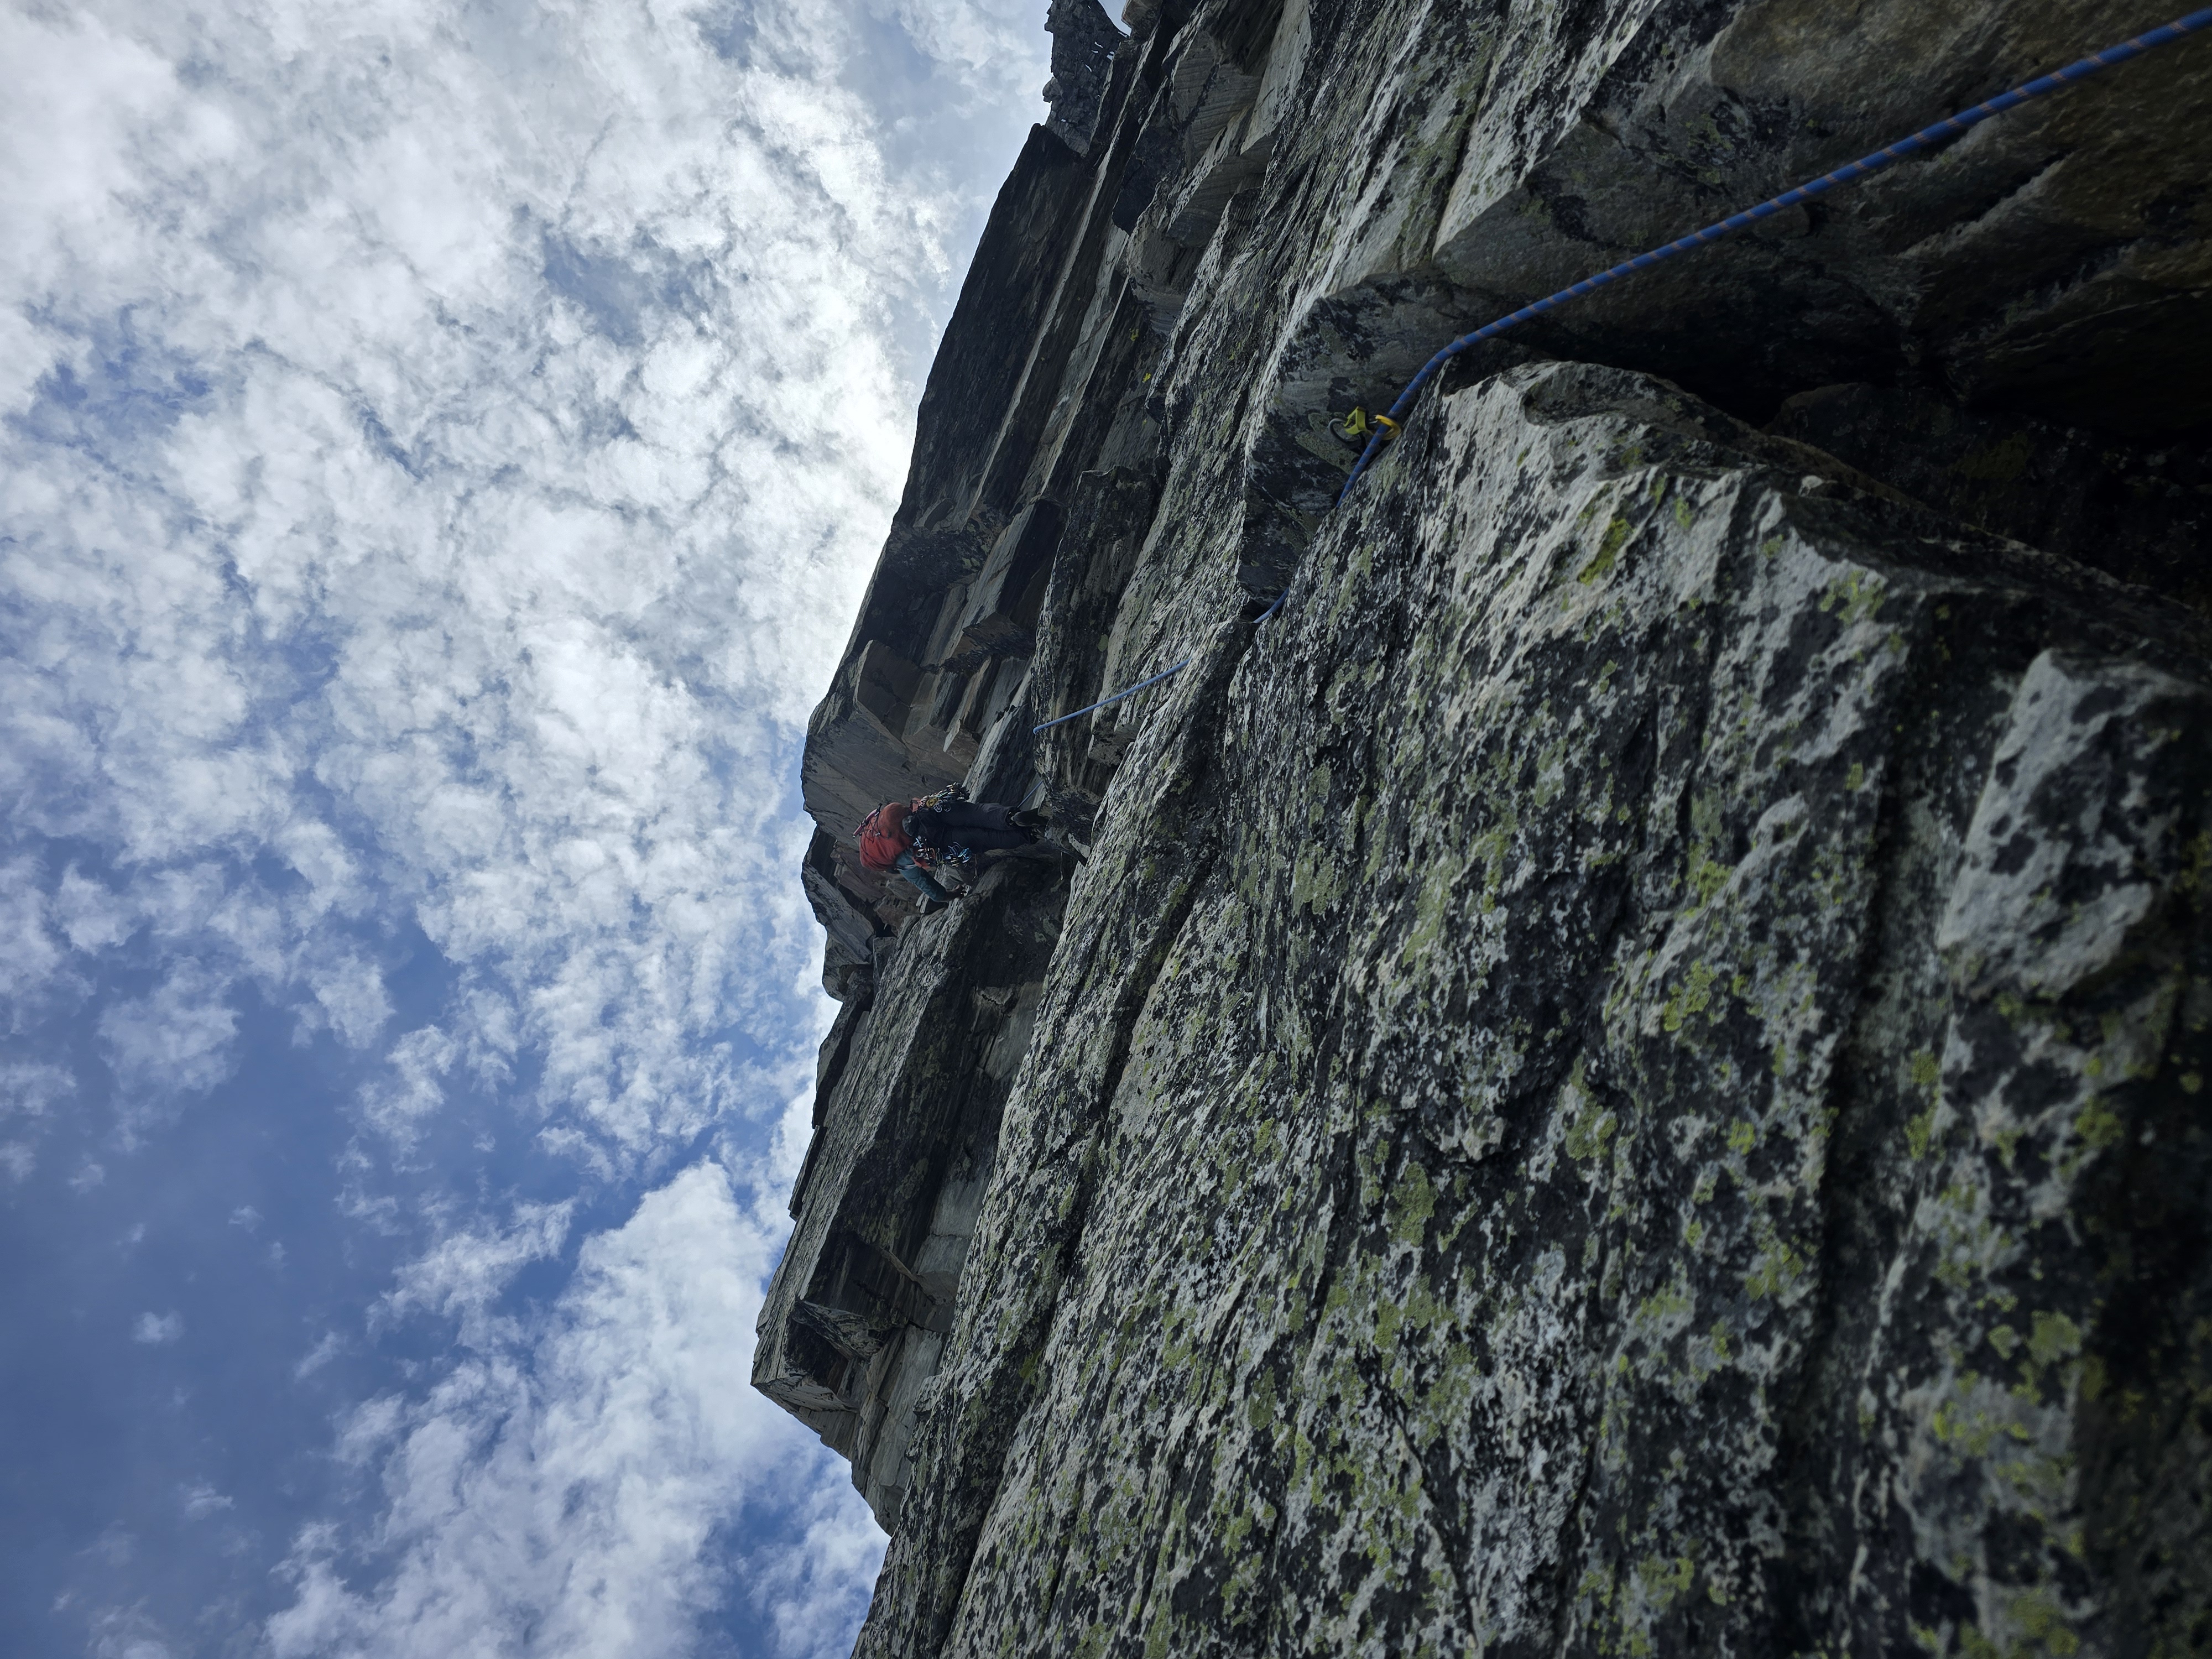
One of the 5.8 steps lower on the ridge

Seton cruising higher up
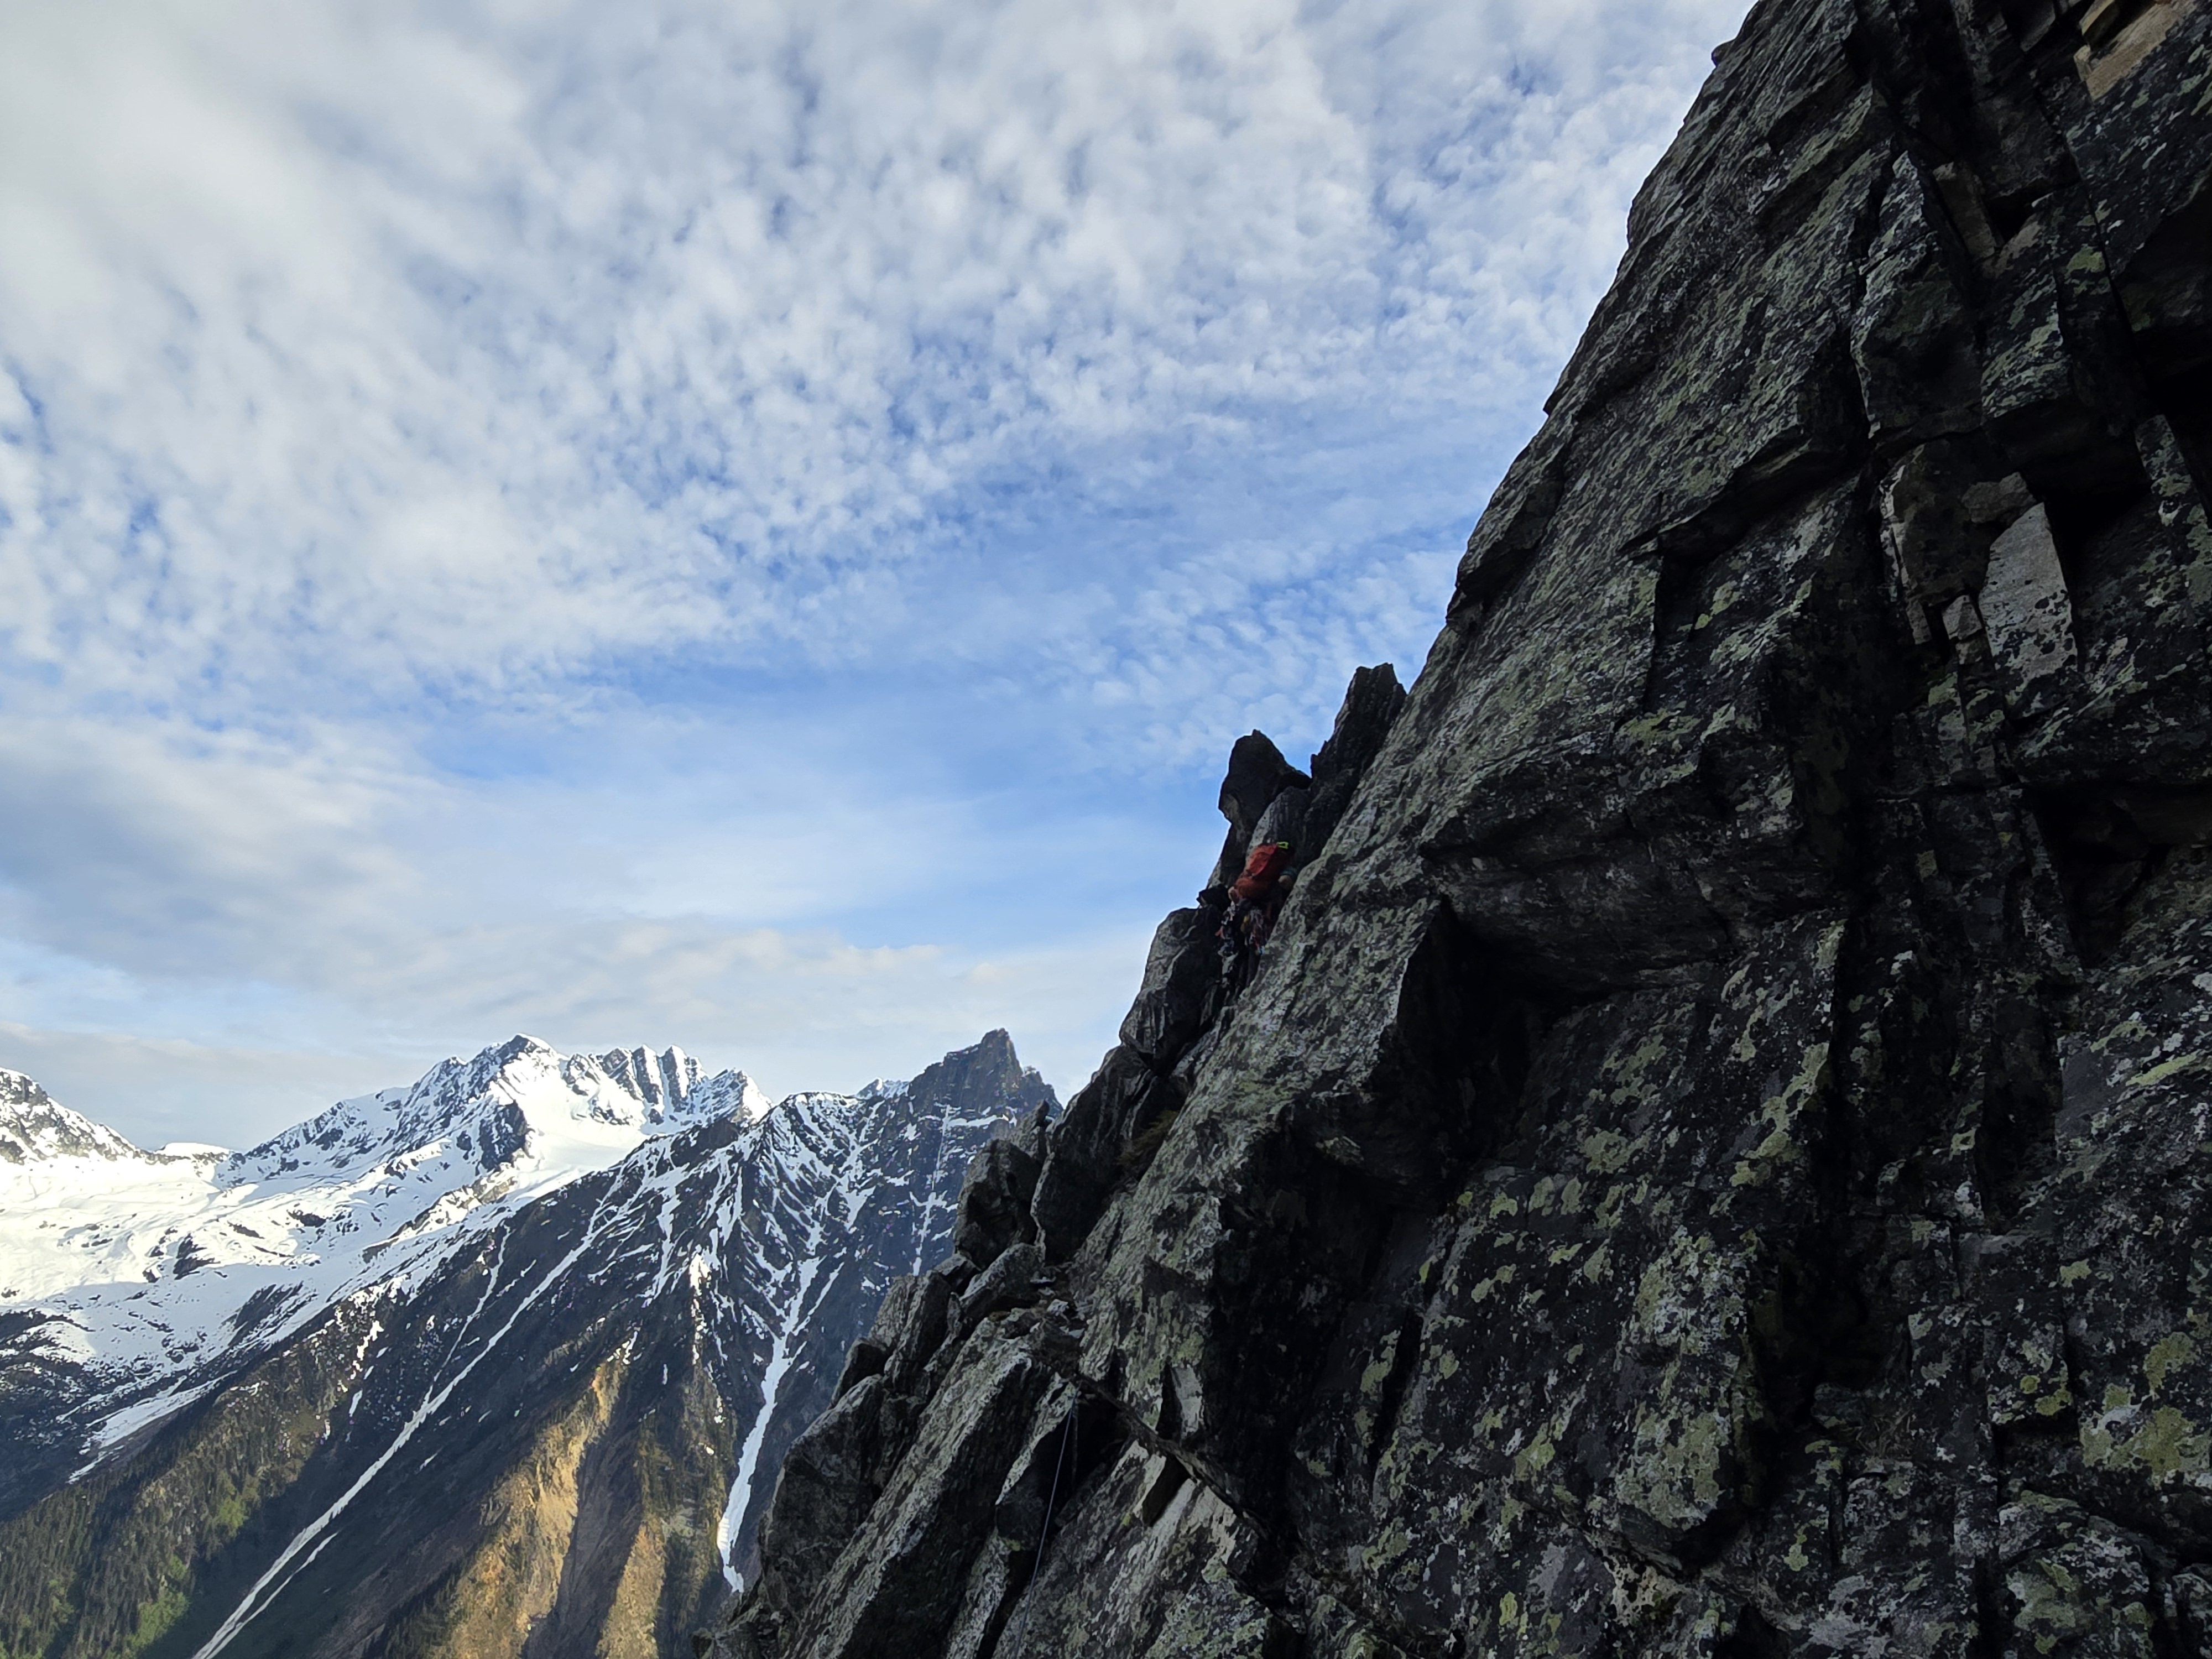
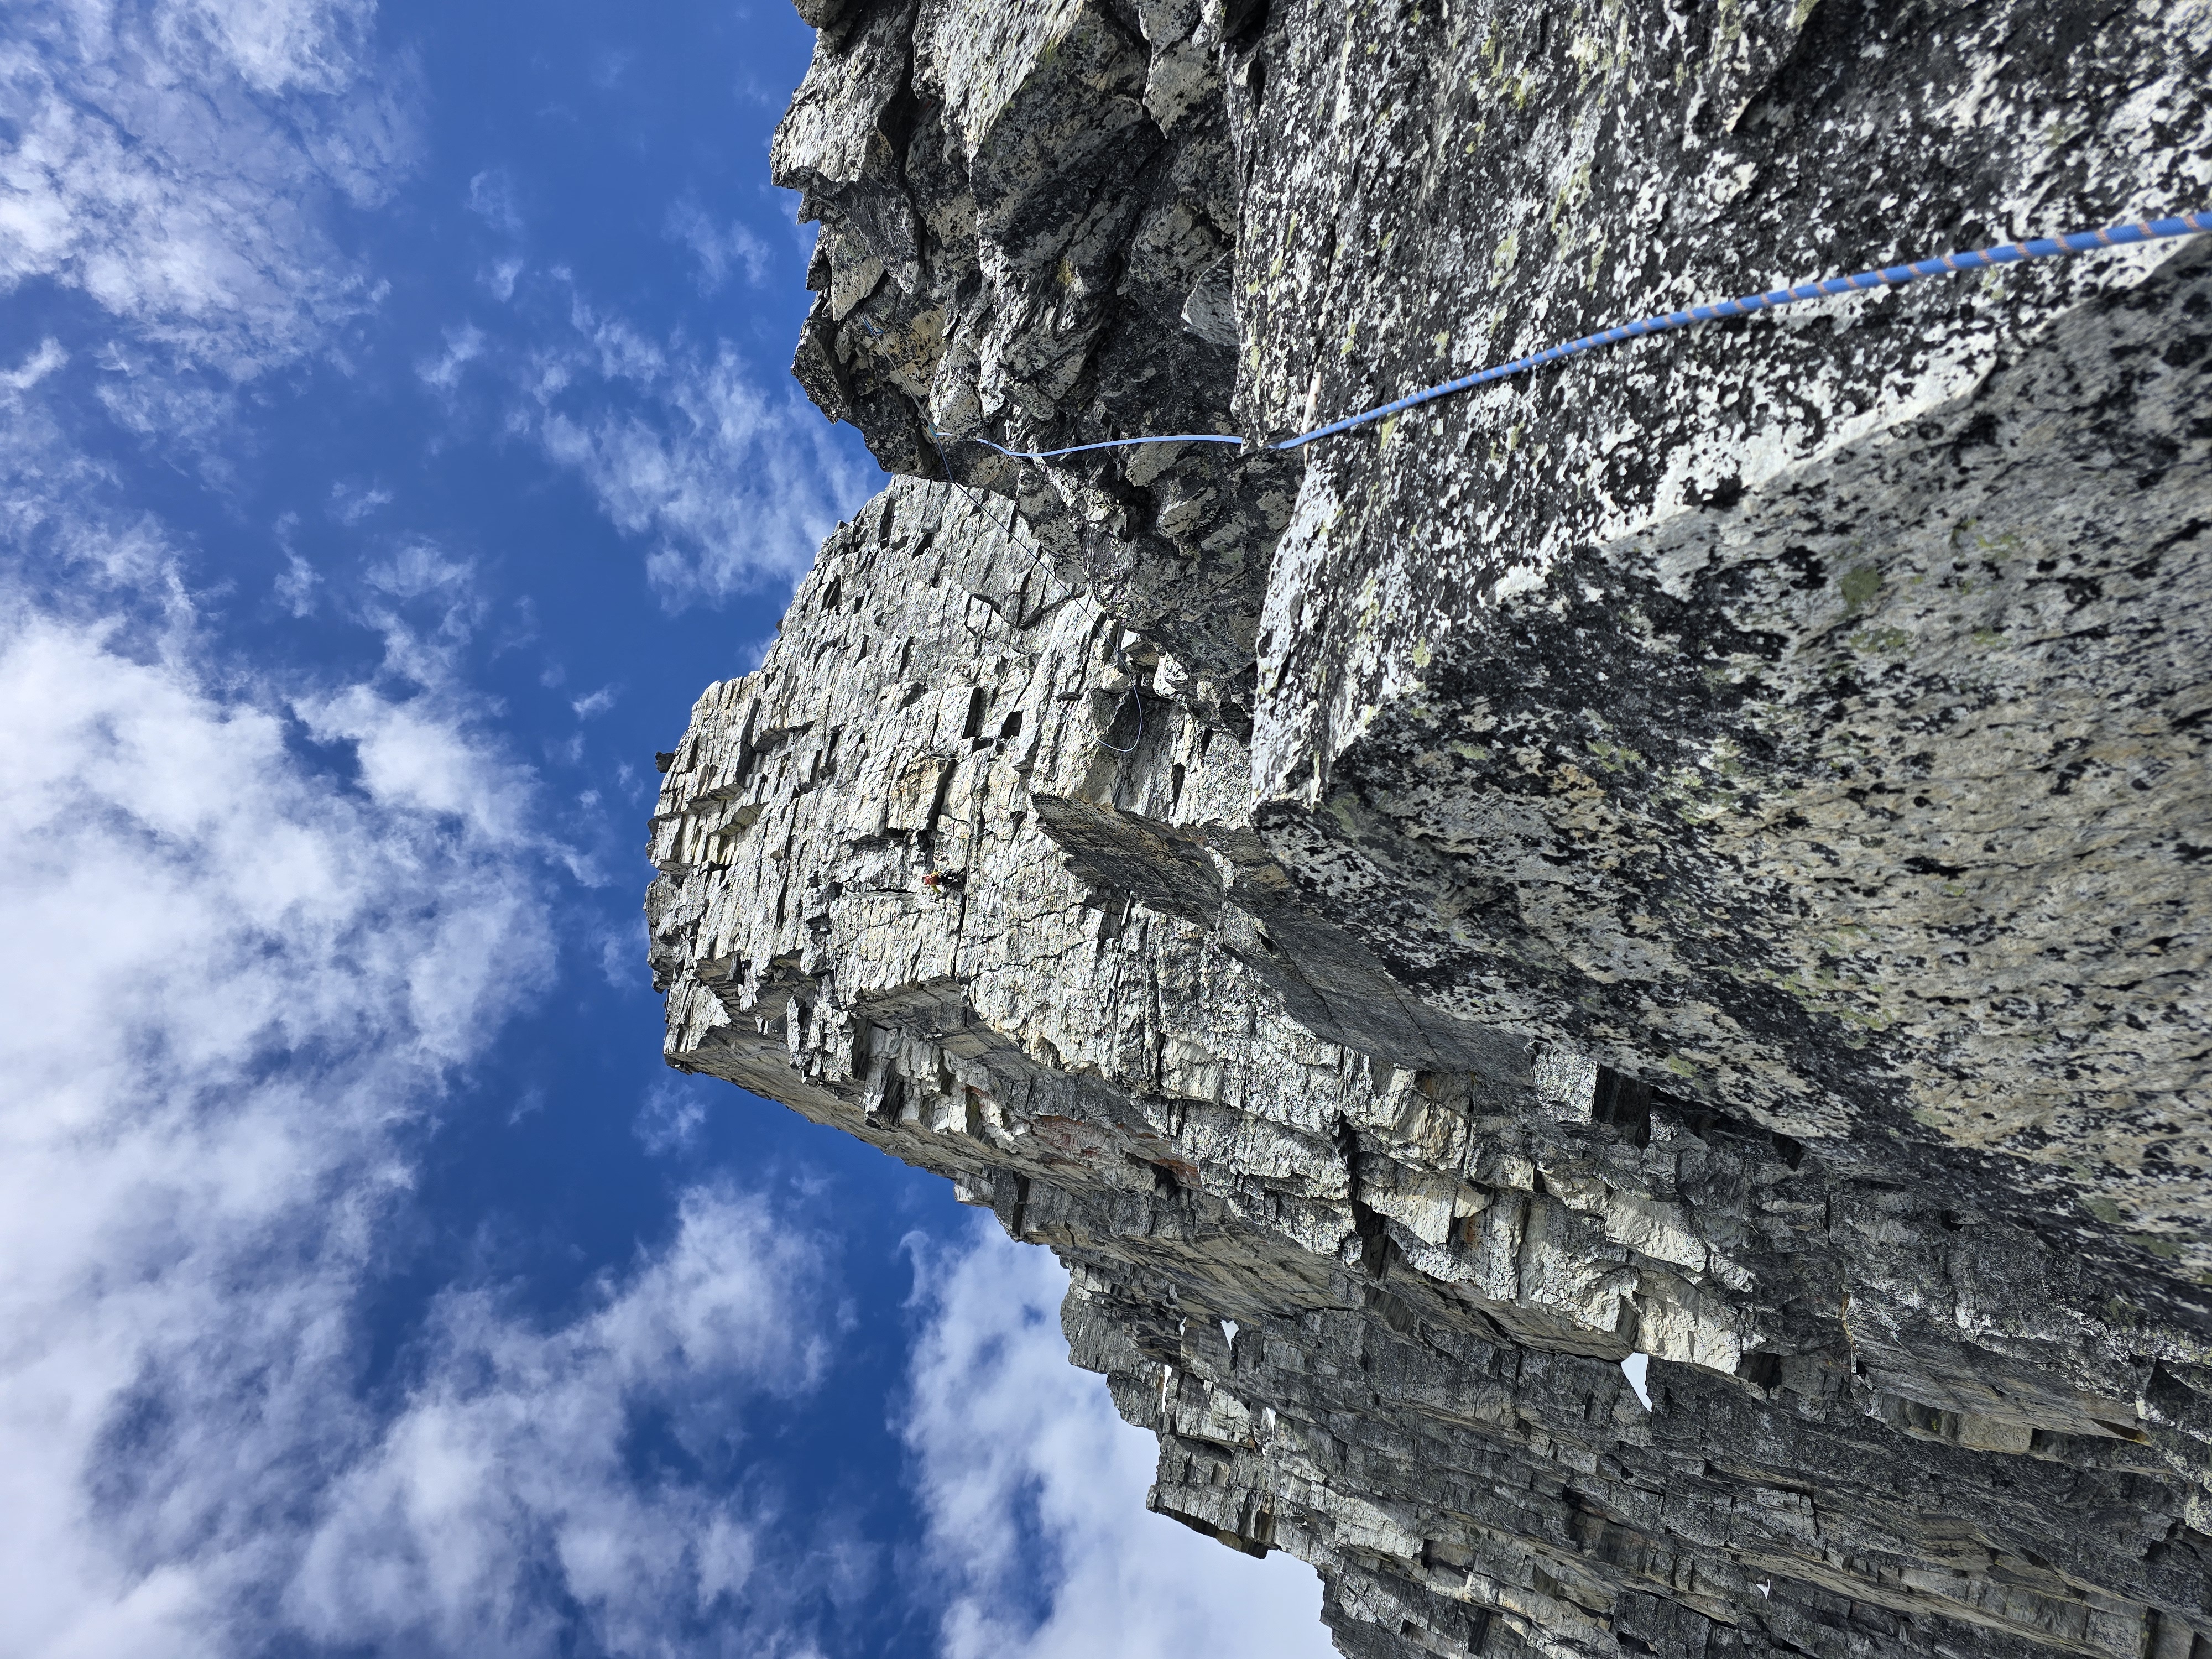
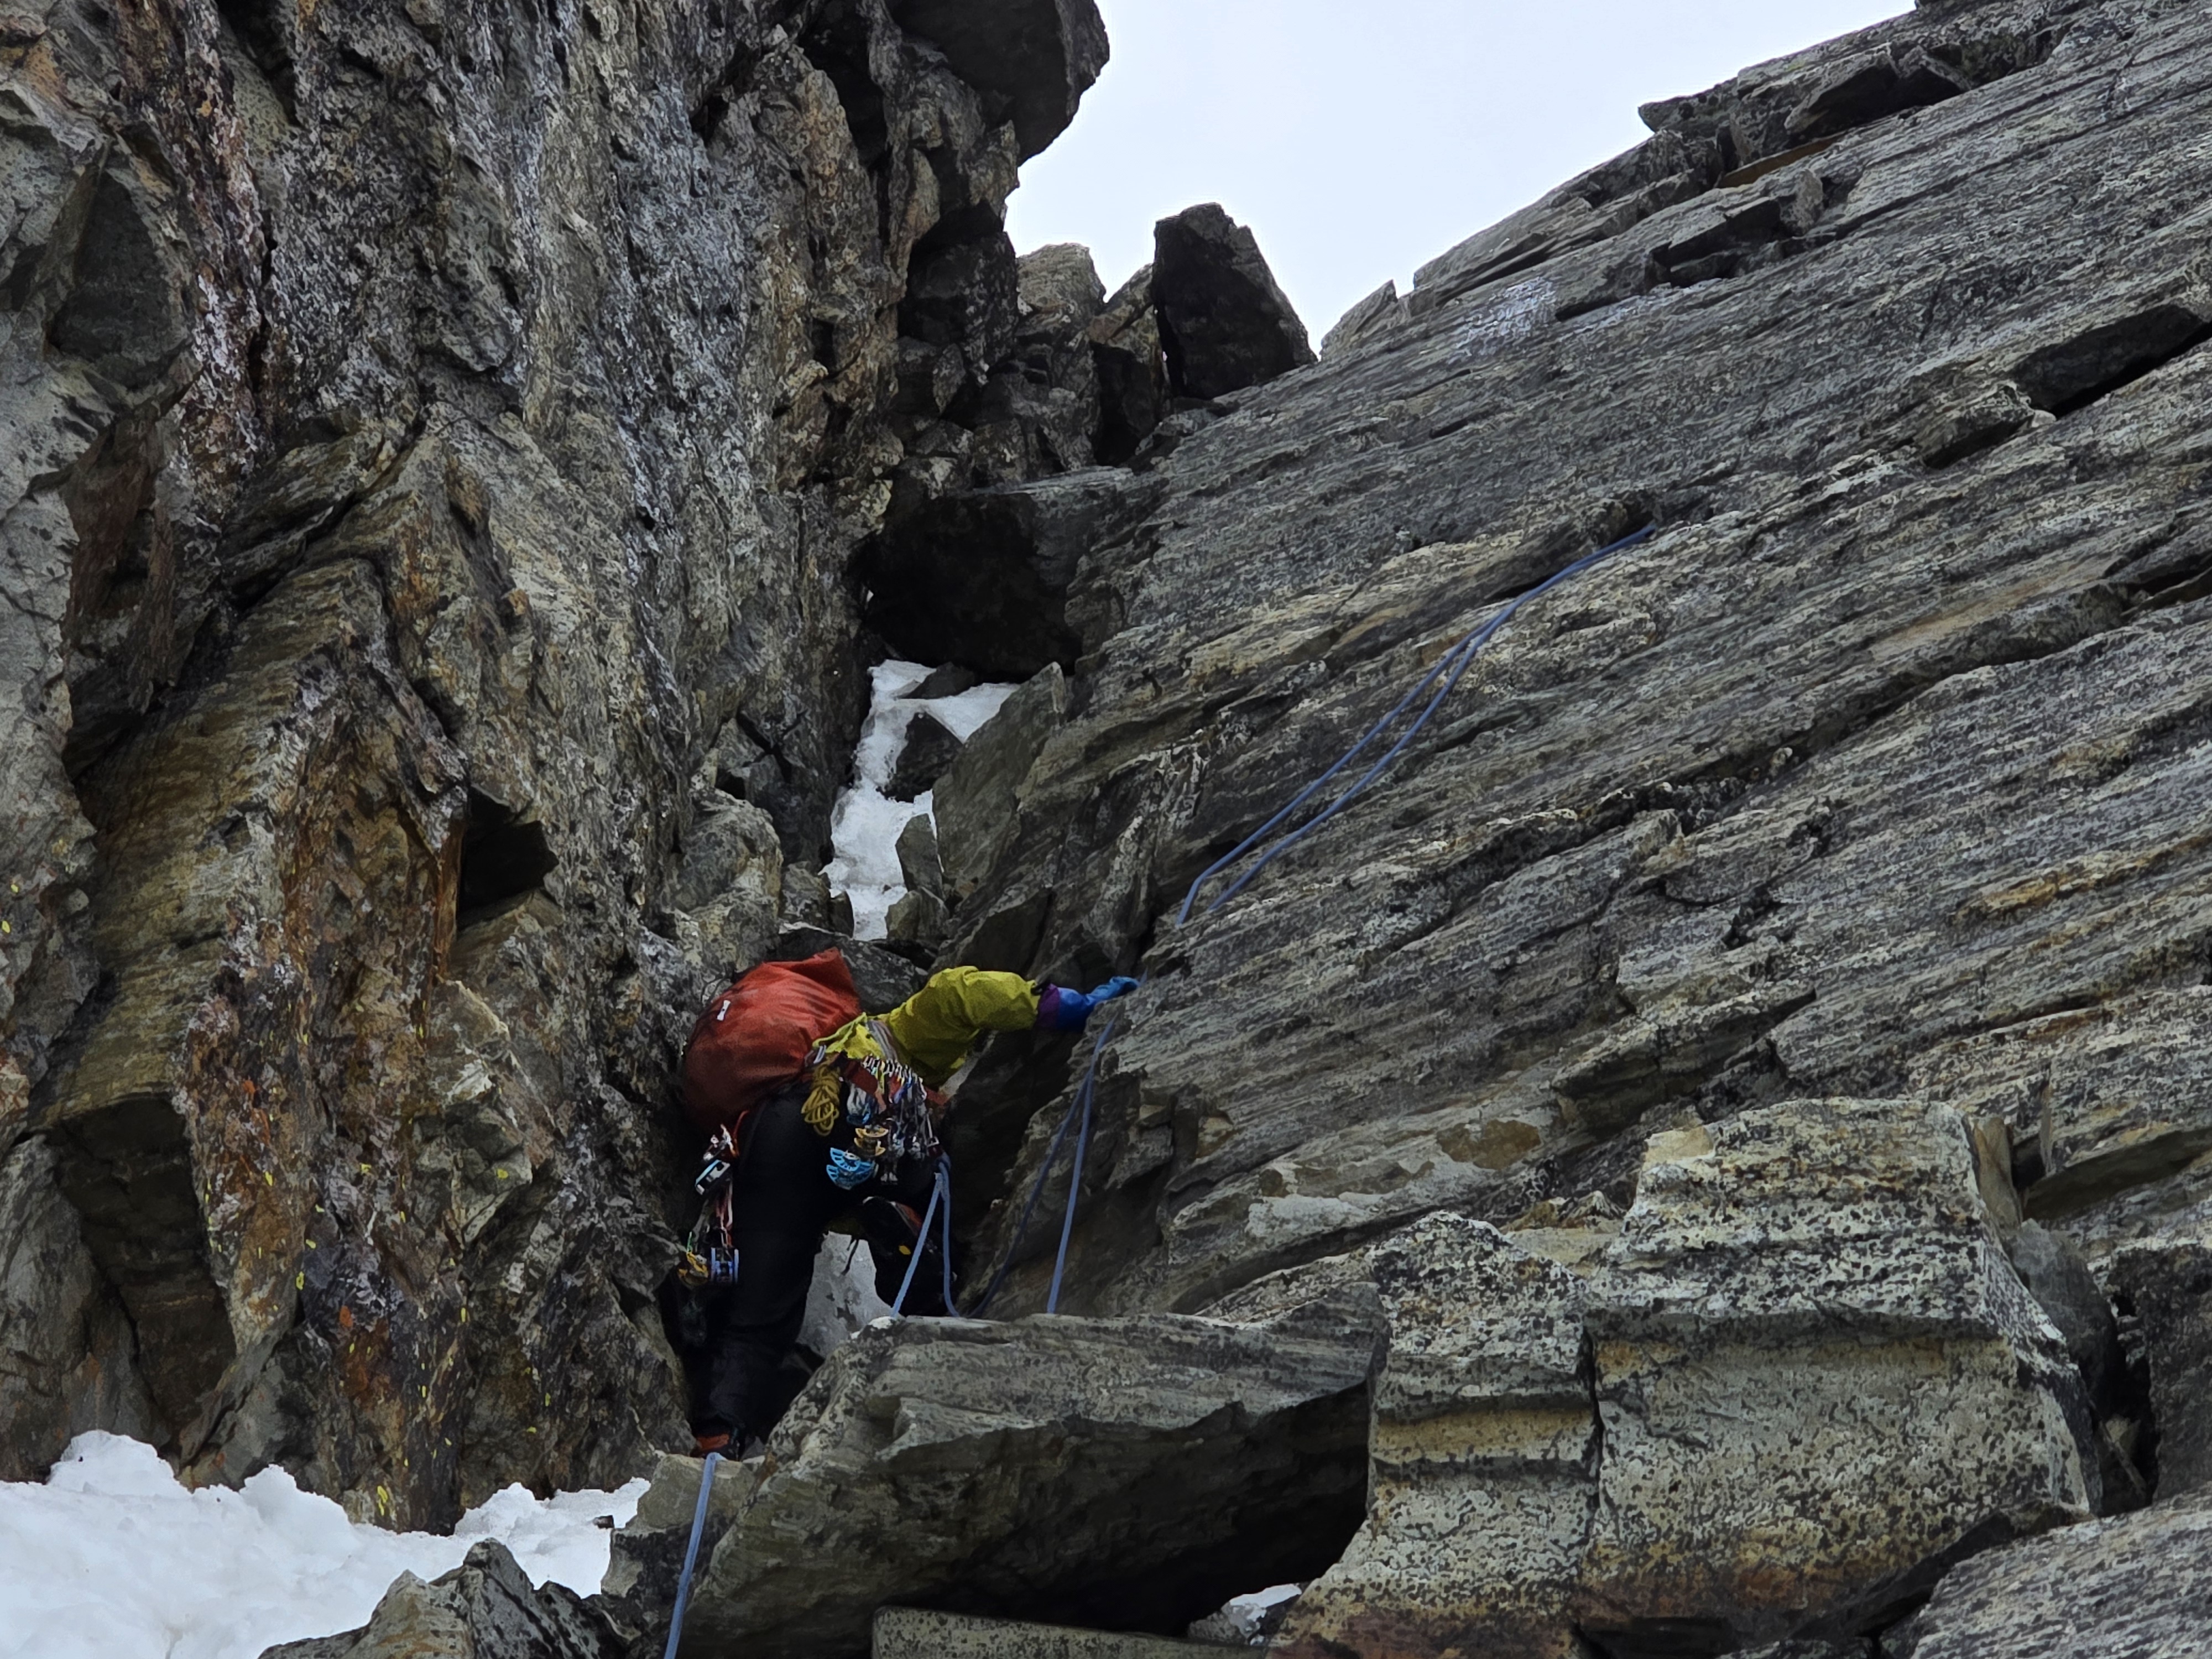
6 – The Upper Ridge
In theory, this can be done in 2 pitches with a fair bit of scrambling. All the scrambling was under snow for us, so we ended up climbing it in 6 pitches with a bit of simul-climbing to boot. It took us longer (and felt harder) than the lower ridge. The technical crux came for me when I was seconding, and did not have enough slack in the rope to make a few traversing moves to follow the path of least resistance (we were simul-climbing and the progress capture device would not allow any rope to backfeed; the slack I had was fixed). This forced me to climb the line straight, bumping the grade to 5.10b. Otherwise, the climbing here was never harder than 5.8 (and even then, the 5.8 was almost entirely higher up where I continued up harder cracks instead of trying to take easier but snowier ground). It also didn’t help that an unforecasted storm hit us on the upper ridge; wet quartzite is slippery and significantly harder to climb. At this point, we began to seriously worry that the rain would make the couloirs un-down-climbable (for fear of avalanches), and that we might be forced to bivy until late in the night when the rain stopped, temps dropped, and stability returned. Luckily, this did not end up being necessary.

Mixed climbing on the Promenade Ledge. In summer conditions, this would be easy scrambling.

Exiting the Promenade Ledge
On the upper pitches
7 – The Summit Block
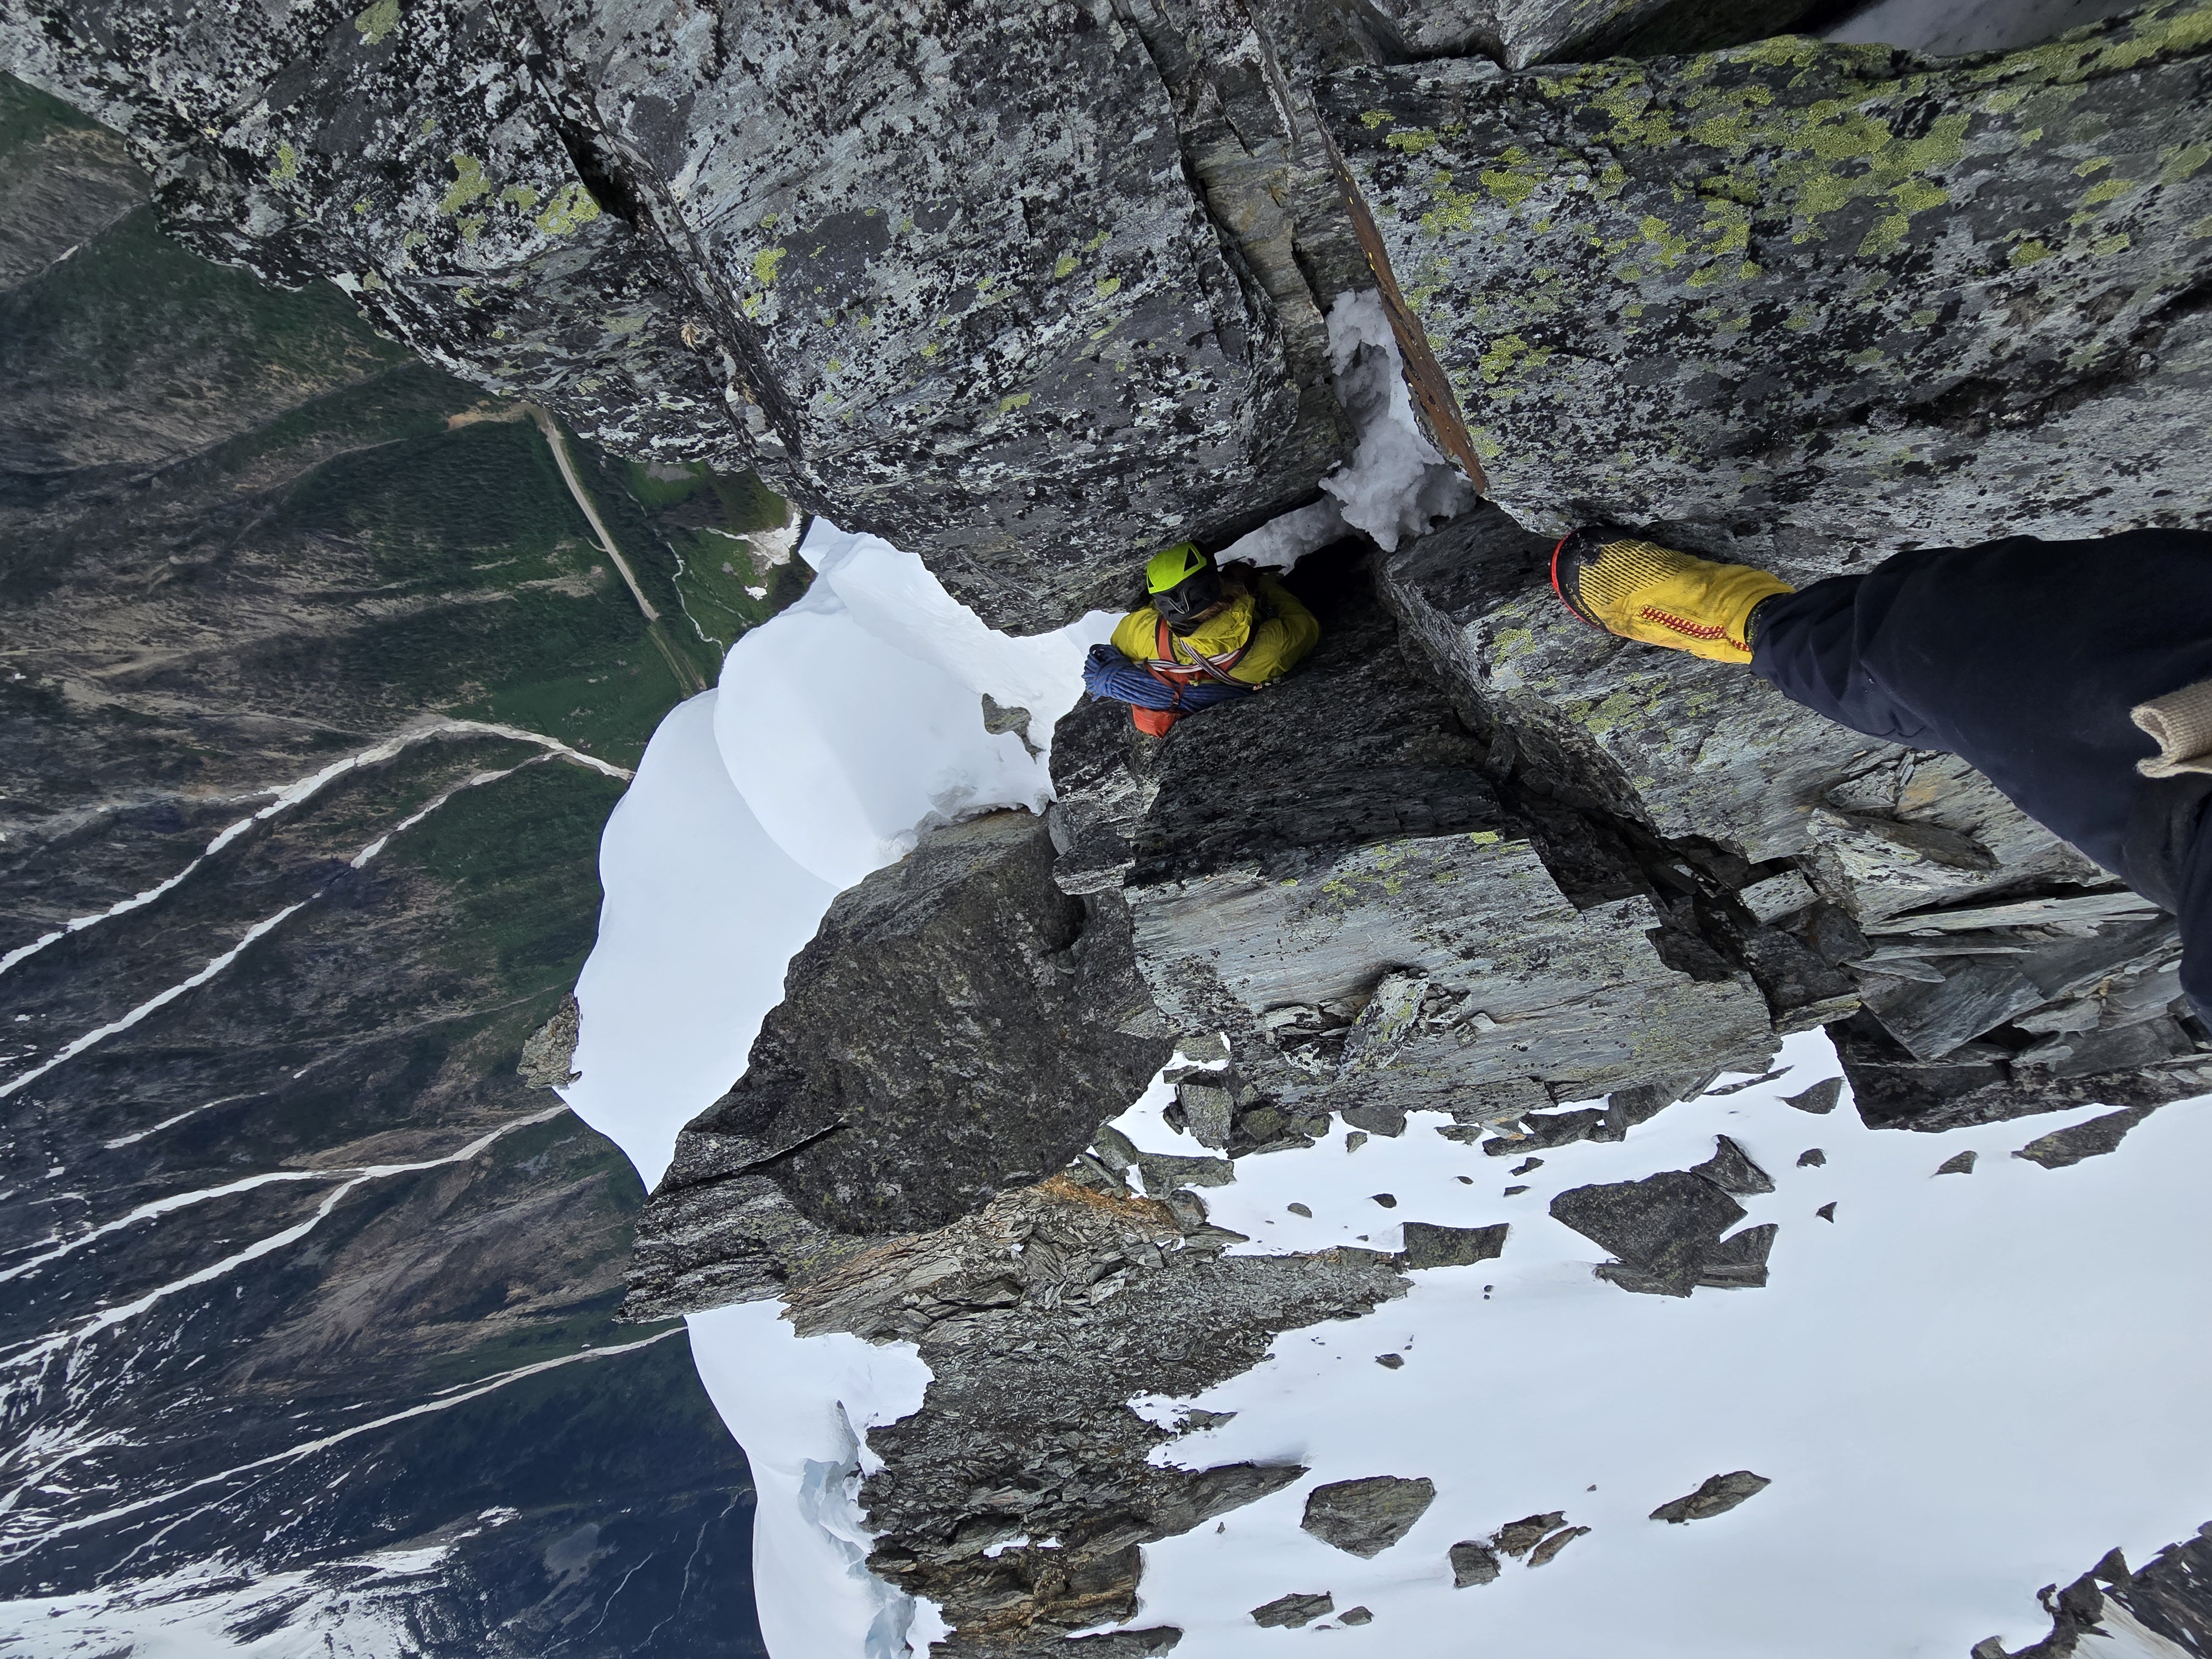
After the technical climbing is done, some scrambling still remains. We post-holed through snow on flatter terrain and soloed some low-5th terrain to avoid even more post-holing. In dry conditions, this section would be straightforward and pleasant scrambling. To descend off the summit block, we did one rappel off of fixed tat. This rappel would not be necessary in dry conditions. Unfortunately, our rope got stuck (wrapped around a flake) necessitating Seton to climb back up the cliff using the other end of the rope, before down-leading back onto lower-angle ground.
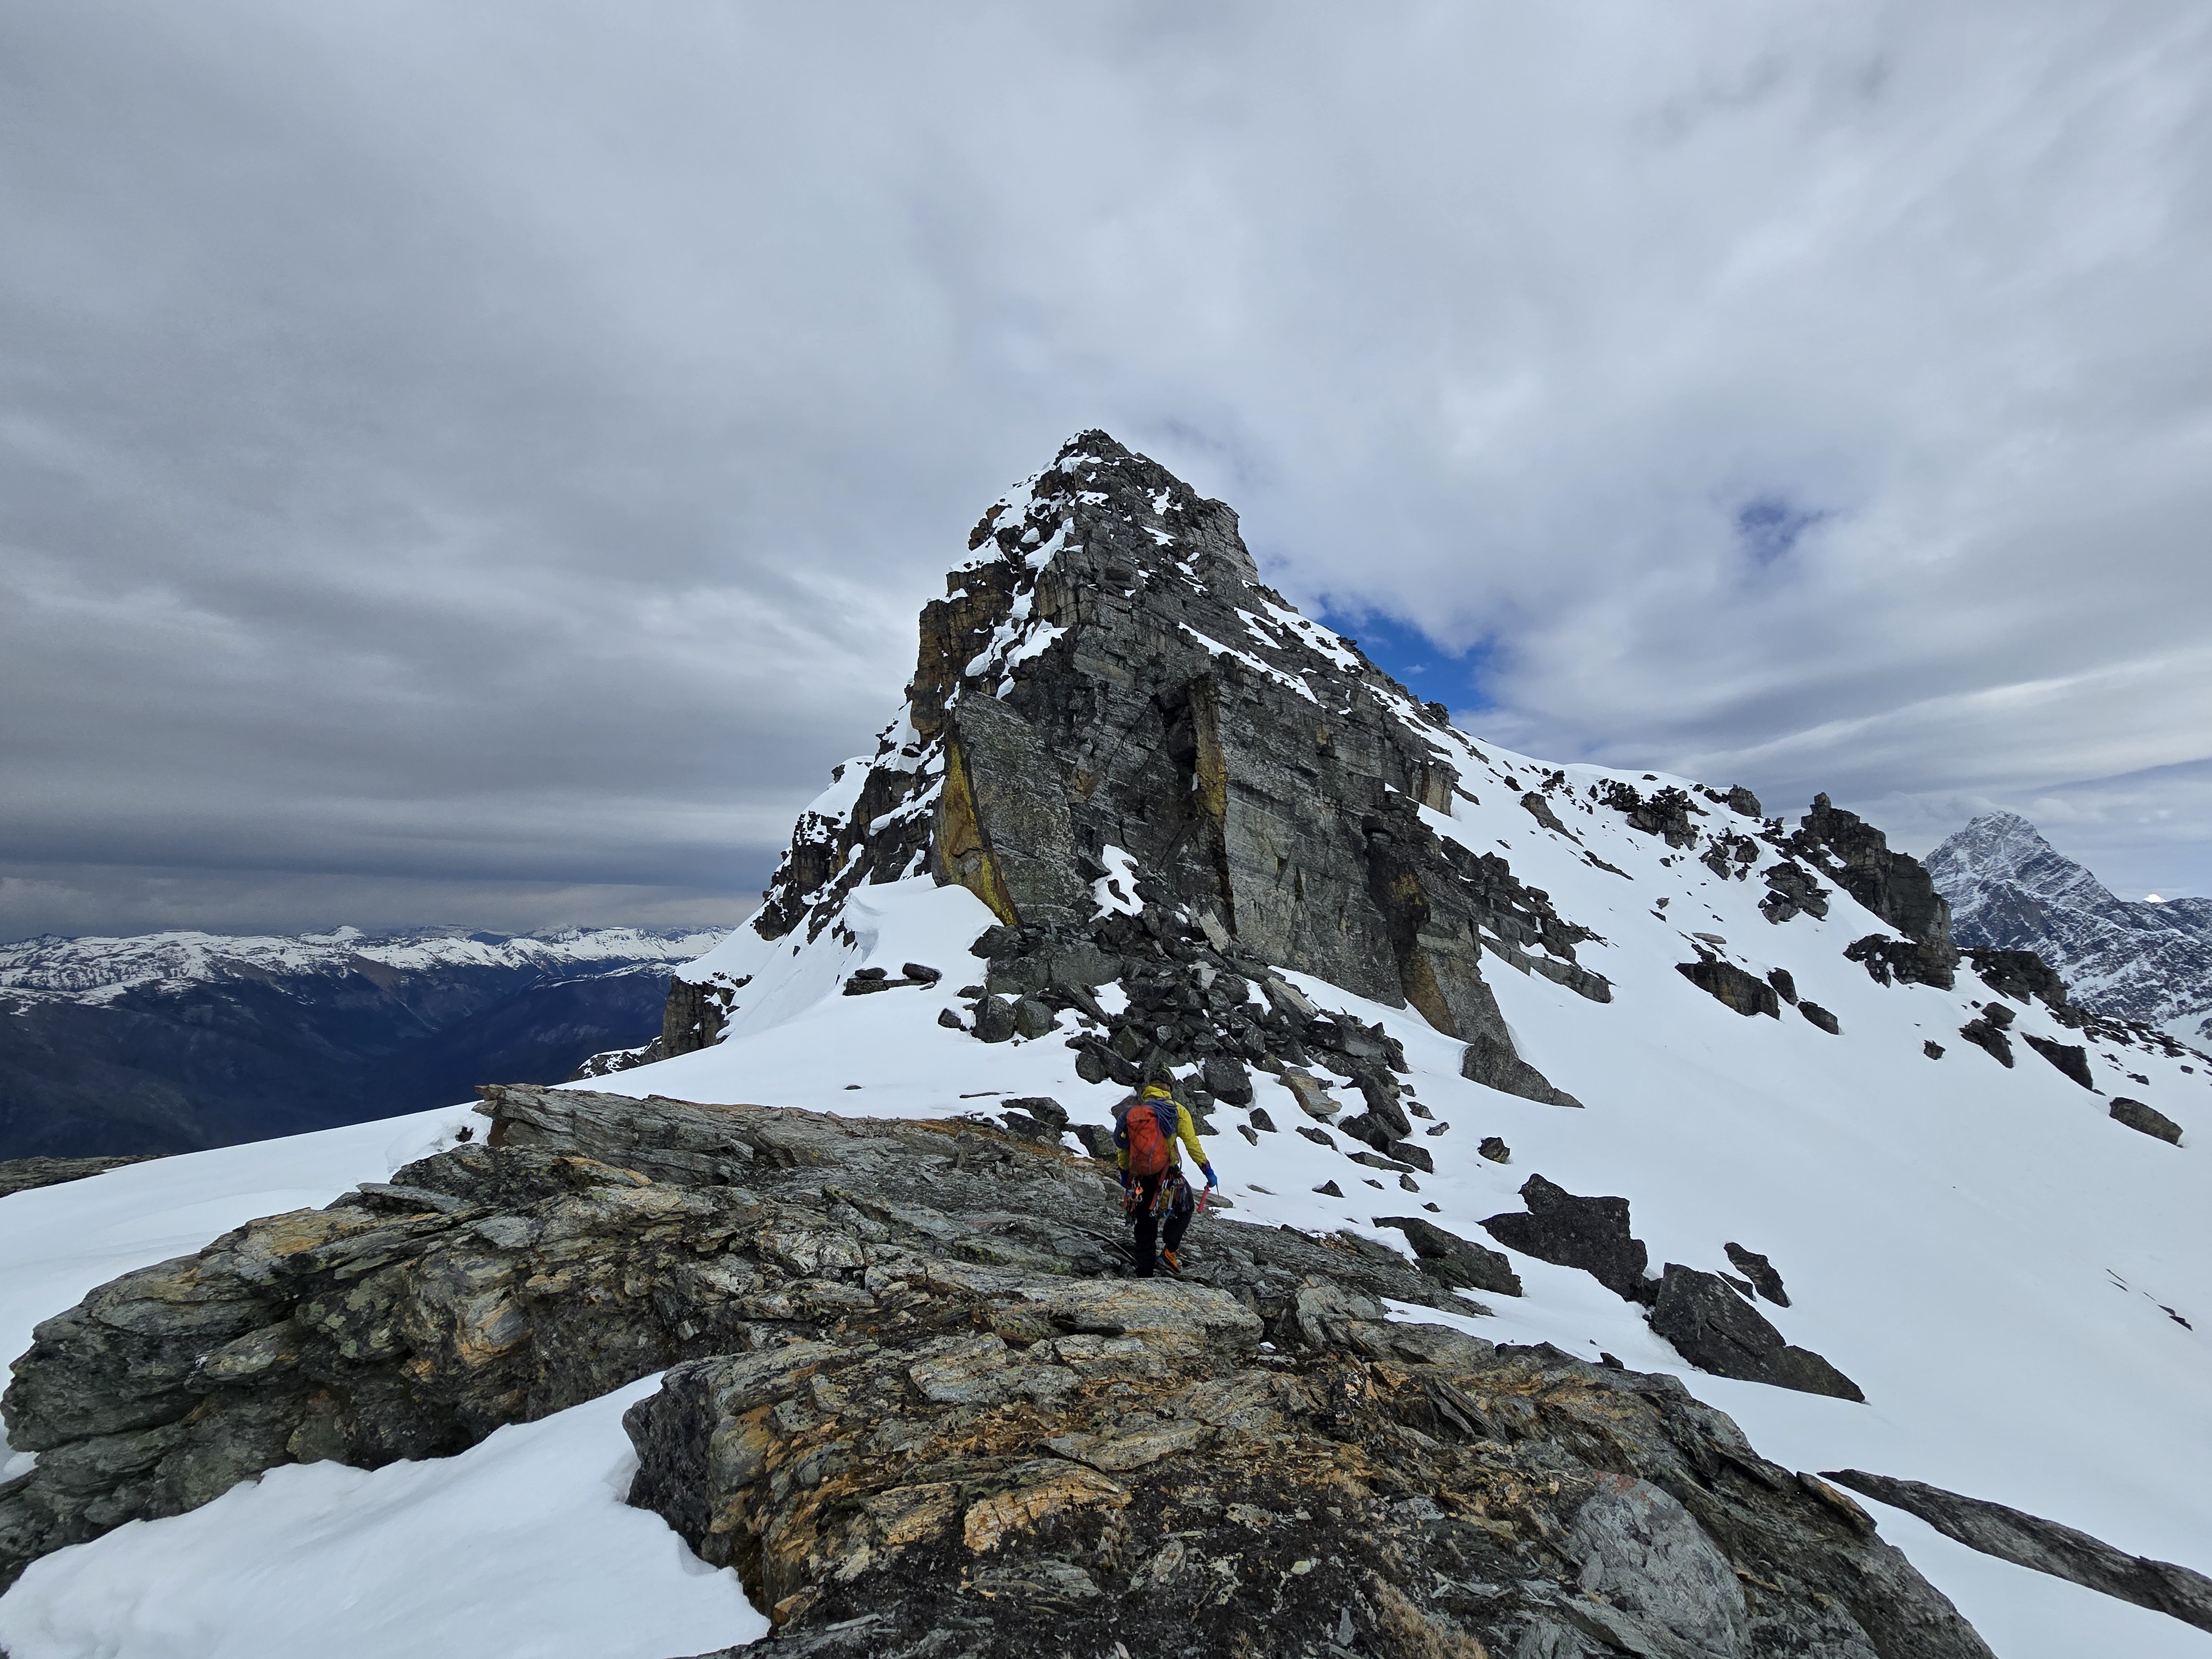
The summit block
The one step of 5th class chimney we needed to ascend. This would be avoidable in the summer.
Seton rescues the rope on the descent
8 – The Southwest Ridge
To continue descending, make your way down the Southwest Ridge on mostly 4th class terrain. There are 4 rappels here on tat anchors, and one at the bottom off of two nuts (for a total of 5 rappels, not including the summit block). These can be done with a 60m rope. In dry conditions, none are strictly necessary if you can downclimb low-fifth terrain. In the stormy, snow-covered condition in which we found the ridge, all were used. We managed to get a rope stuck again, this time forcing me to solo some wet low-fifth terrain to retrieve it.
The ridge also has some lower angle terrain; we downclimbed mostly by wallowing in isothermal snow. Our pants were soaked, and our boots filled with water at this point. Precip from the storm wasn’t helping either.

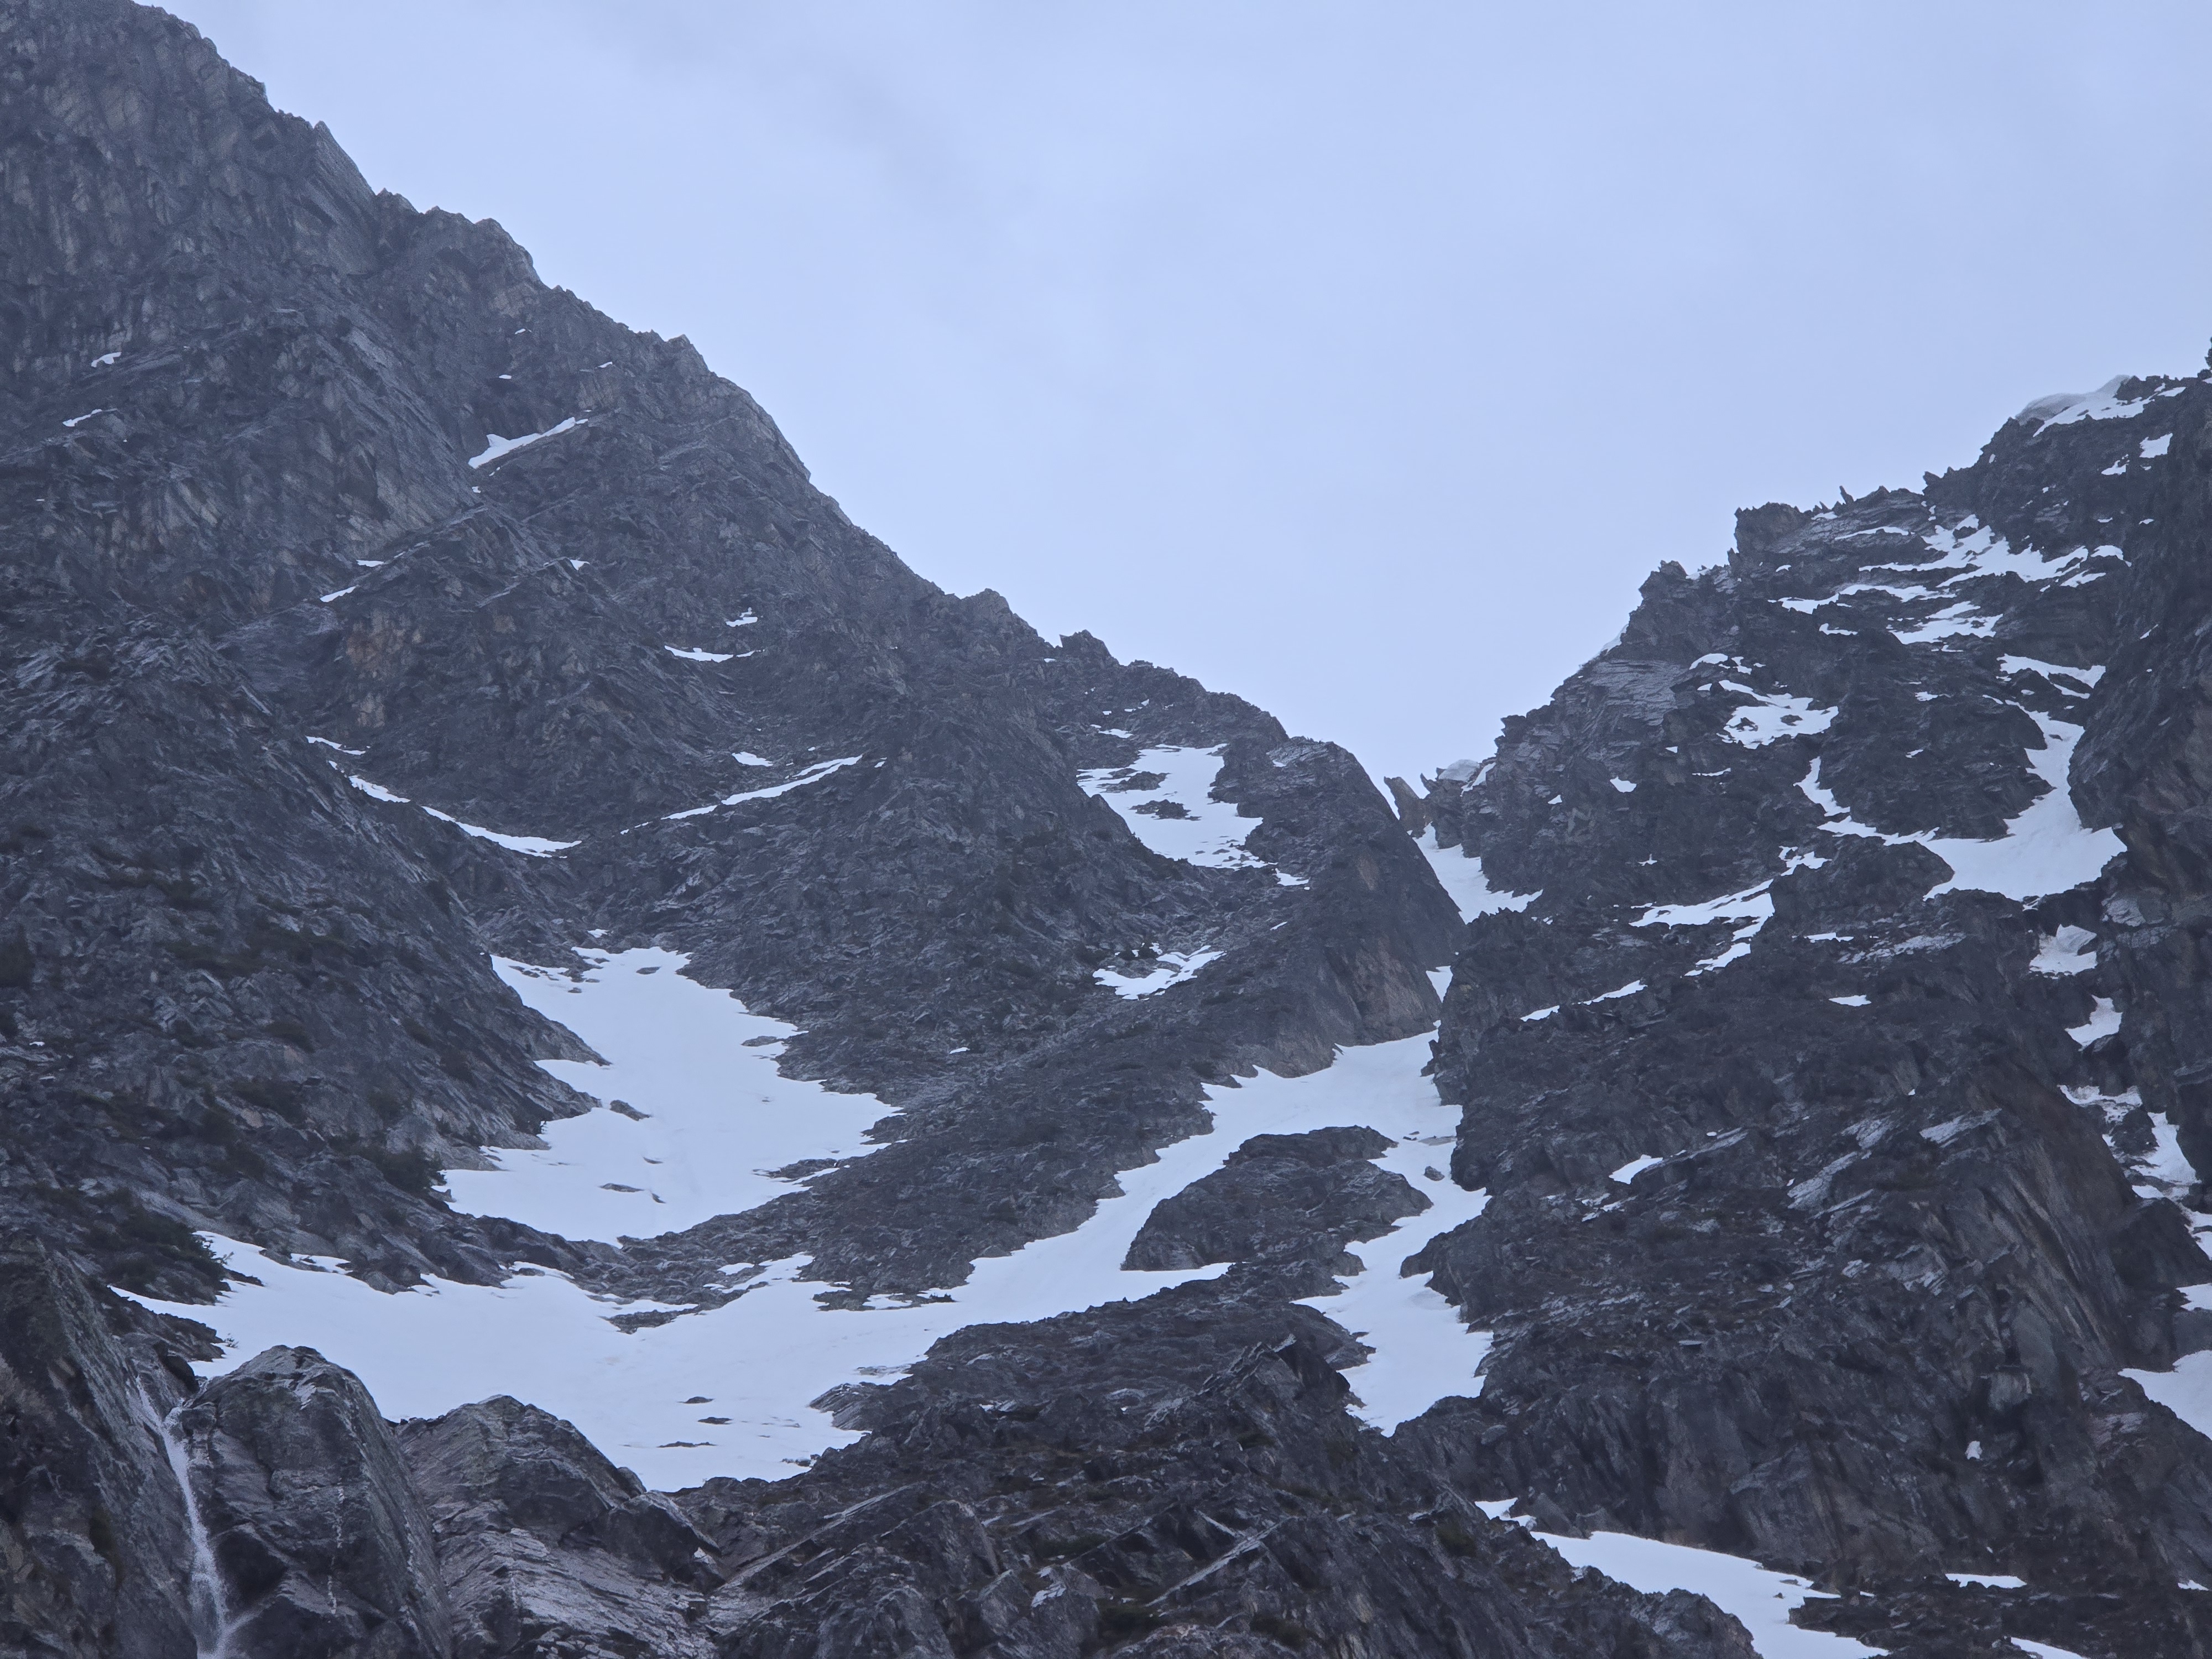
The ridge in the foreground running from left to right is the SW ridge of Macdonald. Photo taken from Tupper on July 10th, 2024.
9 – The Upper Couloirs
Once near the bottom of the ridge, you have two options; cut right into the Banana couloir (1 rappel to access it off of a large slung block), or continue down to the lower-angle Herdman couloir. We chose to take the Banana couloir because accessing the Herdman looked like it would require significantly more post-holing, and we wanted off the mountain ASAP. In better conditions, the Herdman might be more pleasant; I’ve heard that you can glissade down most of it when in good condition (which would not be possible in the Banana couloir considering how steep it is). The downclimbing was straightforward, though the snow was isothermal.

Yellow: Banana Couloir
Red: Upper Herdman Couloir
Looking back up the Banana Couloir
The Remainder of the Descent
From the bottom of the upper couloirs, you regain the lower angle terrain that hosts the bivy platforms, descend the lower Herdman, then attempt to retrace your steps through the bushwhack before crossing the log and returning to your car.
As a word of warning: we watched multiple large avalanches (and rockfall events) rip down the Herdman when the sun was out during the early afternoon. I wouldn’t recommend descending it in the heat of the day. Between this and what we saw on our previous attempt (massive rockfall down both the Banana and upper Herdman), I would advise that you consider temperature and timing in your plans for descending off this mountain, since this might be the most significant risk on the climb.
None of this debris was here in the morning…
We finished with a car-to-car time of 19hrs 24min.
5 | CONCLUDING THOUGHTS
The rock quality is stellar, as is the protection (good gear and anchor options), the position (amazing views!!), the quality of the climbing (fun movement!), and the alpine feel (no fixed anchors!). Much of the climbing is on positive holds, and requires high stepping; do some stretches before you start climbing for the day. This route is massive and incredibly high value. Three (out of three) stars, no question.
If you want to climb it, timing is everything. It’s only worthwhile if the couloirs have snow; I think June or early July provides the best timing to climb it. The actual climbing is dry shockingly early in the season, so you can err on the side of going earlier if you are willing to suffer a bit. Conversely, this is decidedly not an August route; if the couloirs are out, there are better objectives to climb.
Do not underestimate the route based on the grade. You do not need to crush high grades to climb this route, but you need your alpine skills to be dialled if you want to make it up and down in a reasonable amount of time. Taking 20+ hours on this route is common, even under perfect conditions. I strongly recommend simul-climbing the lower pitches if you feel you can do so safely. A triple rack was surprisingly helpful here; we did not regret bringing it.
Lastly, though we did it in a day, bivying above the lower Herdman and retrieving your gear on the descent is a very reasonable way to climb the route. It makes summit day shorter, and you can easily approach the bivy on the evening of the day you drive in. In dry conditions, it took us ~3.5 hours to reach the bivy site (we got a bit lost, too). On our second attempt, it took us 1hr 43min moving at a fairly relaxed pace. That said, sleeping at Illecillewaet and then crushing it in a day felt fairly reasonable as well.