Trip Date: July 9th-10th, 2024
Participants: Noah Macdonald, Austin Goodine

1 | CONTEXT
After climbing the NW Ridge of Mt. Macdonald, the South Rib of Tupper was next on my list. Despite receiving the same grade (5.8) in the guidebook, the actual difficulties are substantially greater. Trip reports consistently place the crux at 5.11-, making this one of the most sandbagged routes I have ever seen. Overall, I would put the grade at 5.11-, TD, V. We climbed it in 11 pitches with a bit of soloing and simul-climbing, but in other reports, I have seen 20 pitches suggested (the route is ~800m).
The route climbs the side of Tupper visible to the highway, ascending a rib that intersects the West Ridge near the summit. This route should not be confused with the more challenging South Buttress, which takes a steeper line straight to the summit.
The South Rib can also be divided into two distinct climbs; the Lower Rib and the Upper Rib. The Lower Rib starts just left of the upper reaches of a couloir that splits the South Rib from the South Buttress, and continues to the “Tupper Traverse Ledge” which cuts across the South Face. The ledge can be used to bail from the route, exiting back onto the lower reaches of the West Ridge. Alternatively, this ridge can be used to access the beginning of the Upper Rib. This provides options for people who wish to climb variants of the South Rib. If I were to do this again, I would probably elect to exclusively climb the Upper Rib, and access the climb from the traverse ledge.
2 | THE CLIMB
1 – The Approach
We parked at the Hermit parking lot and walked over to the slide path behind the first snow shed east of the Discovery Centre (the same one you park at for Mt. Macdonald’s NW Ridge). Gaining the slide path involved a short bit of heinous bushwhacking up through alders before we could stick to the side of the creek. Snow coverage higher up was inconsistent, and we needed to solo one short section of roughly 5.7 climbing on loose rock and dirt to leave one section of snow and continue up the gulley. To add to the suffering, a 3am thunderstorm tried to scare us off (though getting drenched by the rain did help us deal with the heat).

Austin just above the 5.7 dirt step
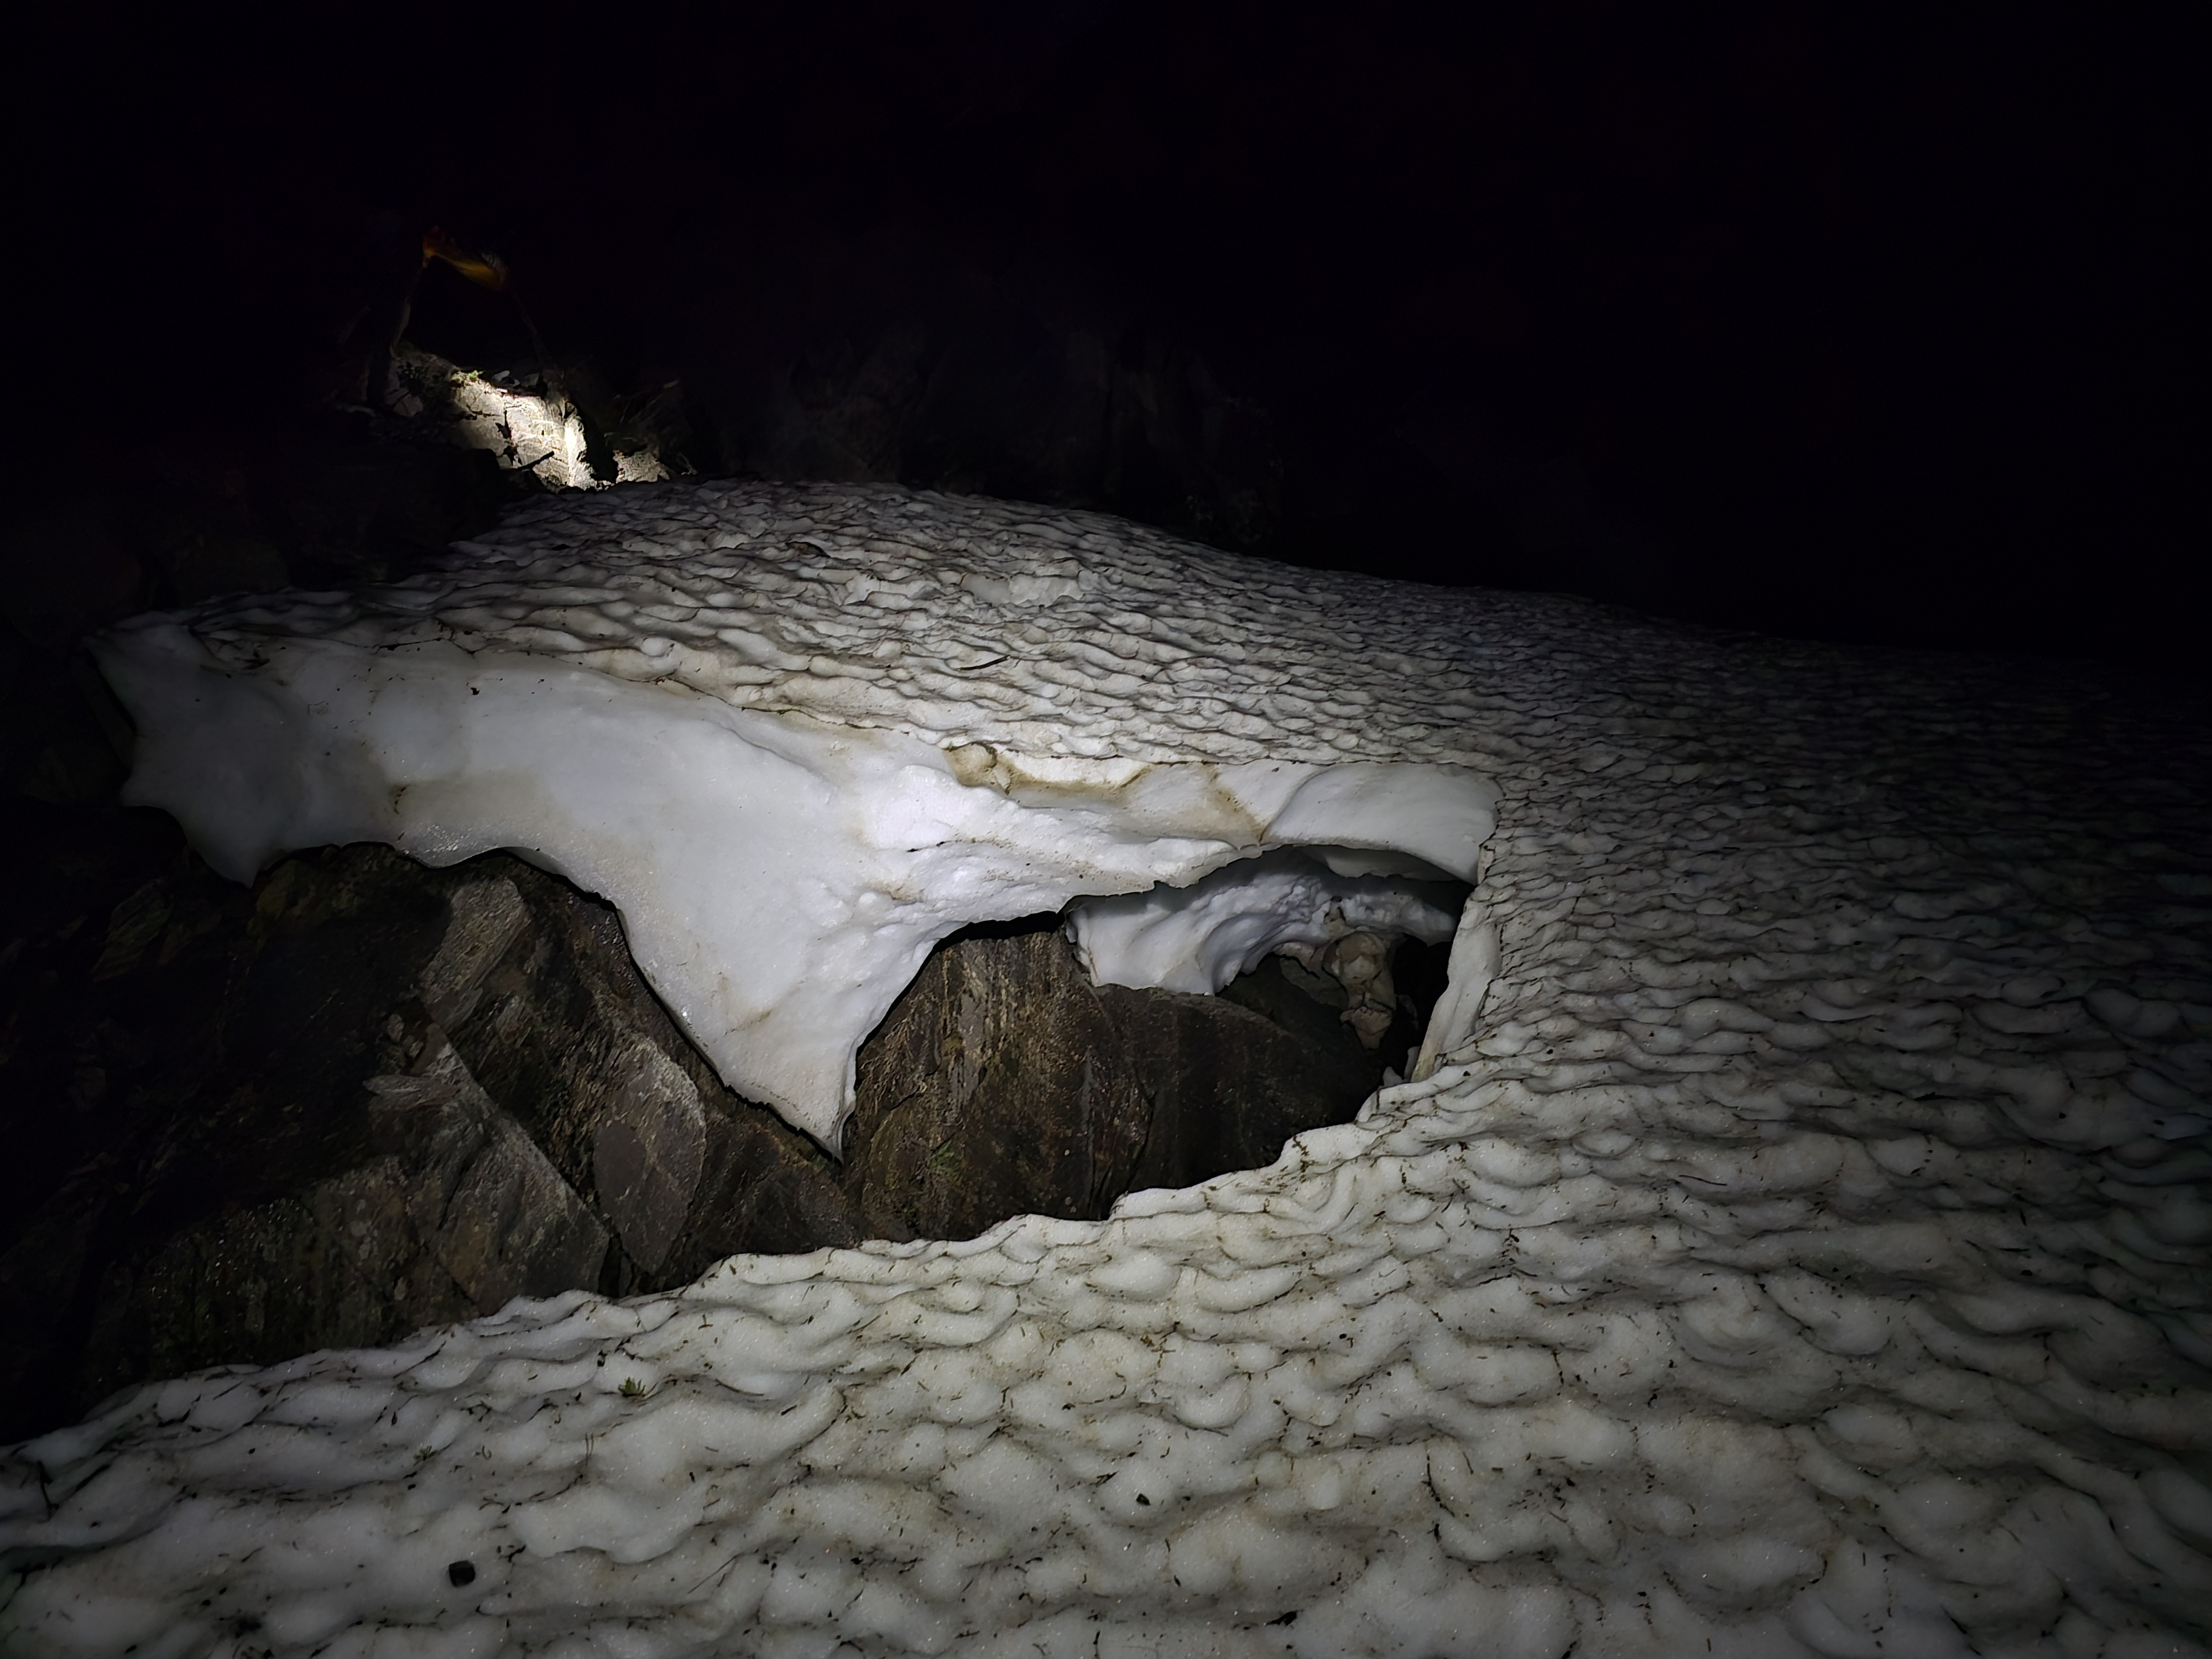
A dangerous snow bridge that we unfortunately needed to cross
Once we exited the gulley out left, we scrambled/soloed fairly far before putting on the rope (mostly 3rd/4th class with a few sections of 5th up to 5.8). Your line of choice can impact the difficulty considerably here. I went for harder climbing on better rock instead of the easier and dirtier lines; you could probably avoid the 5.8 steps.
2 – The Lower Rib
This portion of the climb has a distinctly subalpine feel. Lots of the climbing is dirty, and there are trees and tenacious tufts of grass all over the route. There’s more loose rock than anticipated for a route in Rogers Pass. I would say the 5.8 grade is fair – it may even be somewhat soft for the grade; we didn’t bother putting on climbing shoes at all. We climbed this section in 6 pitches with a bit of simulclimbing extending a few of them. We moved quickly here and had no problems with route finding, but I could imagine it being very easy to get off route. The mosquitos were out in force; they were the worst I’ve ever experienced on a climb throughout the entirety of the lower rib.


This gulley marks a key leftward deviation near the top of the lower rib. I suspect that sticking to the rib directly will bring you into much harder terrain.
3 – The Upper Rib
This is where the route starts to get real; we switched into climbing shoes and began pitching it out instead of simulclimbing. The mosquitos vanished, as did the subalpine feel of the route. The guidebook implies the upper rib, like the lower rib, is a 5.8. Either this describes a different line than the one everyone seems to take (good luck finding the easy line!) or this is the biggest sandbag I’ve ever seen; I think 5.11- is fair.
We climbed this section in 5 pitches:
P1: 5.6. Up the crest, then once the climbing starts to feel a bit more vertical and harder than the grade suggests, go out around the right side of the crest, traversing on an easy ledge past a fixed nut. Continue following the path of least resistance trending up and towards the ridge. This pitch was a full rope length with horrible rope drag.
P2: 5.7. Regain the ridge.
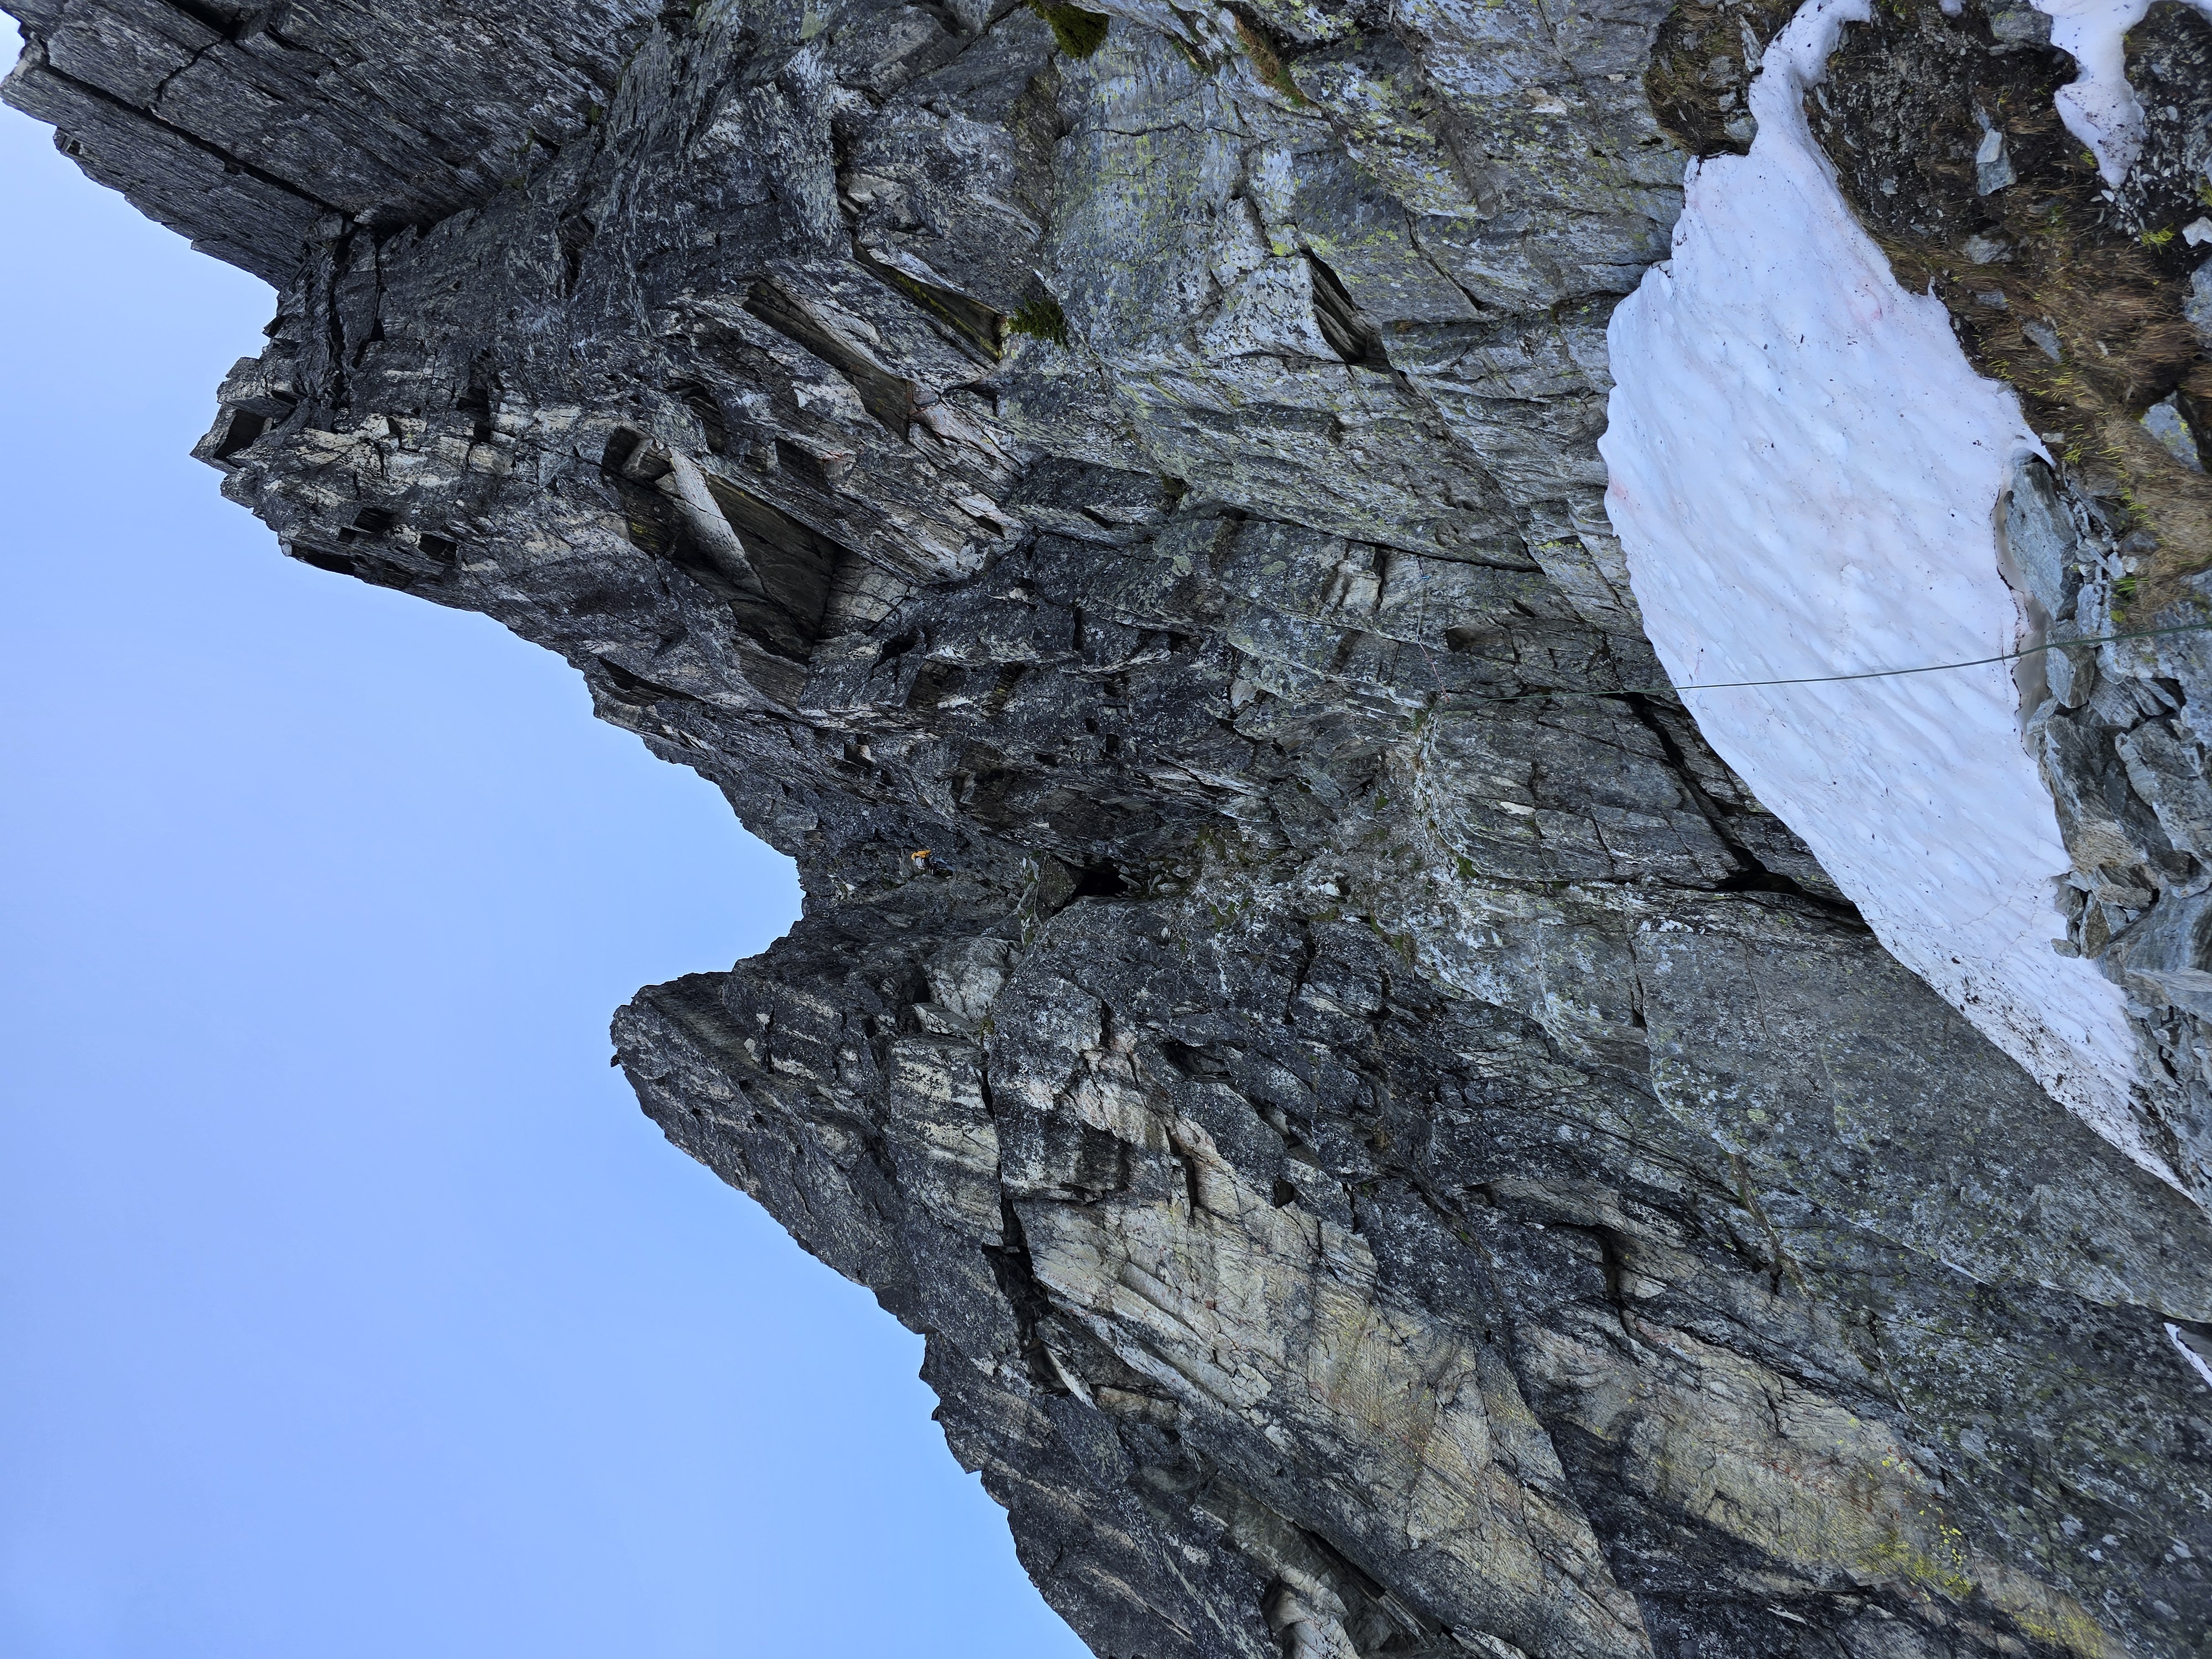
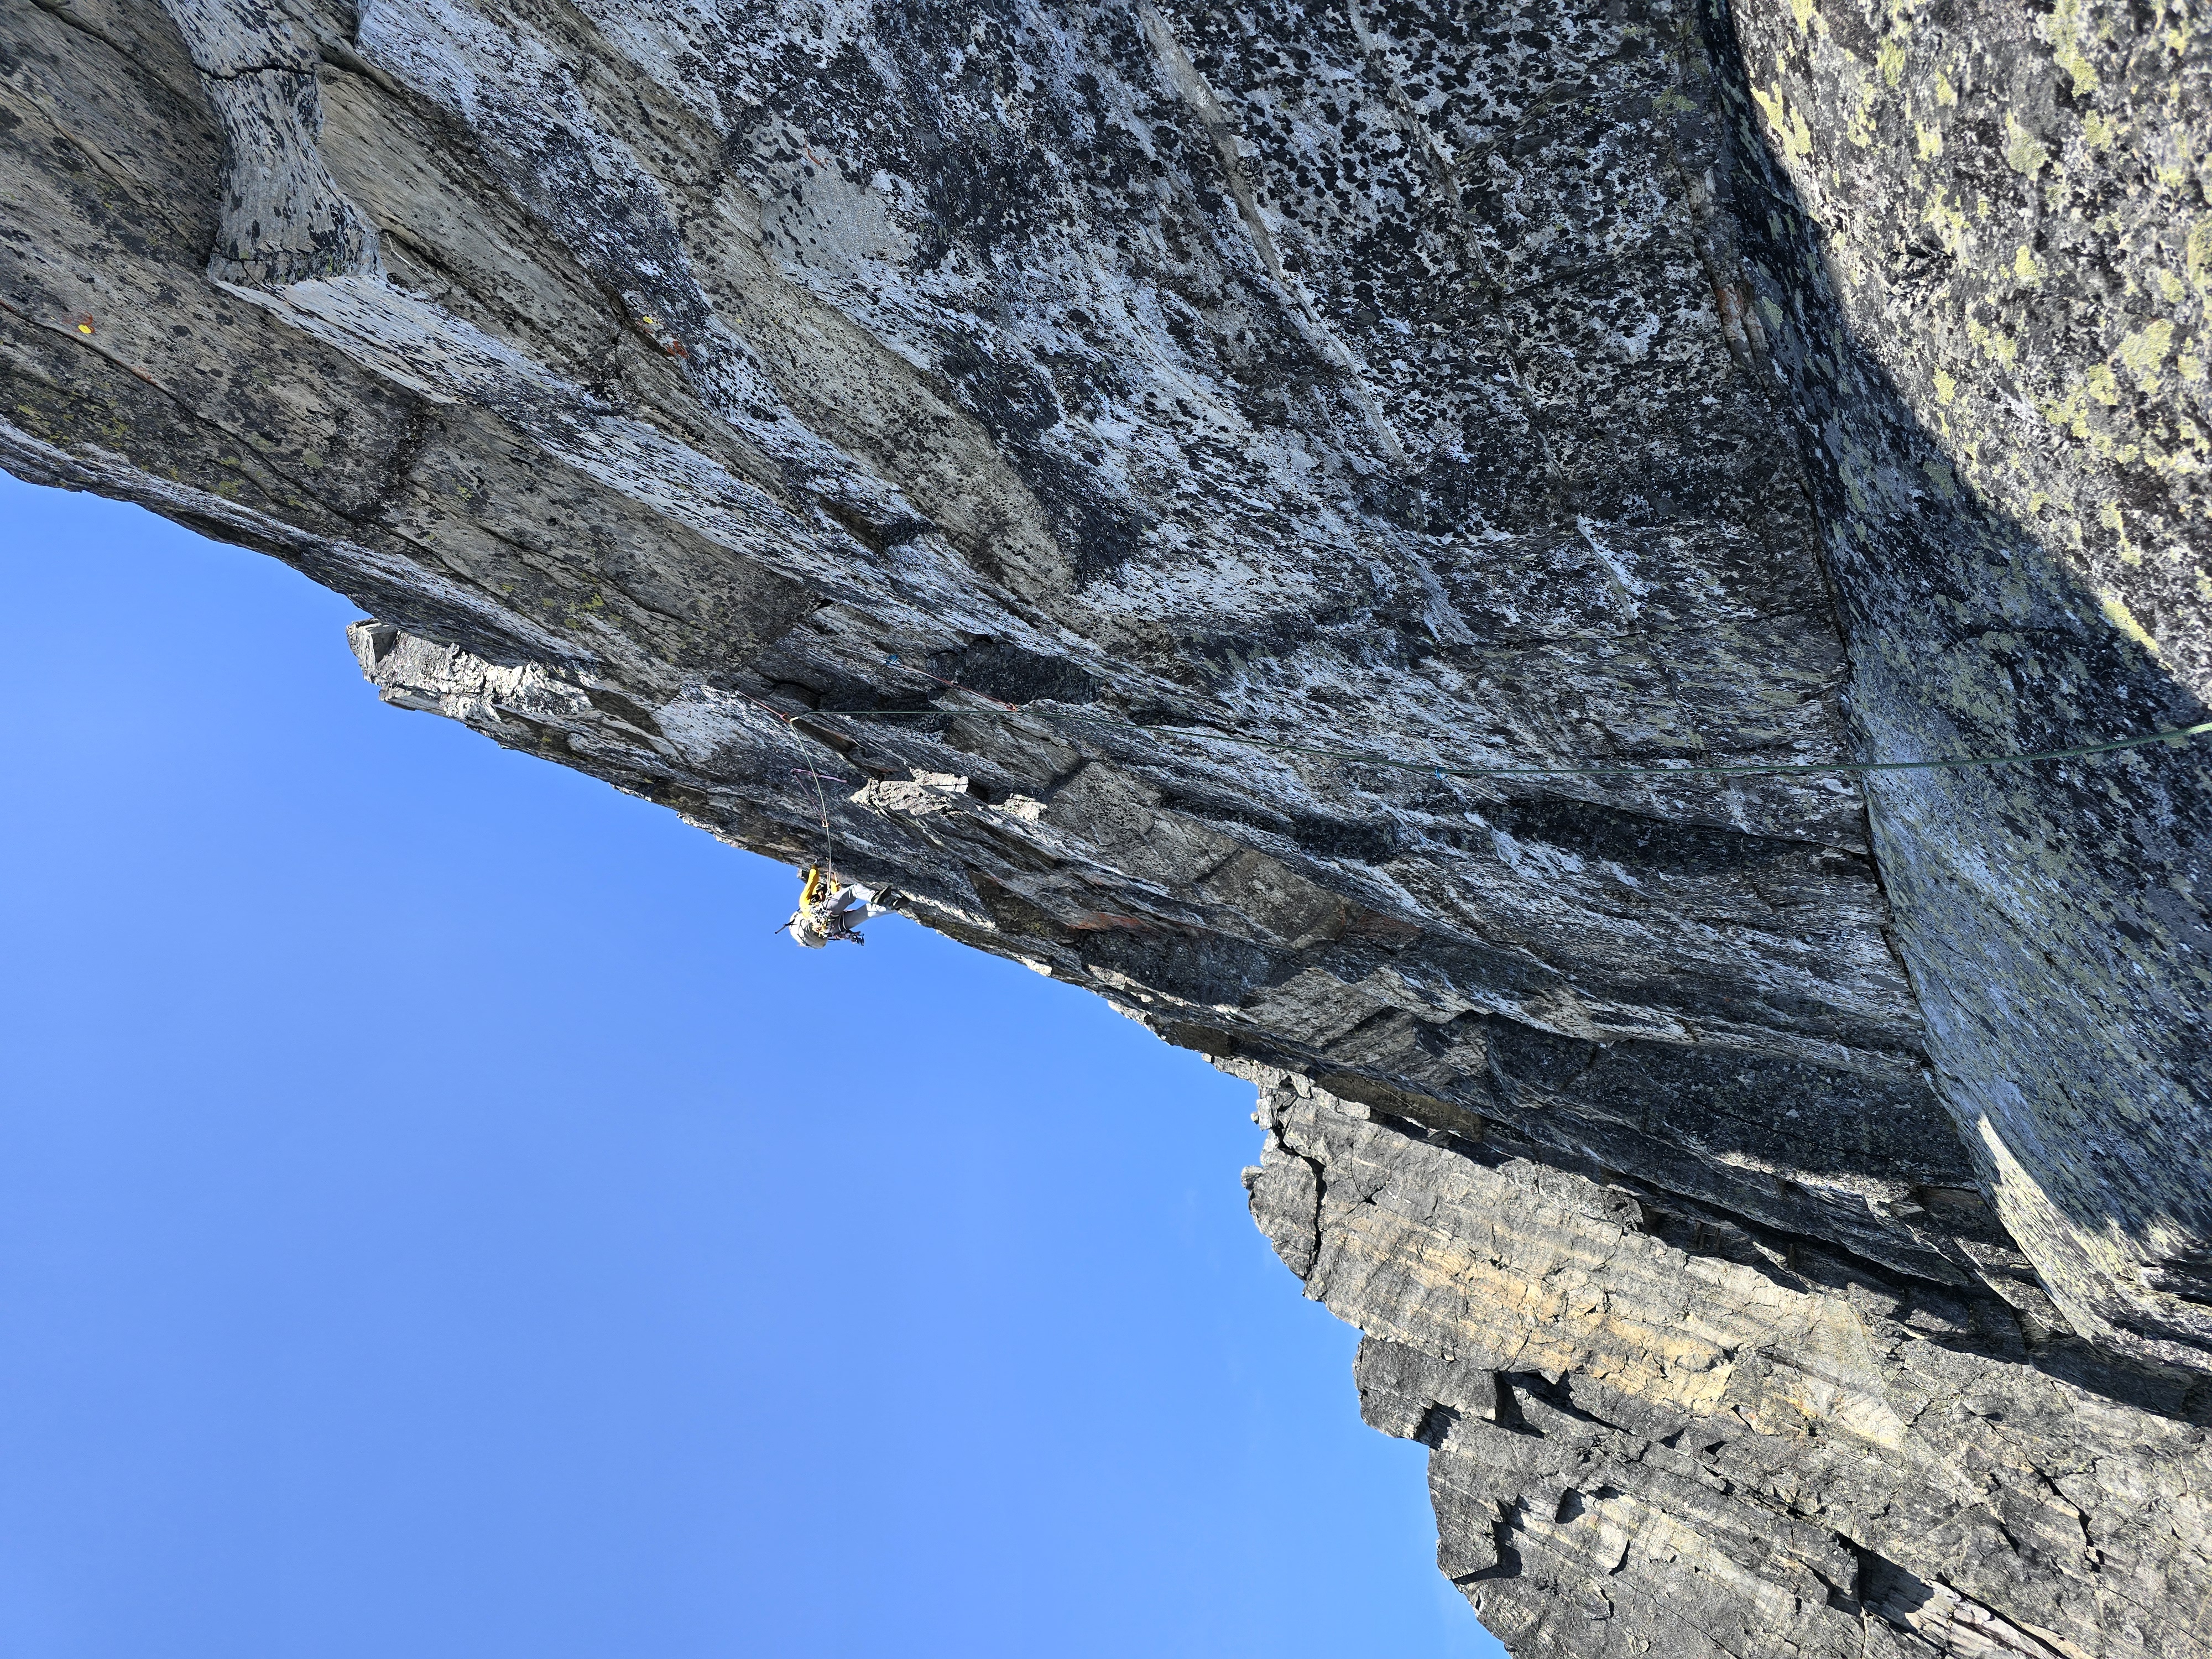
P3, 5.10-: Cut out hard left onto the face and go up a good crack system, gunning towards an implausible looking finger crack leading into a hand crack roof near the ridge. We made a hanging belay on good gear below where it turns into a finger crack.

A photo from the belay at the bottom of p3
P4: 5.11-. Up the finger crack, then pull hard moves into the hand crack. The roof looks like it will be the crux, but it’s actually quite easy (really good jams), and the real crux is transitioning out of the finger crack. Belay at a slung block on a nice big ledge on the crest.
P5: 5.10+. Cut out left on the obvious slab, gunning for some equally obvious tat on a fixed piton. The pitch takes more pro than some other trip reports say, and there are a few fixed pitons, but it’s still heady and run out climbing. The holds are incut and positive, but small. Once the scary stuff is over, continue up through some easy cracks above. The hardest part of this last “easy” section is pulling up on to the big ledge, which felt non-trivial.
From here, the ledge rejoins the west ridge on an easy ramp out left. It places you fairly close to the summit, so you can leave packs (though you might want a rope to rappel off the summit block) and retrieve them on the descent.
We took roughly 10.5 hours from the car to reach the summit.
4 – The Hermit Gendarme
Since the rib went so smoothly, we were ahead of schedule. I suggested we climb the Gendarme on the descent down the West Ridge. I’m not sure if there’s a good way to free climb this (if there is, I’d be curious to hear it); I just pulled on the sketchy old bolt, before placing a 0.5 cam in the equally spooky flake above and then climbed to the top on good jugs. Grade-wise, it felt roughly 5.7 A0. I’d say this is a fun detour from the West Ridge if you have enough time.
I replaced the tat on the anchor at the top (a nut and a piton). It’s not very sheltered from the sun, so I would advise bringing some tat of your own. Try to avoid leaving a sling around the whole pinnacle to avoid adding visual pollution to the gendarme. That said, a 240cm dyneema sling makes for a great top rope anchor if you want your friends to follow.
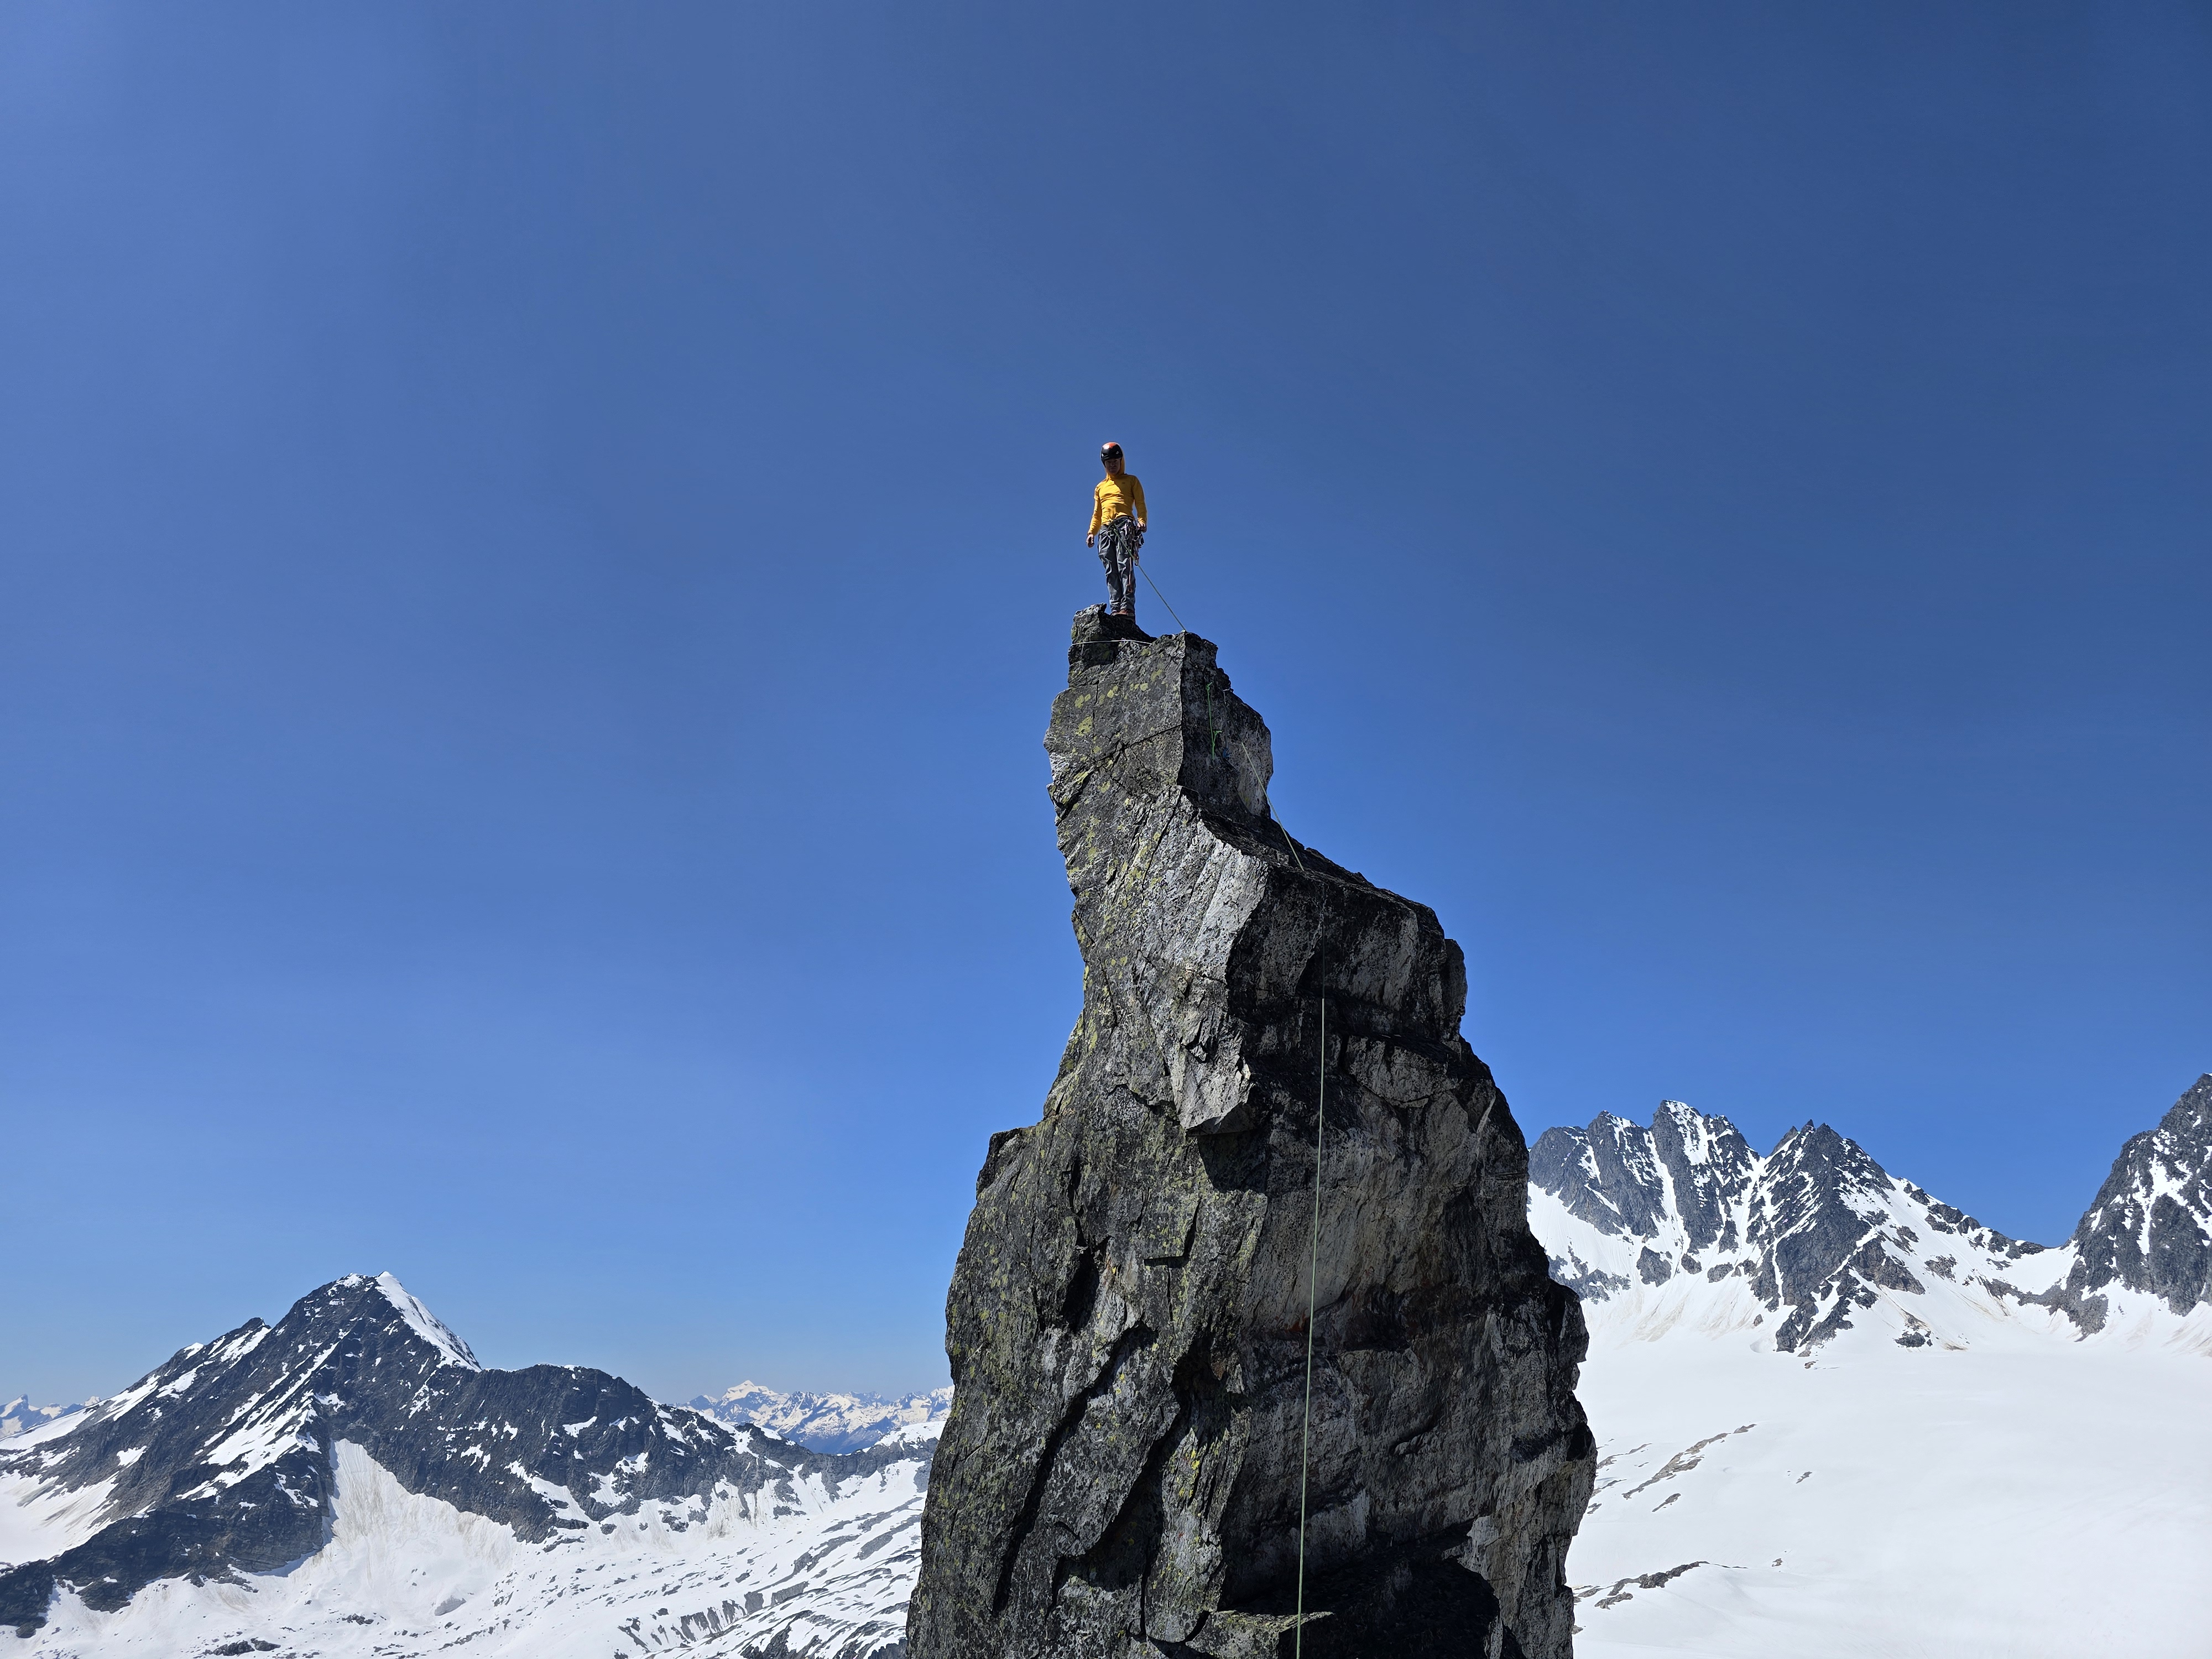
Austin on the Hermit Gendarme
5 – The Remainder of the Descent
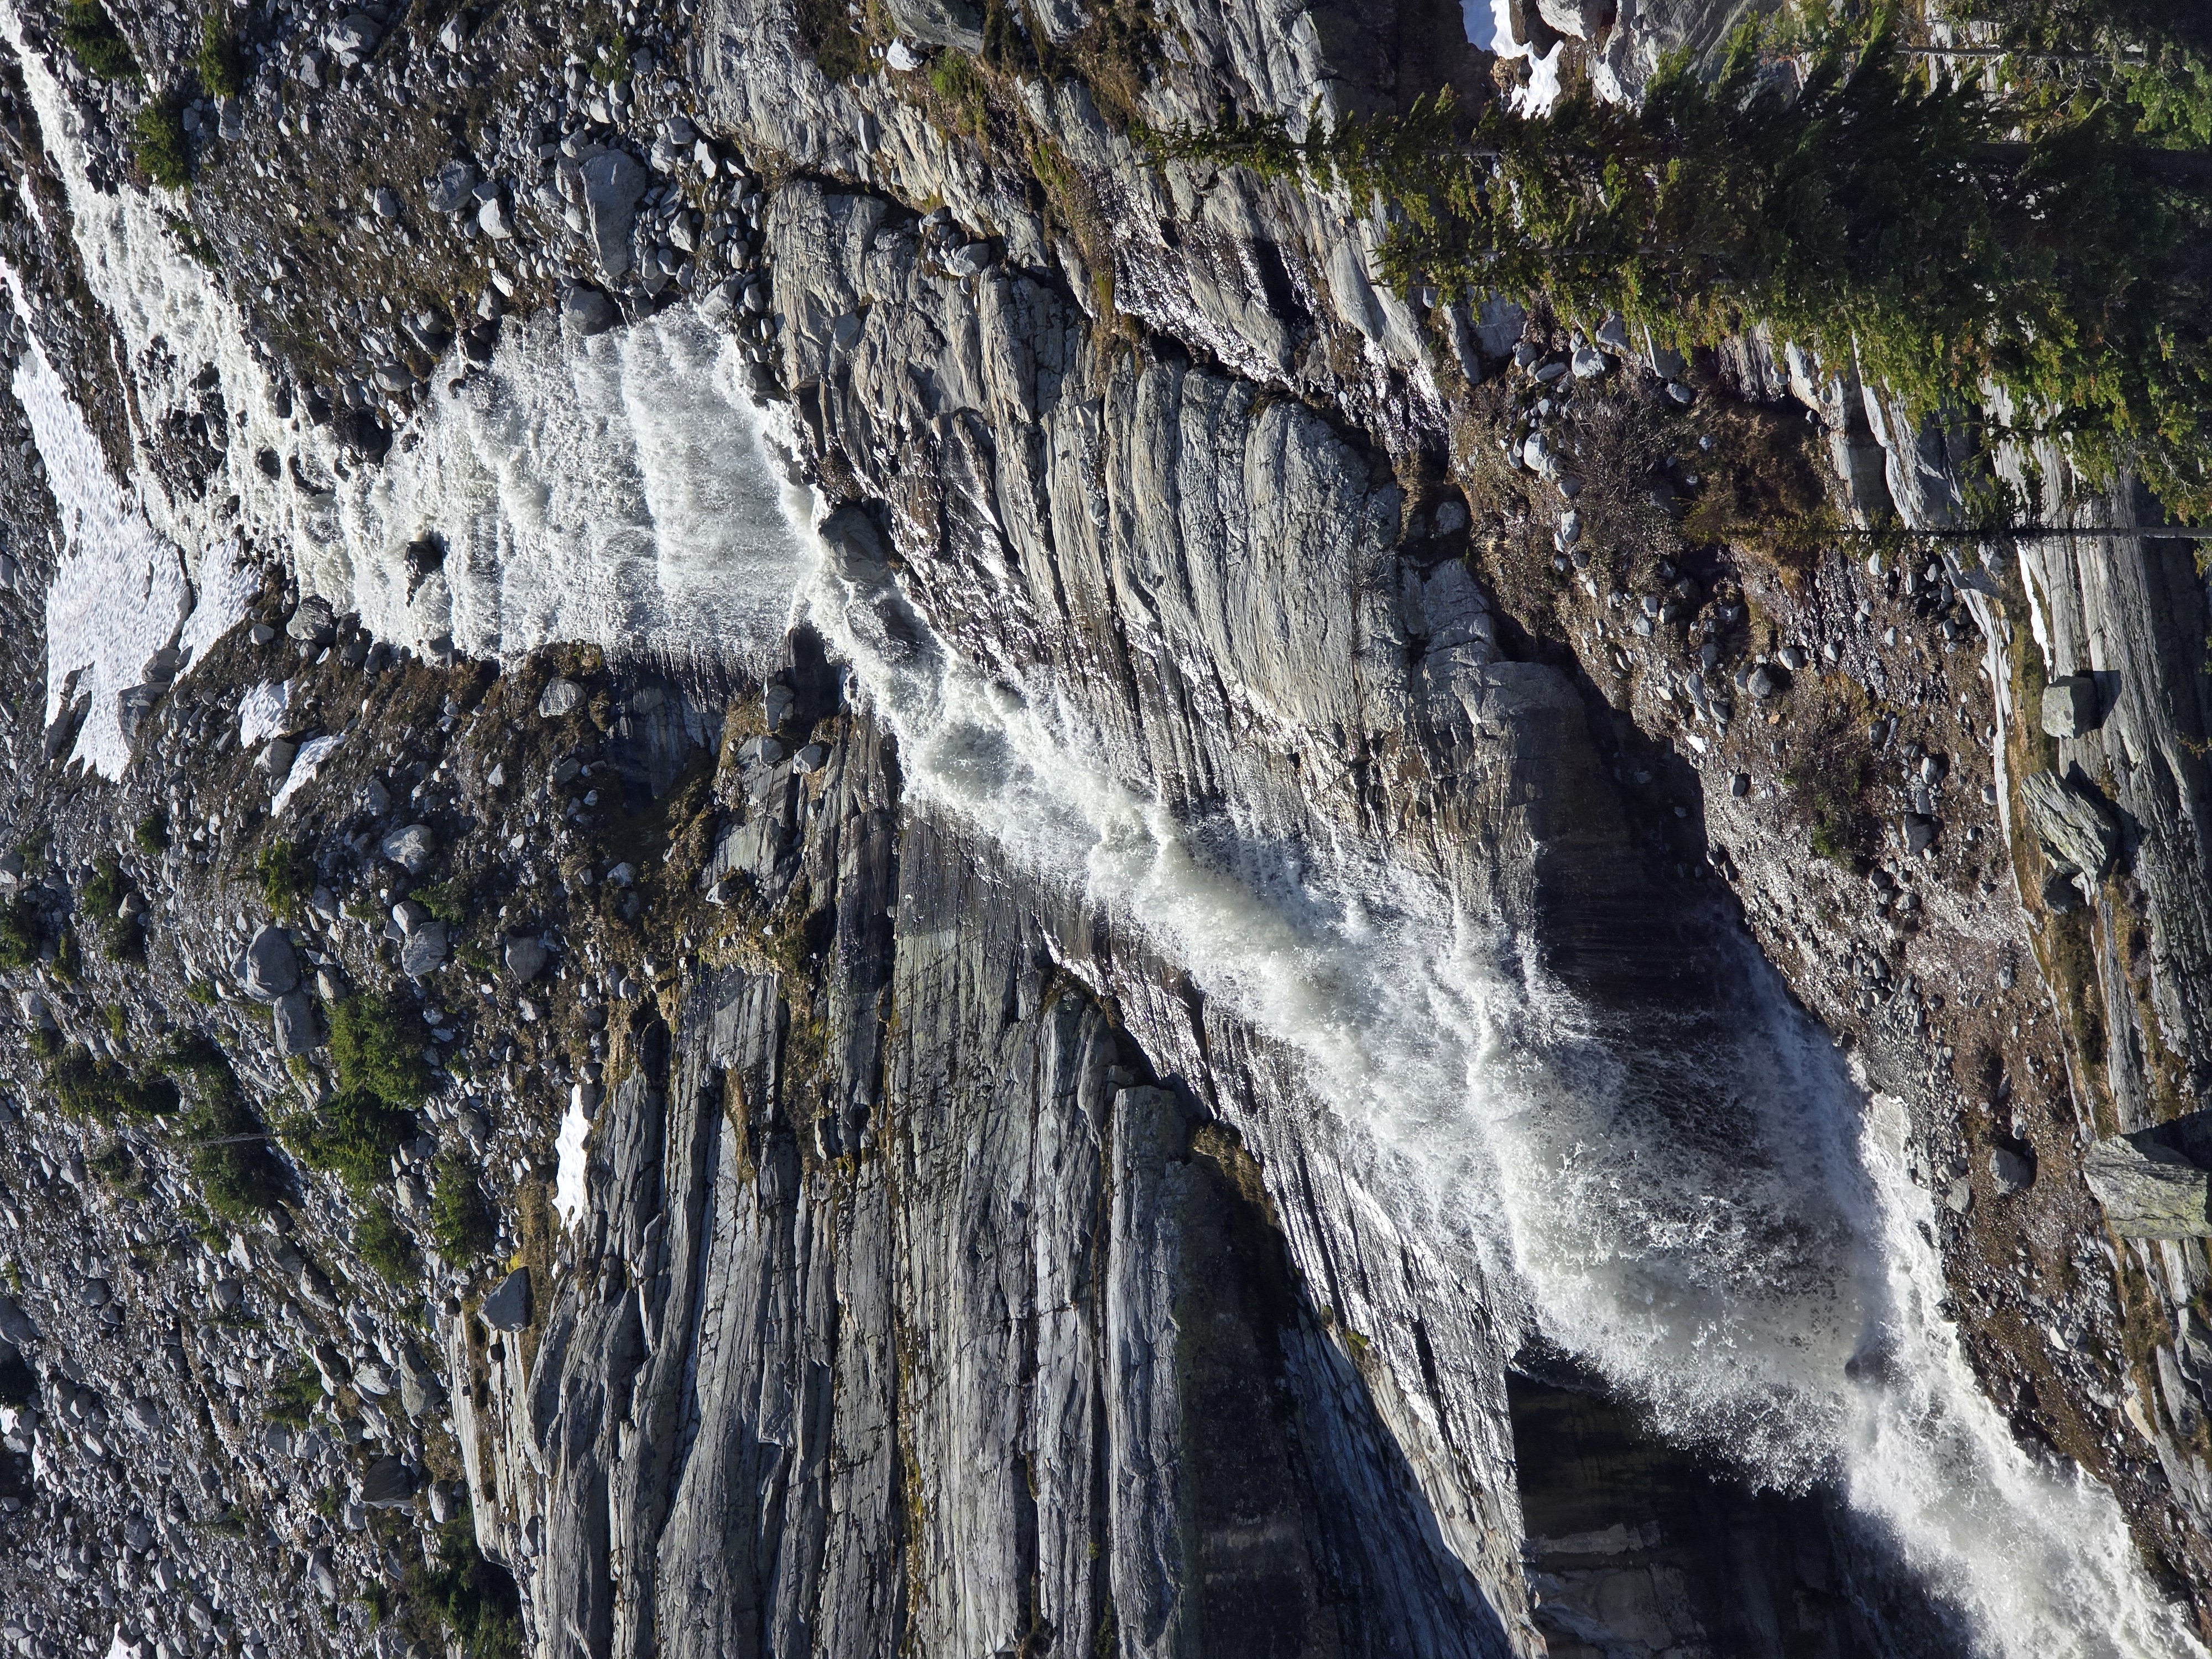
The rest of the descent was rather straightforward, though we had to take off our boots to cross the stream near the Hermit Meadows campground; high temps melting the persisting snow had swollen the stream beyond what I’d seen there before.

We took our boots off to cross
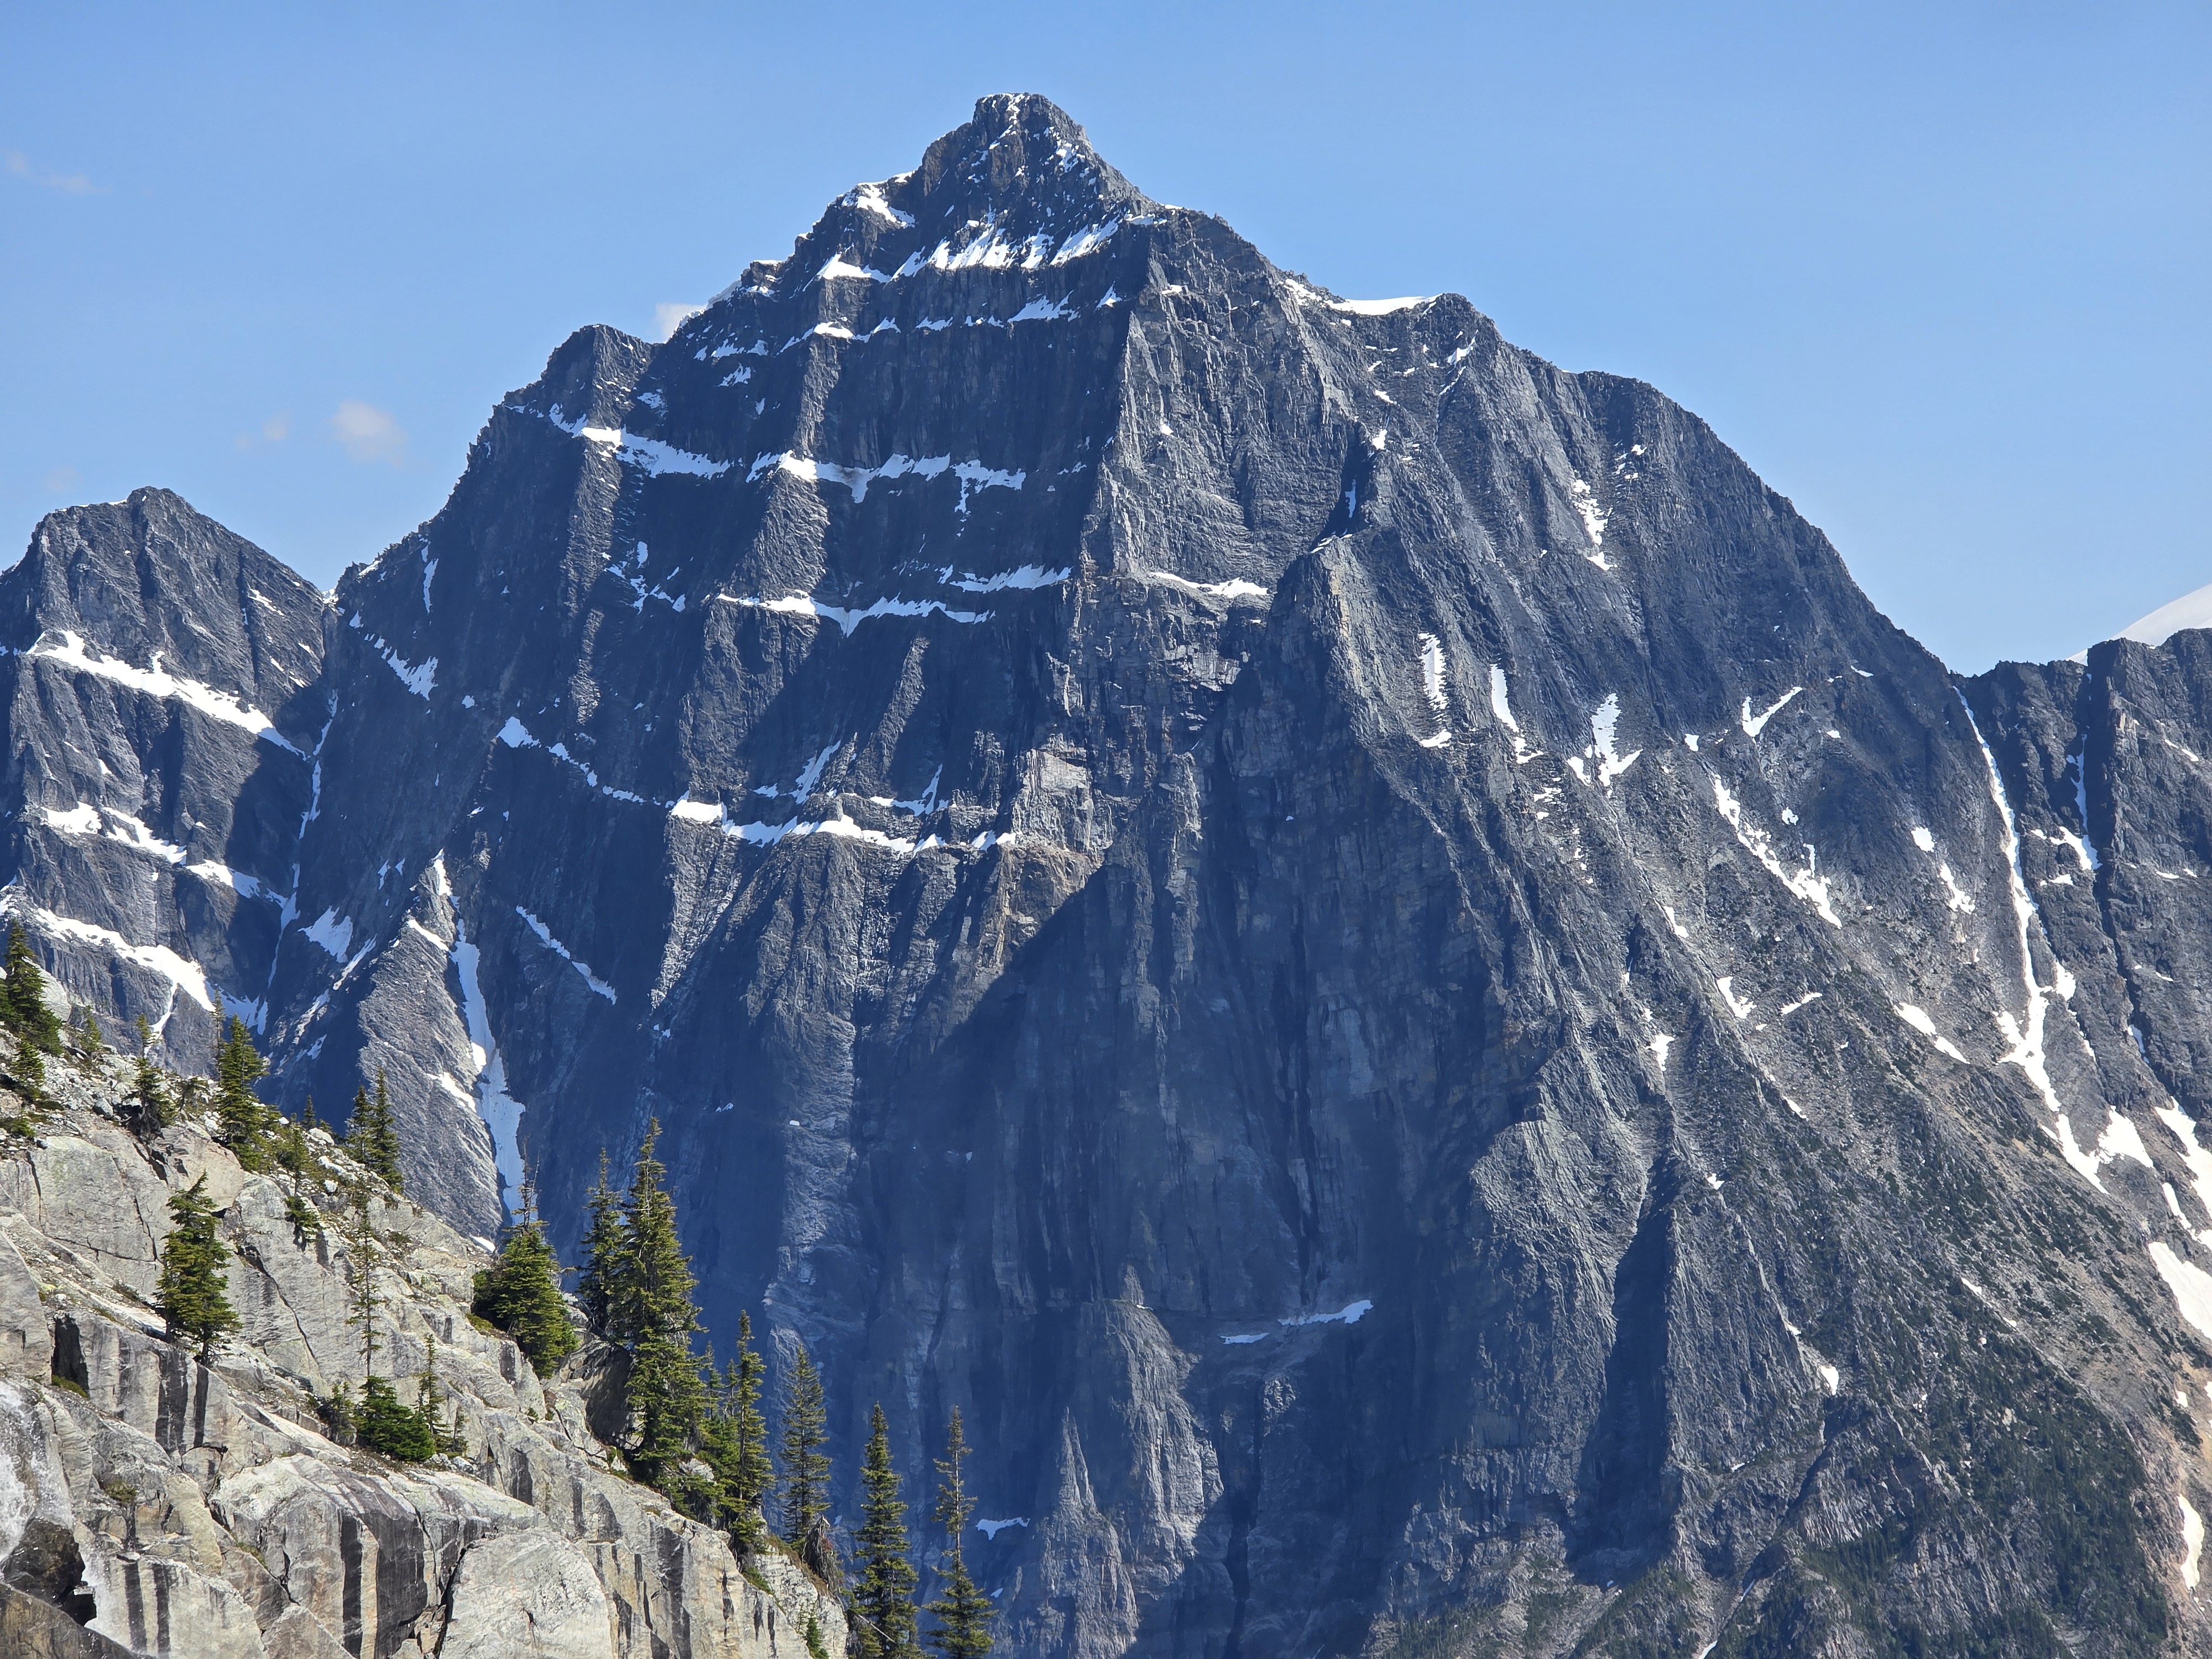
The mighty Mt Macdonald across the valley
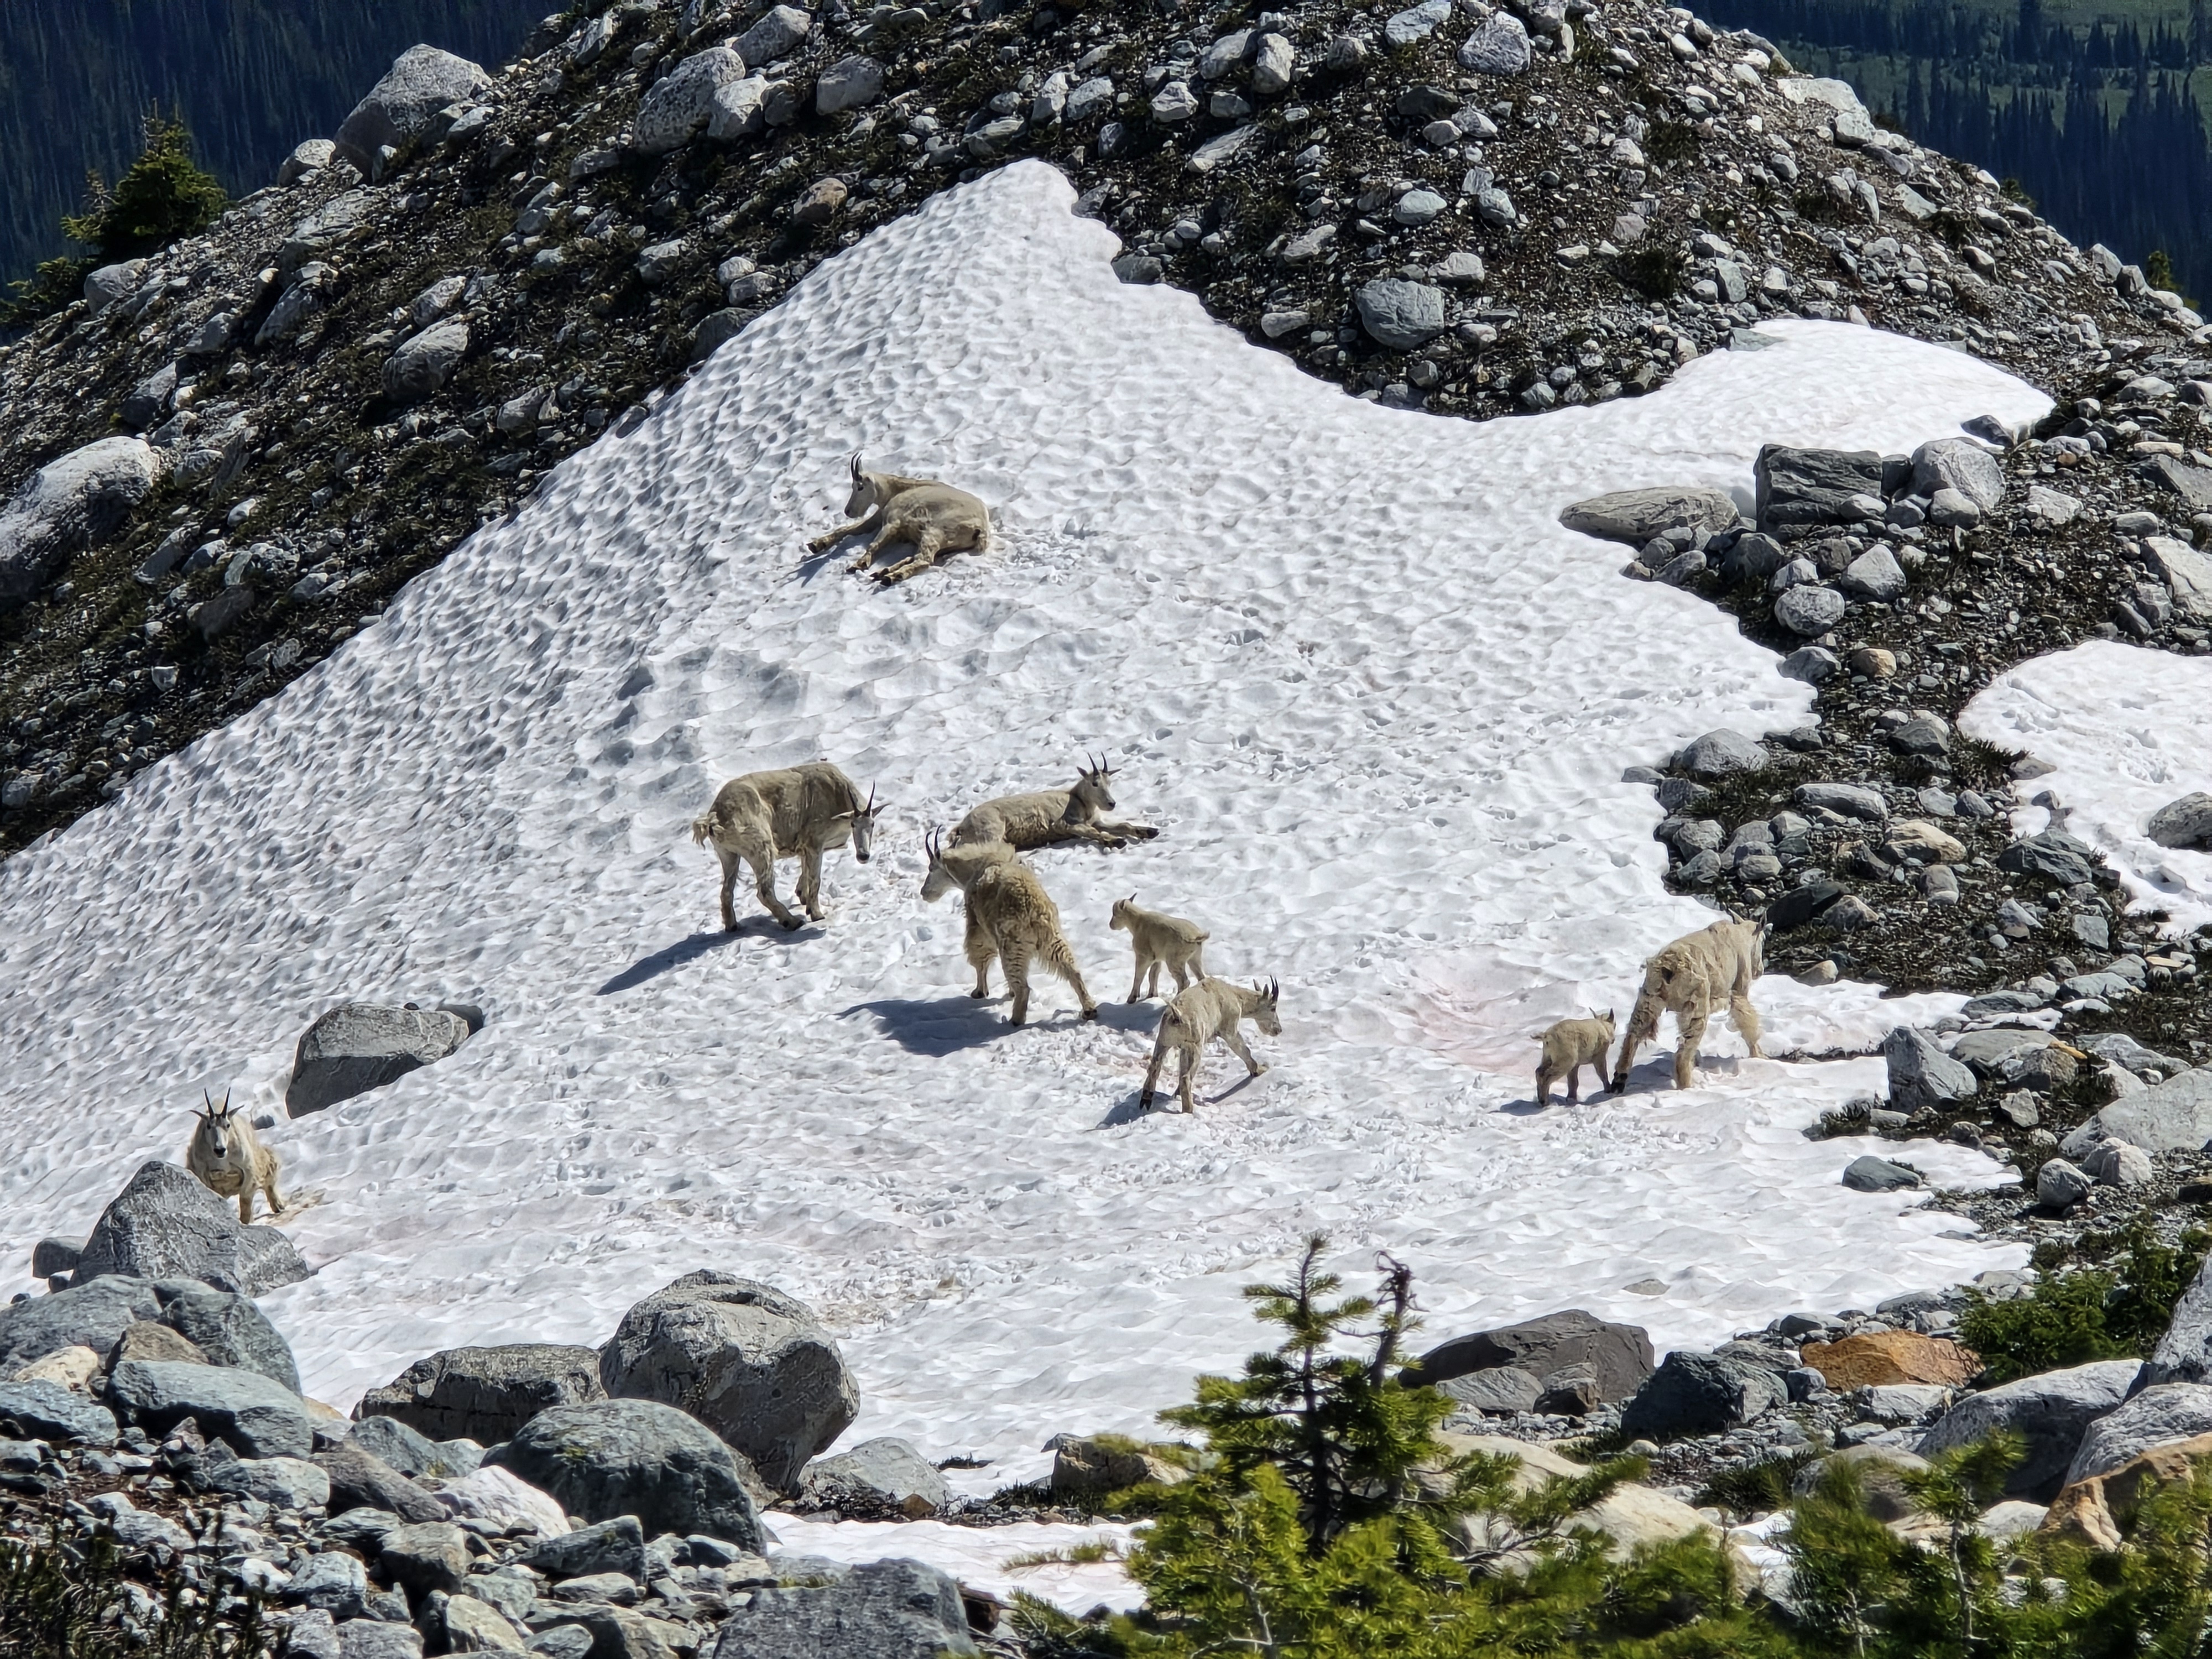
The goats of Hermit Meadows
Overall, we took 15hrs and 26min car-to-car. This is a fair bit faster than I had budgeted; reports of 20+ hour trips seem to be the norm on this route.
3 | CONCLUDING THOUGHTS
I’d give it two (out of three) stars. While I’m glad to have done it, I would rate this route lower than Macdonald NW Ridge. It’s a step up in terms of difficulty, but a drop in quality; the approach is worse (in my opinion), the climbing is less sustained, and the rock quality more suspect.
Other comments:
1. The approach probably sucks inversely proportional to the amount of snow in the approach slide path/gulley.
2. A double rack was great for simulclimbing, and doubles in some sizes (e.g. 0.5, 0.75) were definitely appreciated on the upper Rib.
3. Definitely read up on the route and have a general idea of where to go (e.g. don’t just assume sticking to the crest of the rib will help with route finding; this isn’t like many other ridge routes in Rogers Pass in that respect)
4. We found a 60m single rope worked well. Halves would be overkill (most pitches wouldn’t benefit from half rope technique), as would a 70m (due to rope drag). We brought a tag line in case we needed to bail, but didn’t use it.
5. On that note, bailing midway might be quite tricky; this is a committing route up to the top of the lower rib, at which point you can bail off the traverse ledge.